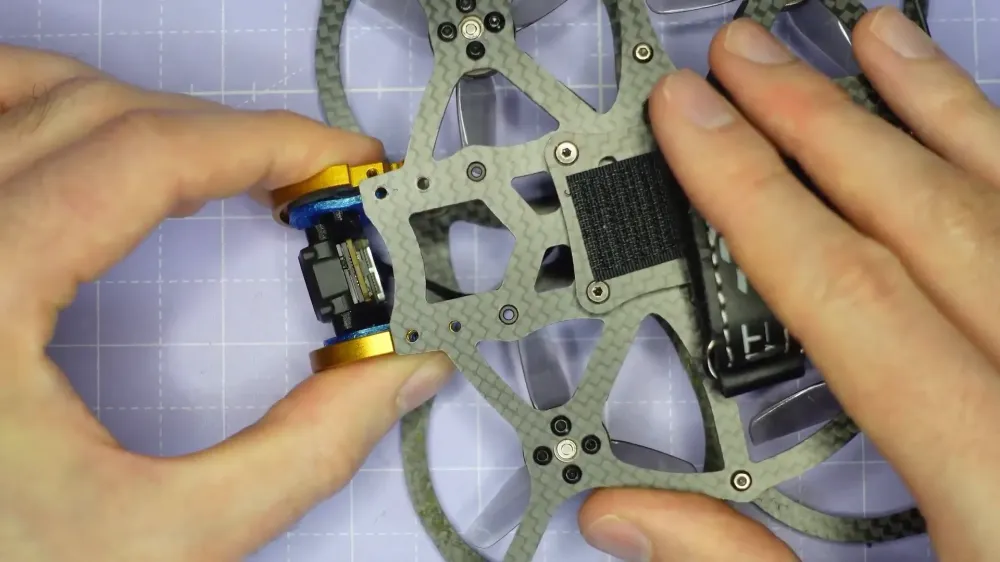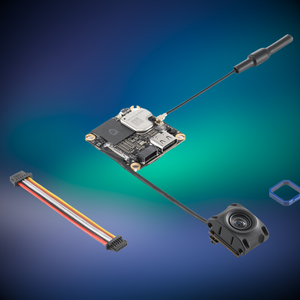
Welcome to the ultimate guide on integrating the DJI O4 into your AOS V5 frame! Whether you're an experienced FPV pilot or a curious newbie, you'll find everything you need to know about this setup right here. Let’s dive into the nitty-gritty of how to mount the DJI O4 and O4 Pro Camera into AOS V5 frames.
All AOS V5 Frames Support O4!
First up, good news! All AOS V5 frames are compatible with the DJI O4. This means you can enjoy the latest camera tech without worrying about frame compatibility. It’s a win-win!
Everything you need
Before you start, make sure to download the STL files for the DJI O4 pro and O4 Lite camera
DJI O4 Camera Mounts STL: https://www.thingiverse.com/thing:6905212 DJI O4 Antenna Mounts STL: https://www.thingiverse.com/thing:6905218

DJI O4 Pro Camera
The DJI O4 Pro Camera is a game changer. With its high-resolution capabilities and advanced features, it’s designed for both casual and professional use. You’ll want to make sure you have the right setup to get the best out of this camera.
Fitting the Camera adaptor plates
Next, let’s fit the camera adaptor plates. This step is crucial as it ensures the camera sits securely within the frame. Follow the instructions carefully to avoid any mishaps.

Camera cage build
Building the camera cage is where the magic happens. This cage protects your camera while allowing for optimal performance. Make sure to use the recommended materials for durability.

Fitting the TPU adaptor
After the camera cage is built, it’s time to fit the TPU adaptor. This component is essential for vibration damping and ensures your footage remains steady.

Installing top standoff
Now, let’s install the top standoff. This piece provides additional support for the camera and helps maintain its position during flight.

Installing the camera
With everything in place, it’s time to install the camera. Ensure it’s aligned correctly to avoid any issues during flight.

Assemble the cage
Assemble the cage around the camera. This step is critical for protection and stability. Make sure all screws are tightened properly.

Install camera cage into the frame
Now, install the camera cage into the frame itself. This is a straightforward process but requires precision to ensure everything fits snugly.

Uptilt friction adjustment
Once the cage is in, make sure to adjust the uptilt friction. This adjustment allows for better camera angles during flight, enhancing your filming capabilities.

This works with any AOS V5 frame!
Remember, the DJI O4 setup is compatible with any AOS V5 frame, making it a versatile choice for various builds.

DJI O4
Revisiting the DJI O4, its design and functionality make it an essential component for any serious drone enthusiast. Make sure to leverage its capabilities fully.

Install the plastic 14mm adaptor
Next, you’ll need to install the plastic 14mm adaptor. This piece is essential for connecting the camera to the frame properly.

Fitting the Camera adaptor plates
Again, fitting the camera adaptor plates is a vital step. Double-check your work to ensure everything is aligned correctly.

Finishing the adaptor plate assembly
Once everything is fitted, finish the adaptor plate assembly. This finalizes the setup and ensures everything is secure.

Camera cage assembly
Assemble the camera cage once more, ensuring it’s tightly secured around the camera.

Install O4 TPU gummy
Install the O4 TPU gummy for added protection and vibration dampening. This component is crucial for high-quality footage.

Installing the O4 Camera
With everything ready, install the O4 camera. Make sure it’s positioned for optimal performance.

Building the cage into the frame
Now, build the cage into the frame. This step is essential for ensuring your camera is secure during flights.

Uptilt friction adjustment
Adjust the uptilt friction once again for fine-tuning. This adjustment will help with the camera’s angle during operation.

Build complete
Congratulations! Your build is complete. You’re now ready to take to the skies with your newly mounted DJI O4 camera.

Links in the description!
Don’t forget to check the description for links to all the materials and resources you’ll need for your build!

FAQ
- What frames are compatible with the DJI O4?
All AOS V5 frames support the DJI O4. - Do I need special tools for installation?
Basic tools should suffice, but ensure you have the necessary screws and components. - Can I use the O4 with other camera systems?
The O4 is specifically designed for optimal performance with DJI systems. - Where can I find the STL files for printing?
Links to STL files are provided in the description of the video.
For more insights and tips, check out our blog on building your own FPV drone or the Toothpick frame build and review.
This article was created from the video Mounting the DJI O4 and O4 Pro Camera into AOS V5 Frames


