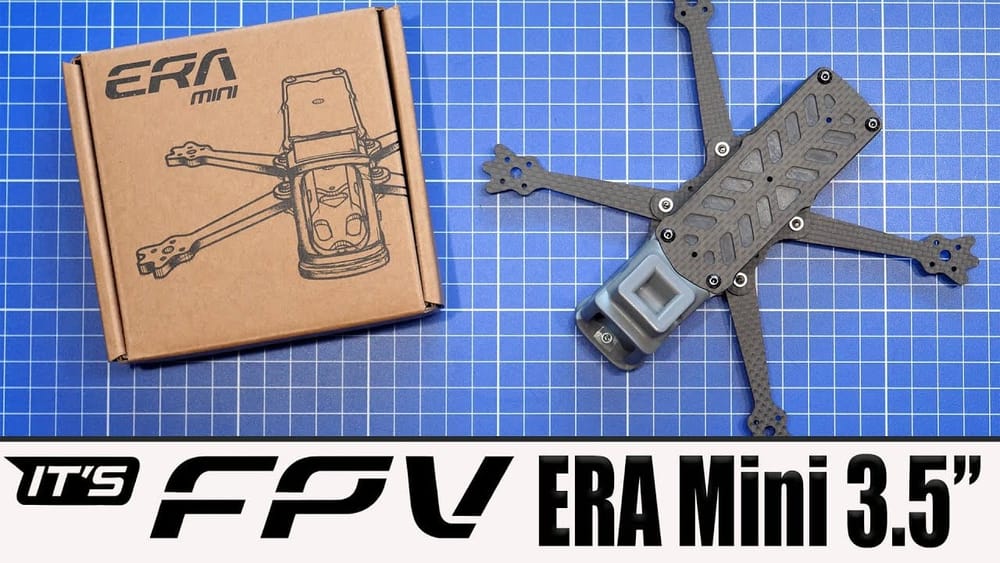
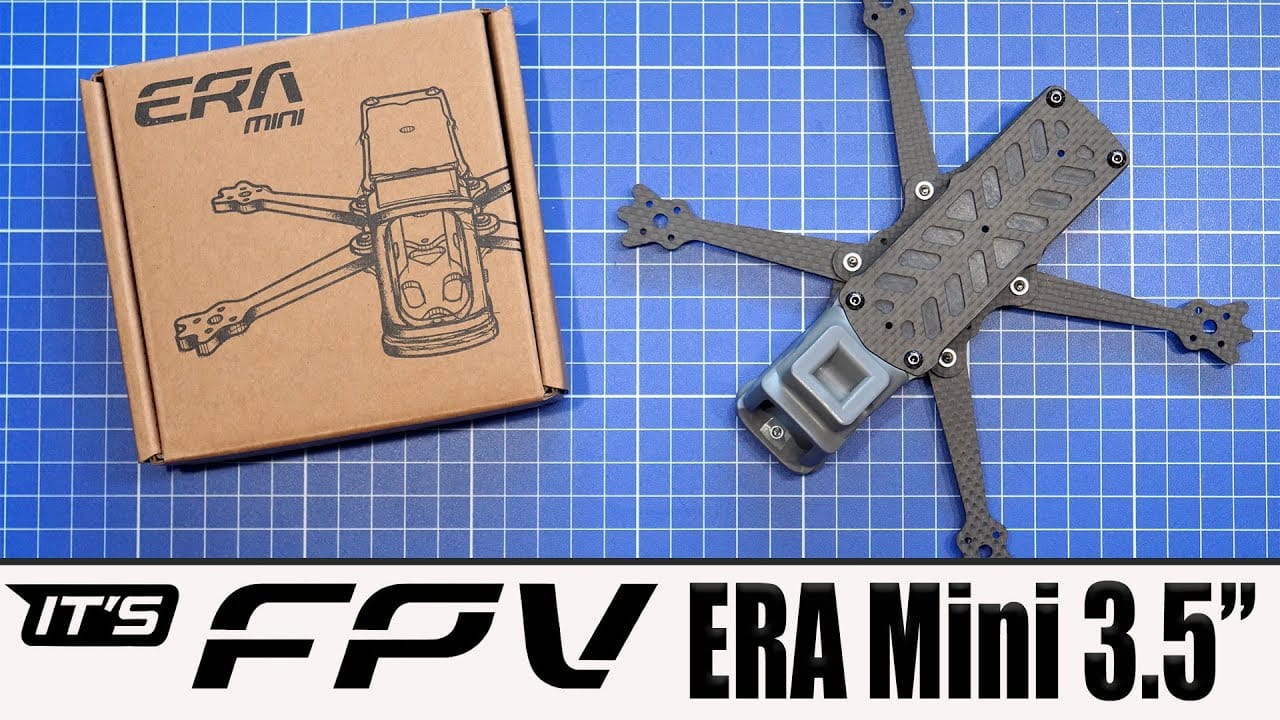
It’s FPV’s latest FpV drone frame—shrunk to 3.5 inches without deleting the important bits. If you build with digital or analog stacks, the fitment details matter more than marketing.
TL:DR
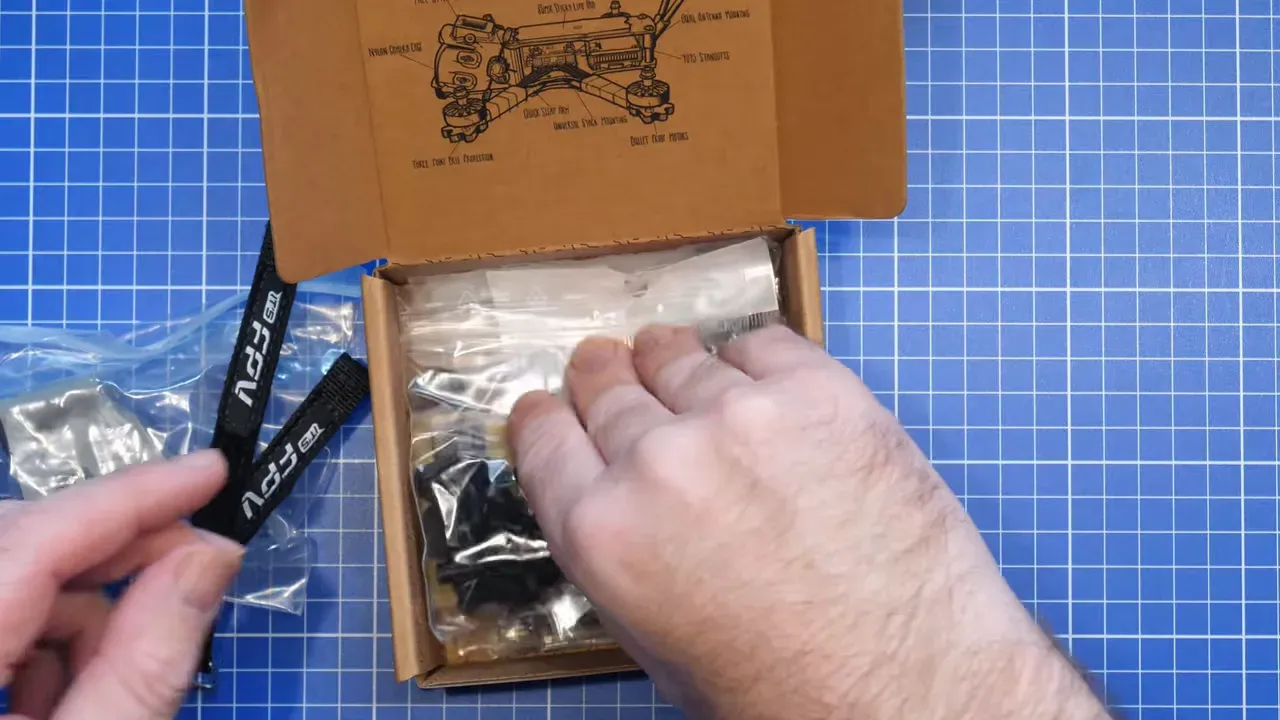
The ERA Mini is a self-assembly 3.5-inch carbon frame with a moulded nylon front cage and two configuration options. Pick the correct cage for your DJI unit, pre-fit captive nuts and double-check stack height, then mount your electronics without forcing wire routing.
What the ERA Mini actually is
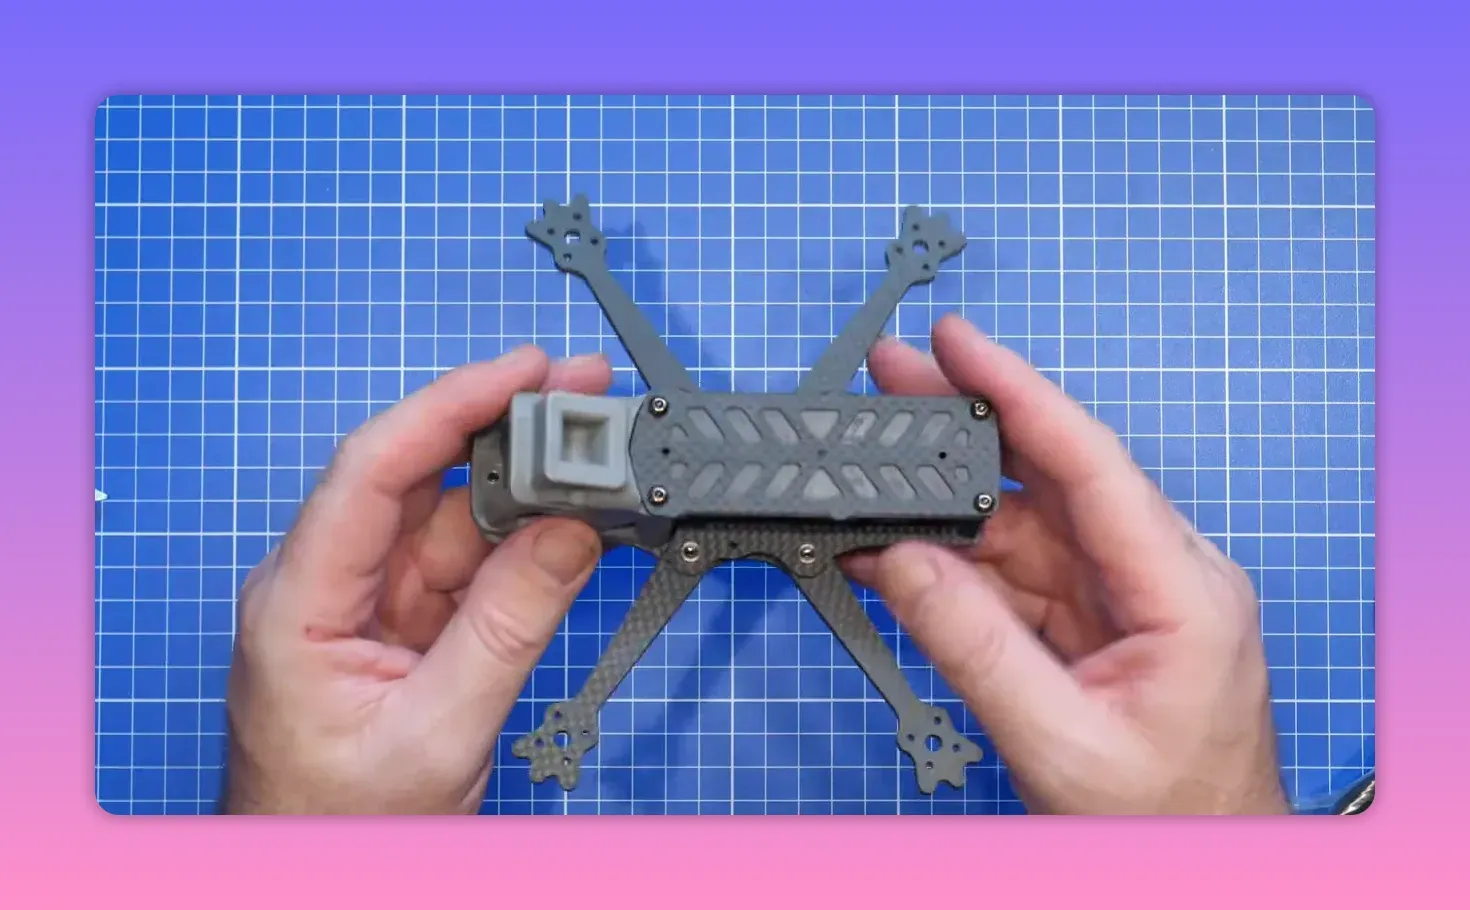
The ERA Mini is a compressed, 3.5-inch version of Its FPV’s original ERA frame. It keeps the design DNA that people like—especially the strength-led front end—while targeting compact builds and tighter stacks.
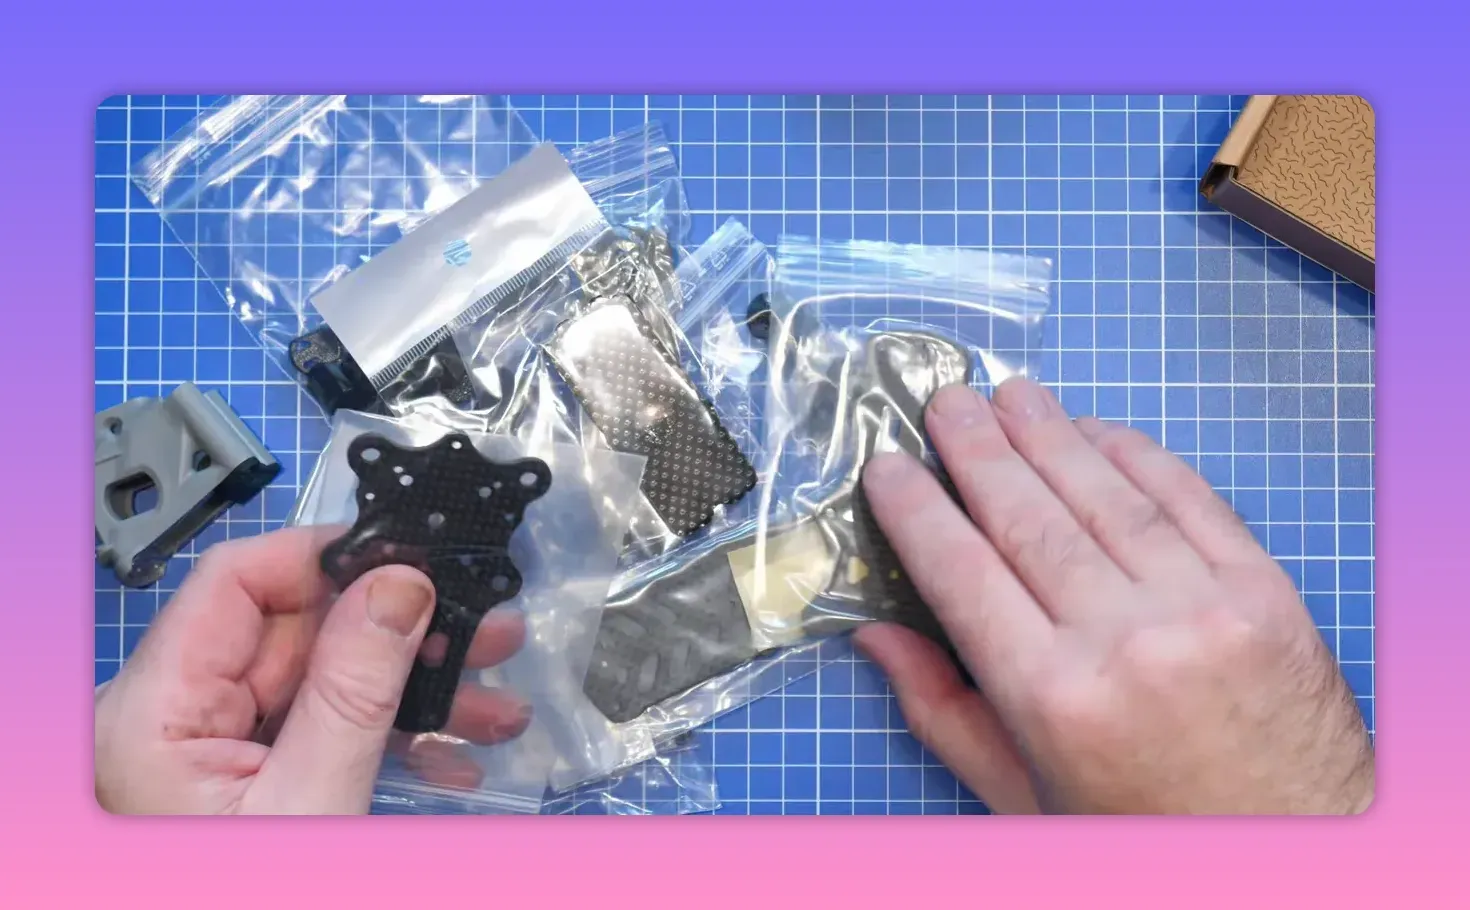
It also ships as a kit you assemble yourself. You get carbon fibre plates and arms, screws and hardware, printed standoffs, and supporting plastic/TPU parts—plus battery straps and a very sticky battery pad.
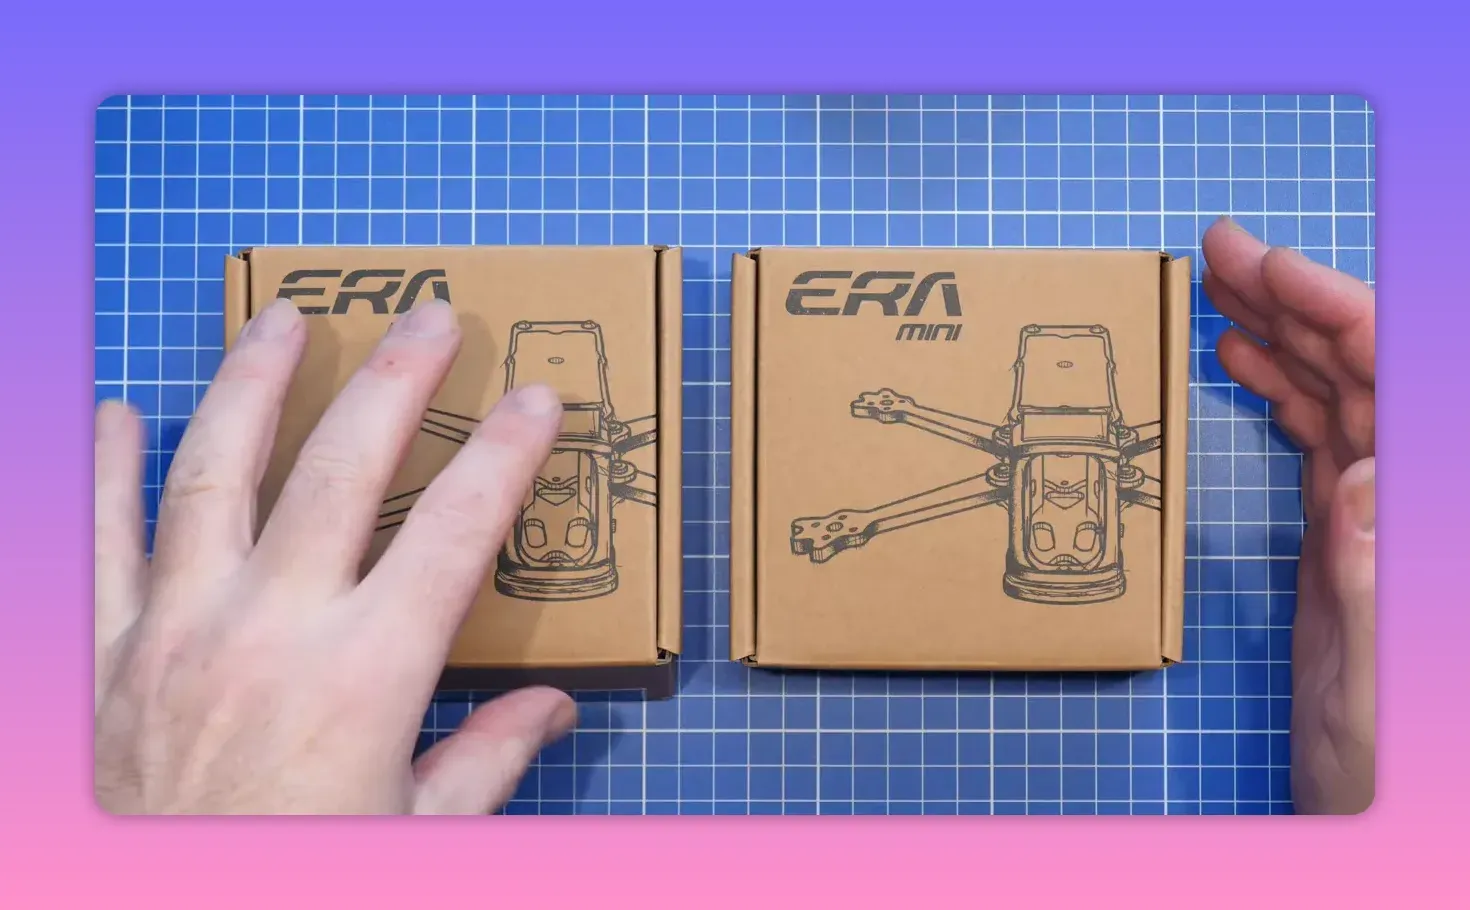
Two frame versions: don’t guess, match your camera
The biggest “choose carefully” decision is which ERA Mini you buy. There’s a standard version for analog, Avatar HD, HD0, and DJI O4 (standard fitment), and a dedicated version for DJI O4 Pro E.
If you’re using an O4 Pro user setup but you’ve modified the camera down to standard fitment, you should still use the standard frame. The O4 Pro version is designed around the stock O4 Pro camera and unit—mismatching the front end can break your neat wiring plan.
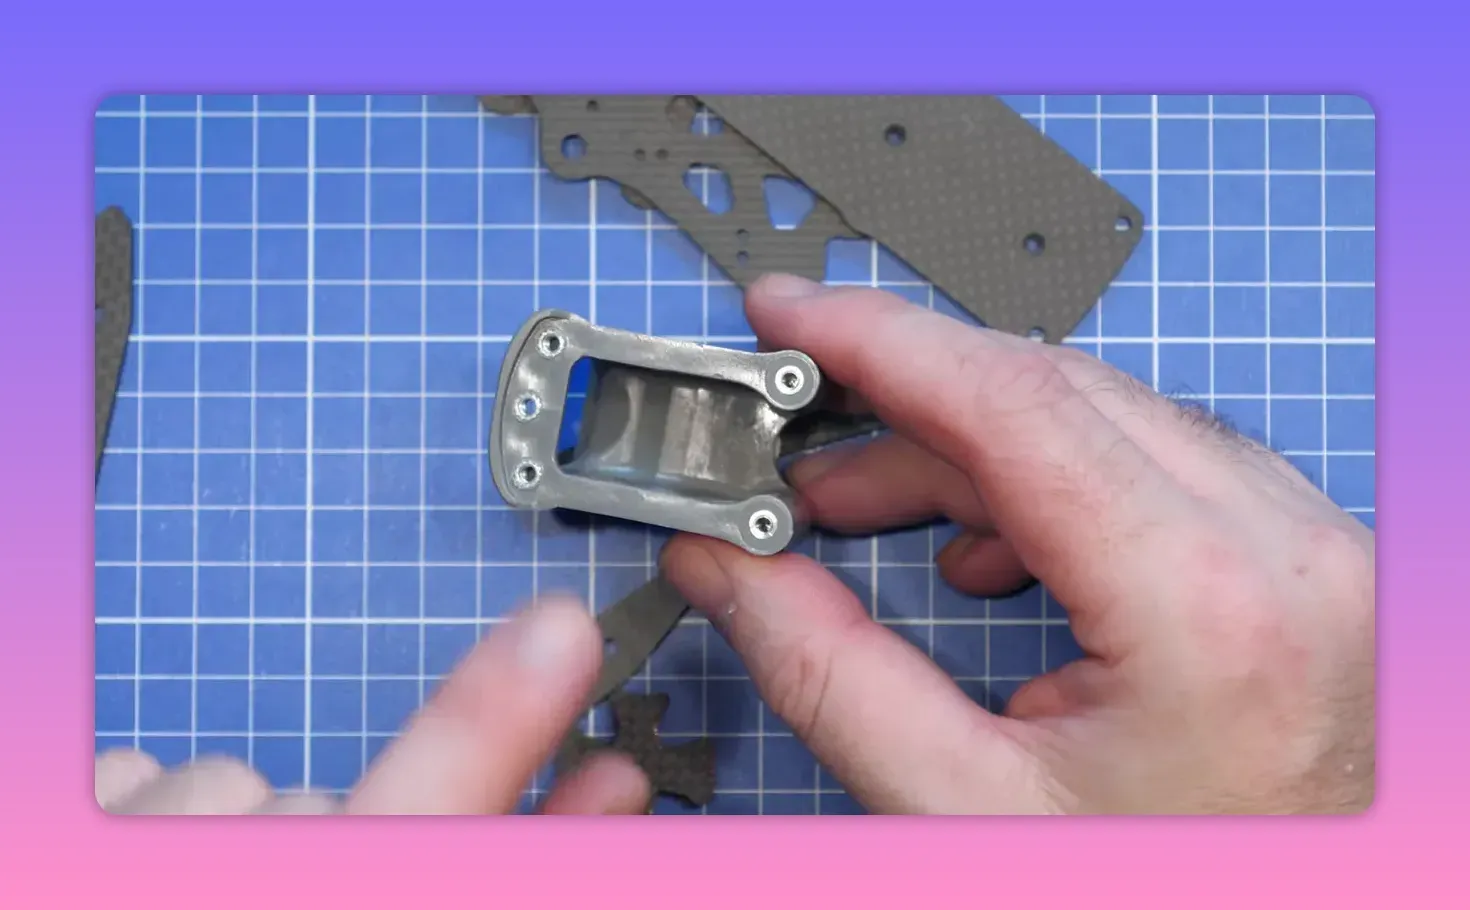
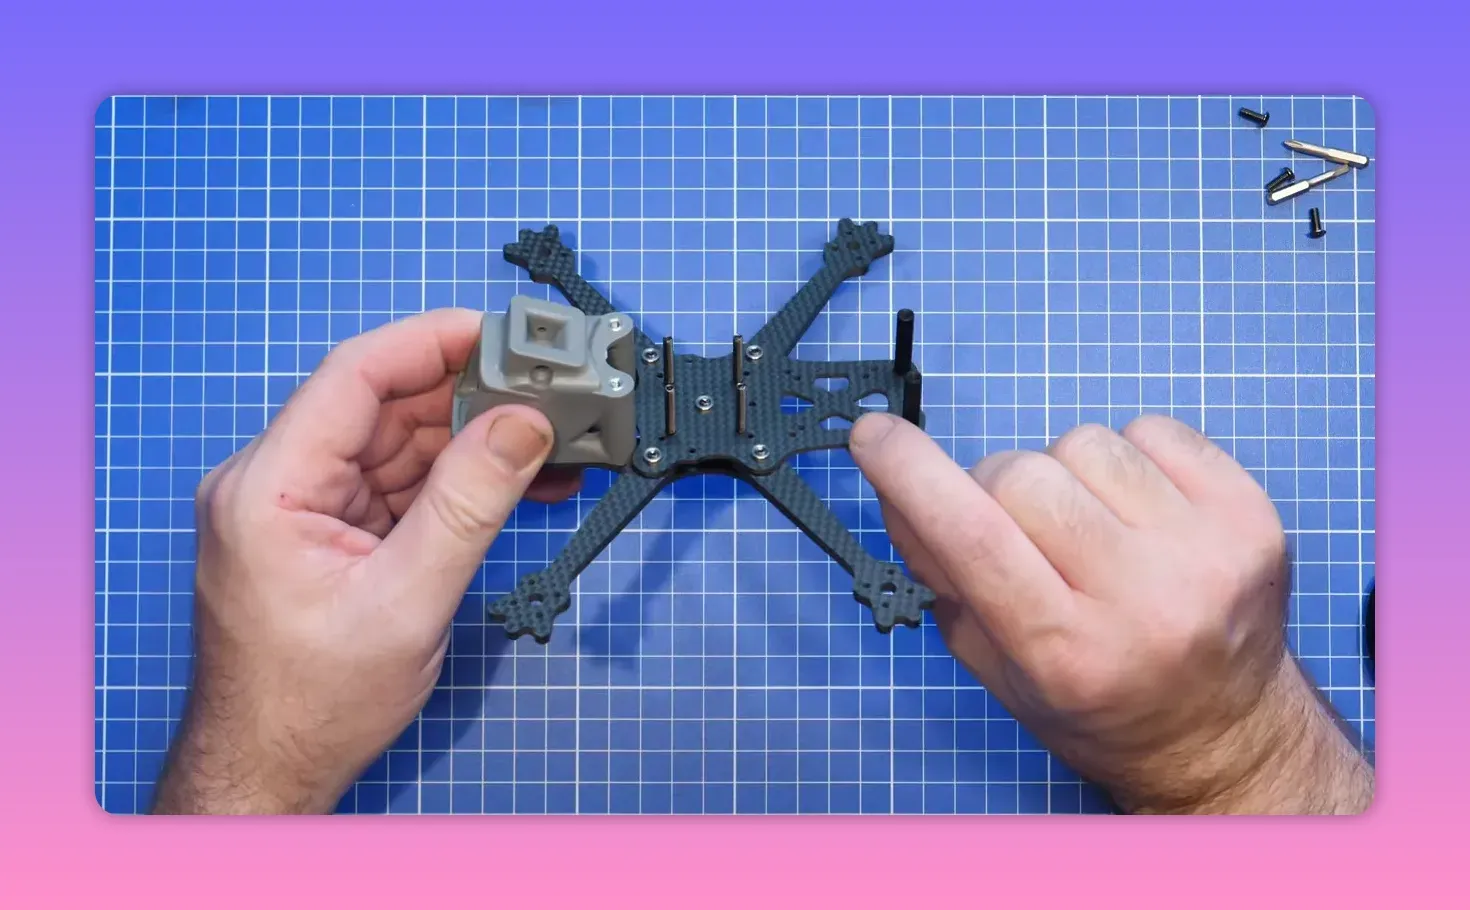
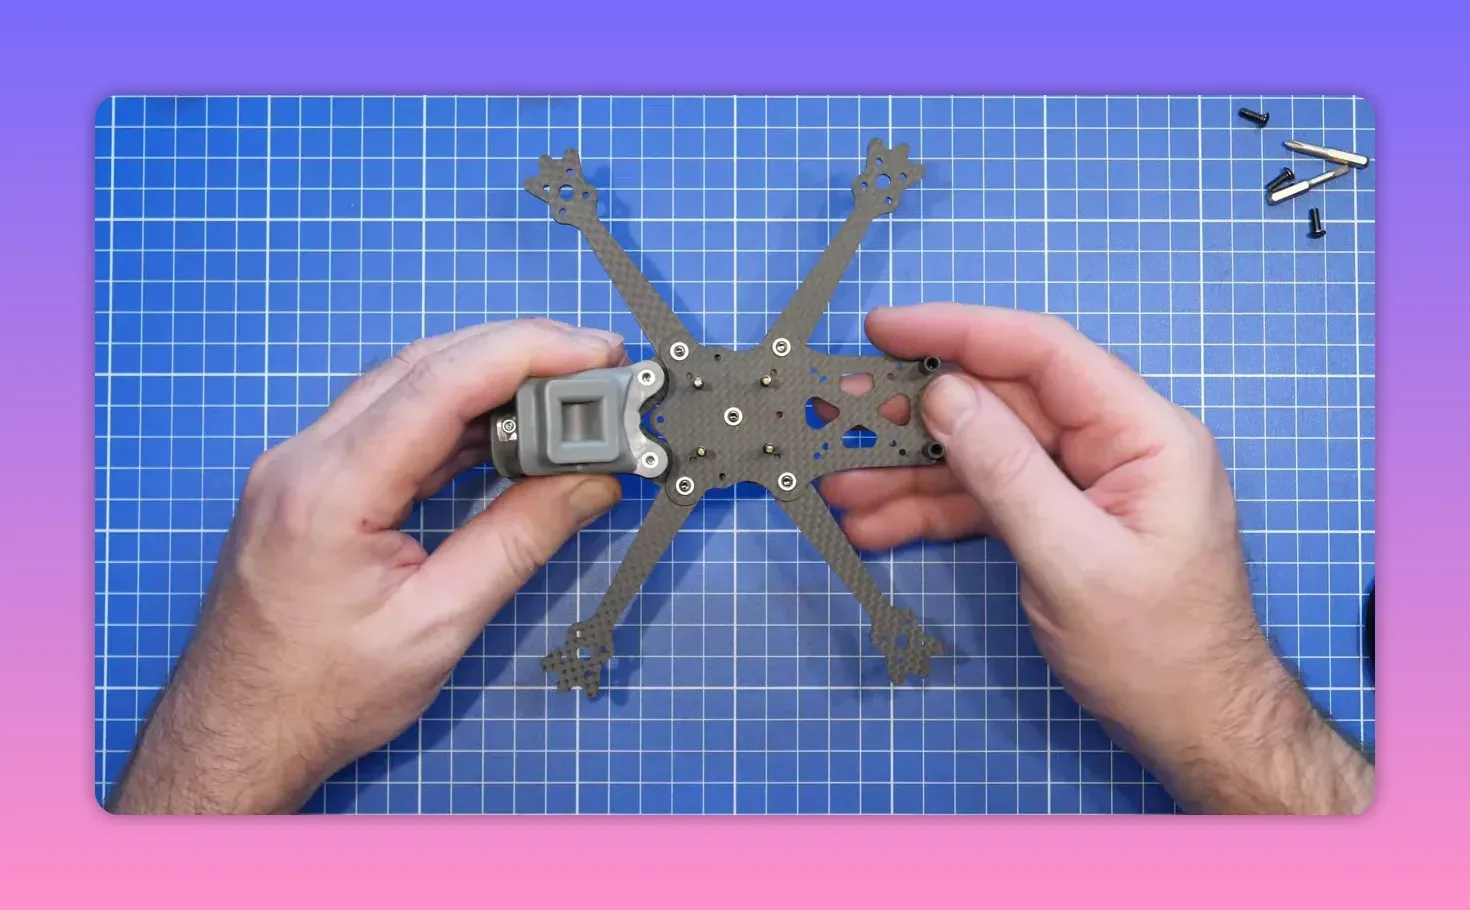
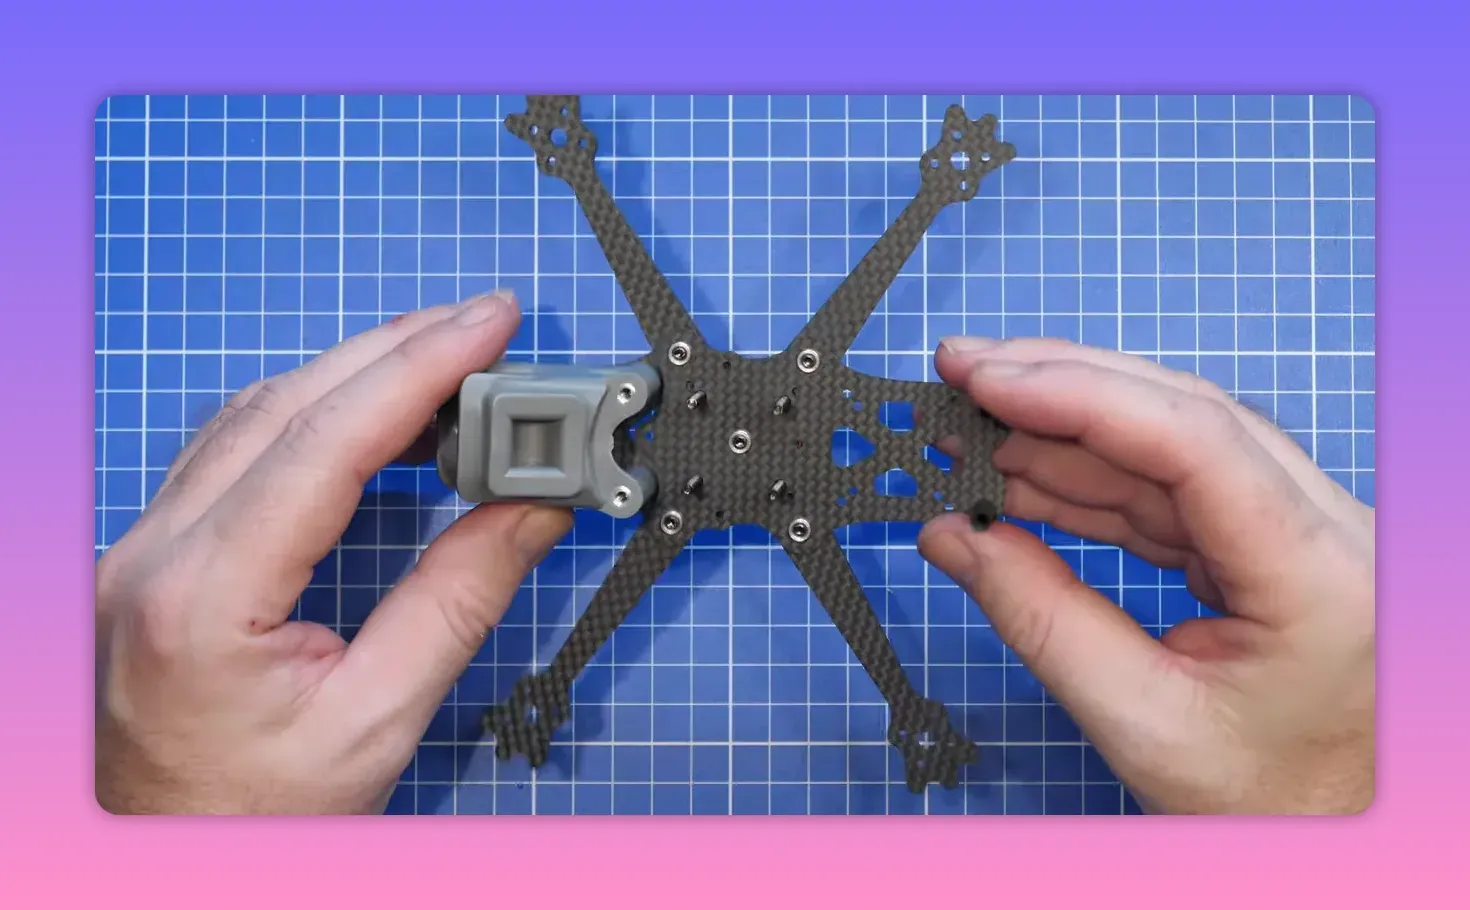
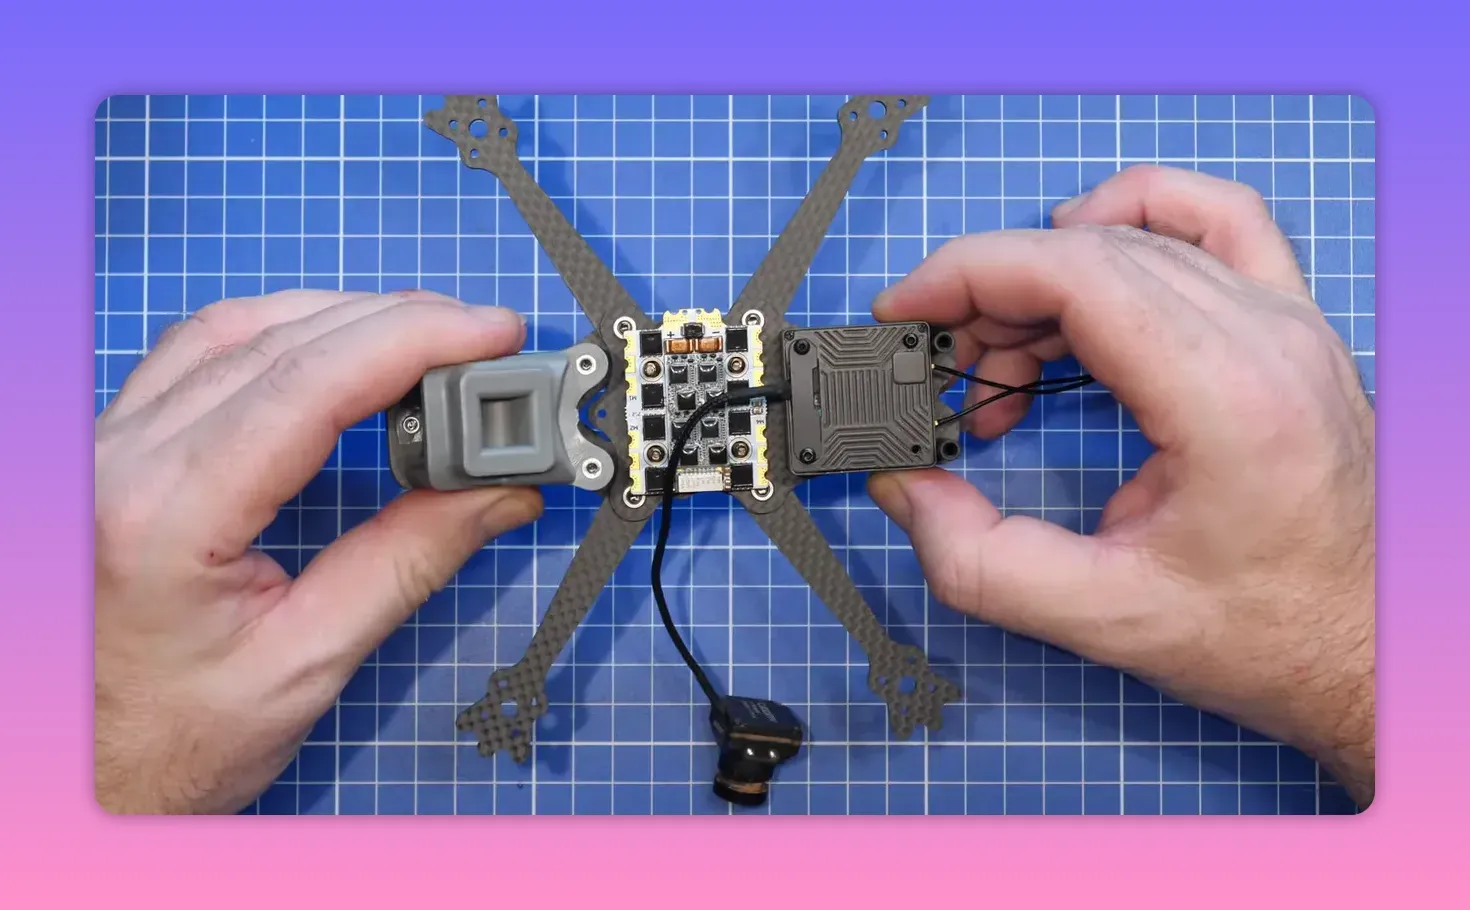
The “strength part”: moulded nylon front cage
The ERA Mini keeps one of the standout features from the original ERA: a fully moulded nylon front camera cage. It’s pre-moulded with inserts, designed to protect your camera and set the maximum camera size you can fit.
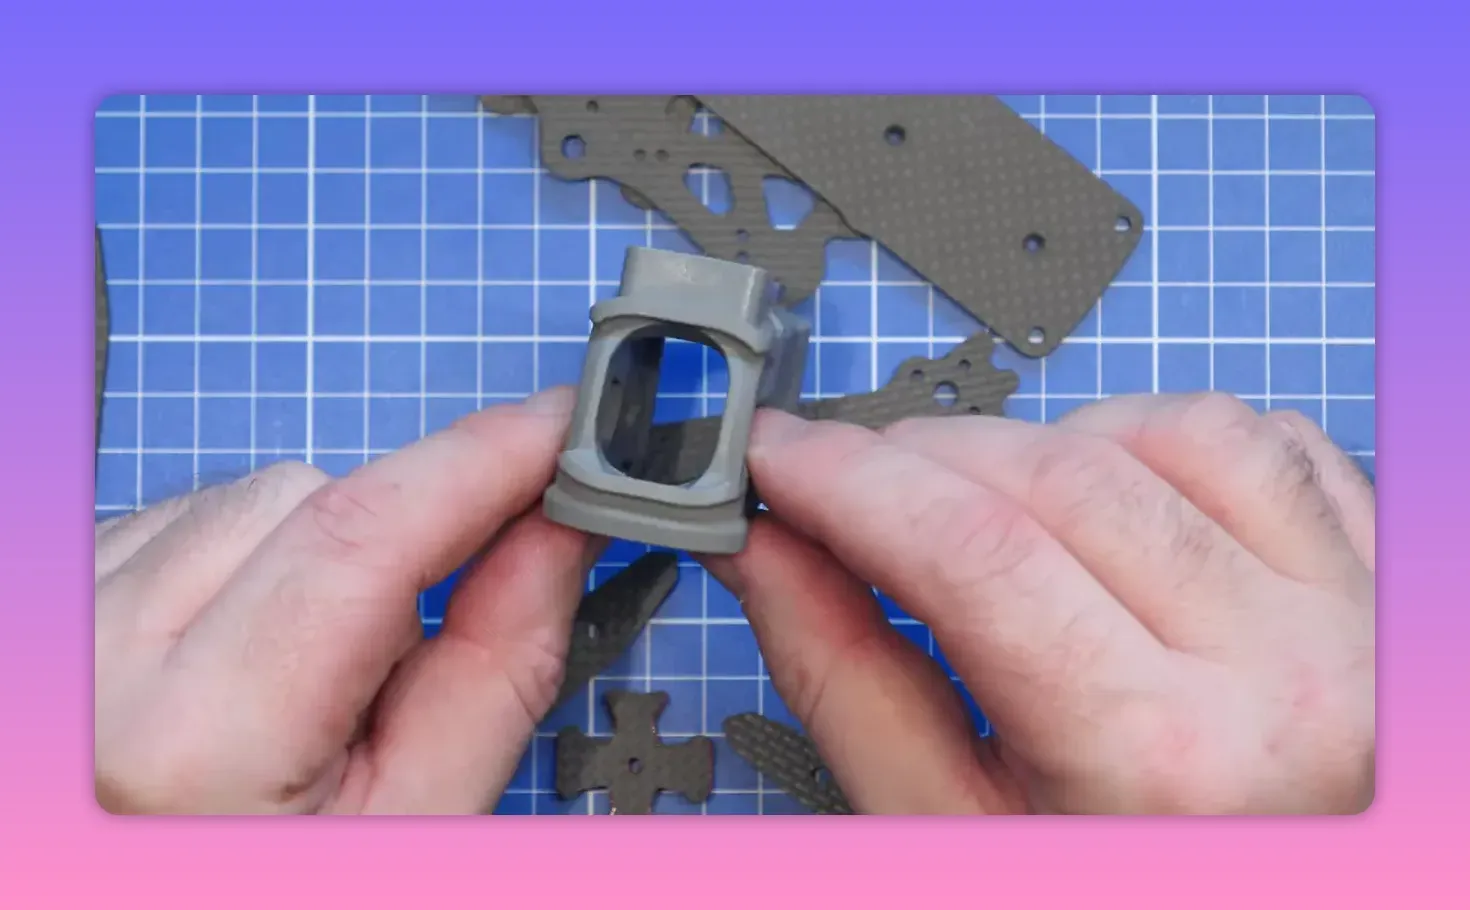
Camera clearance is part of the design intent. The standard version fits a 19mm standard camera, while the DJI variant includes a different front end for the DJI fitment the frame is made for.
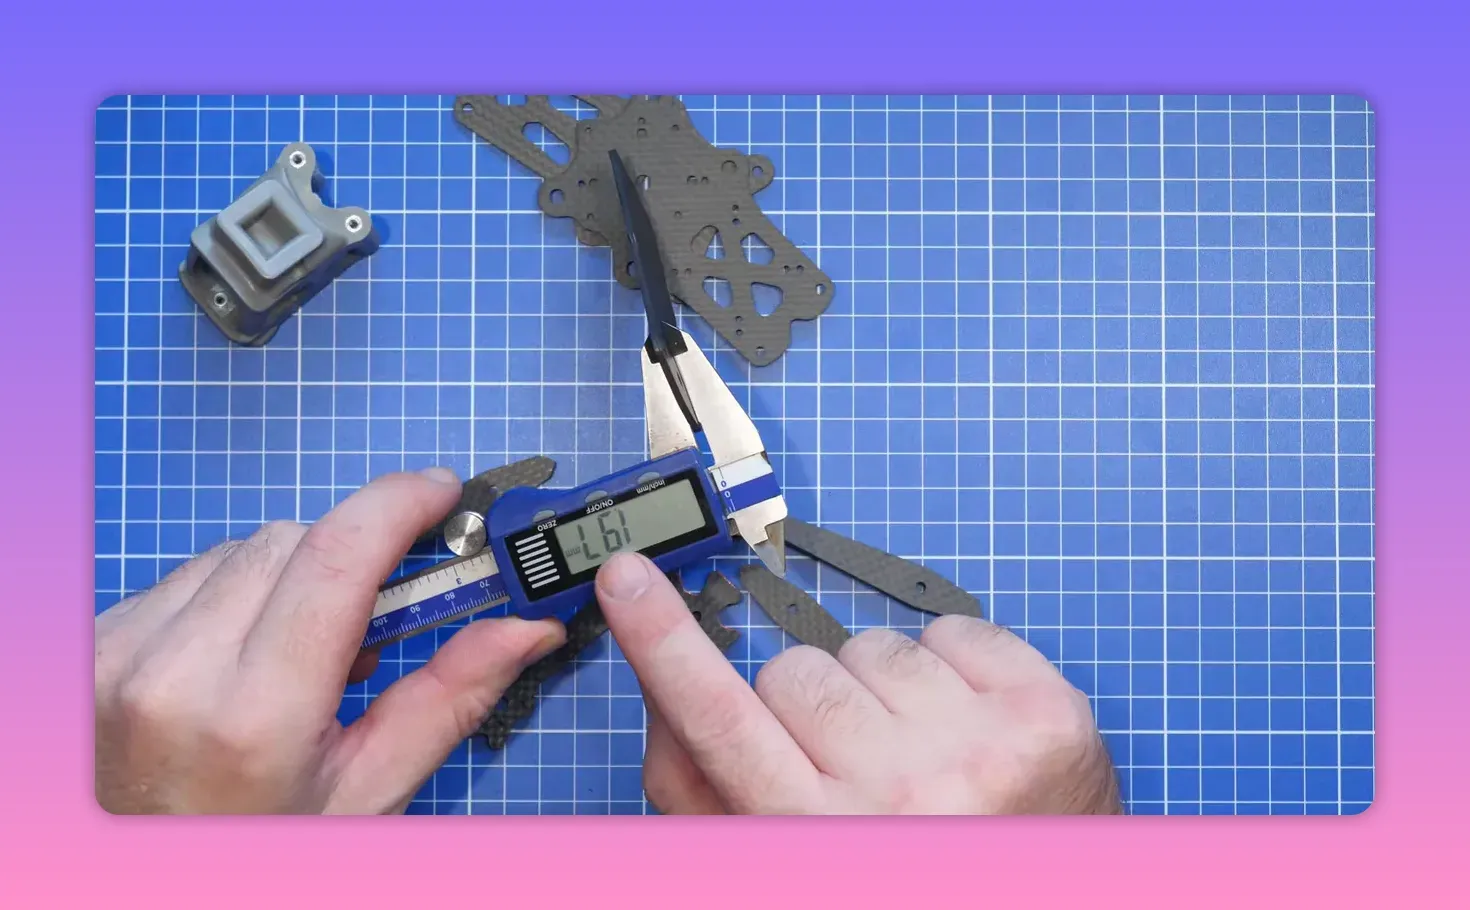
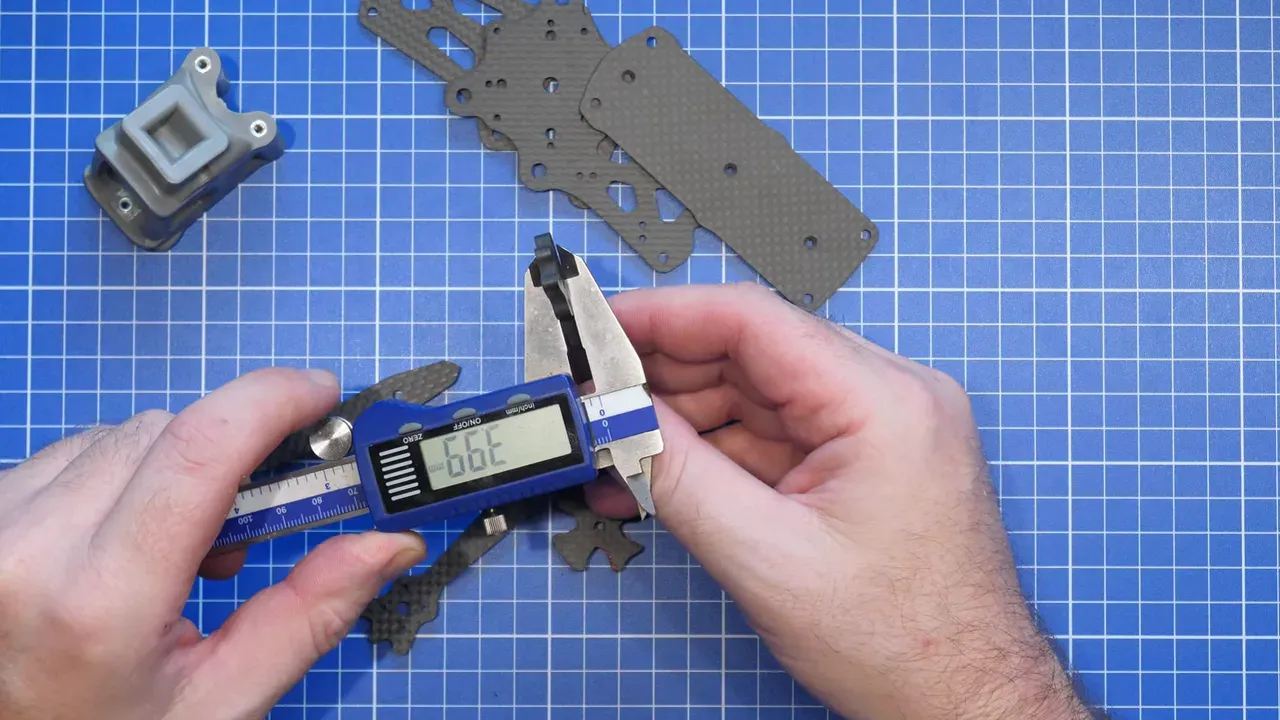
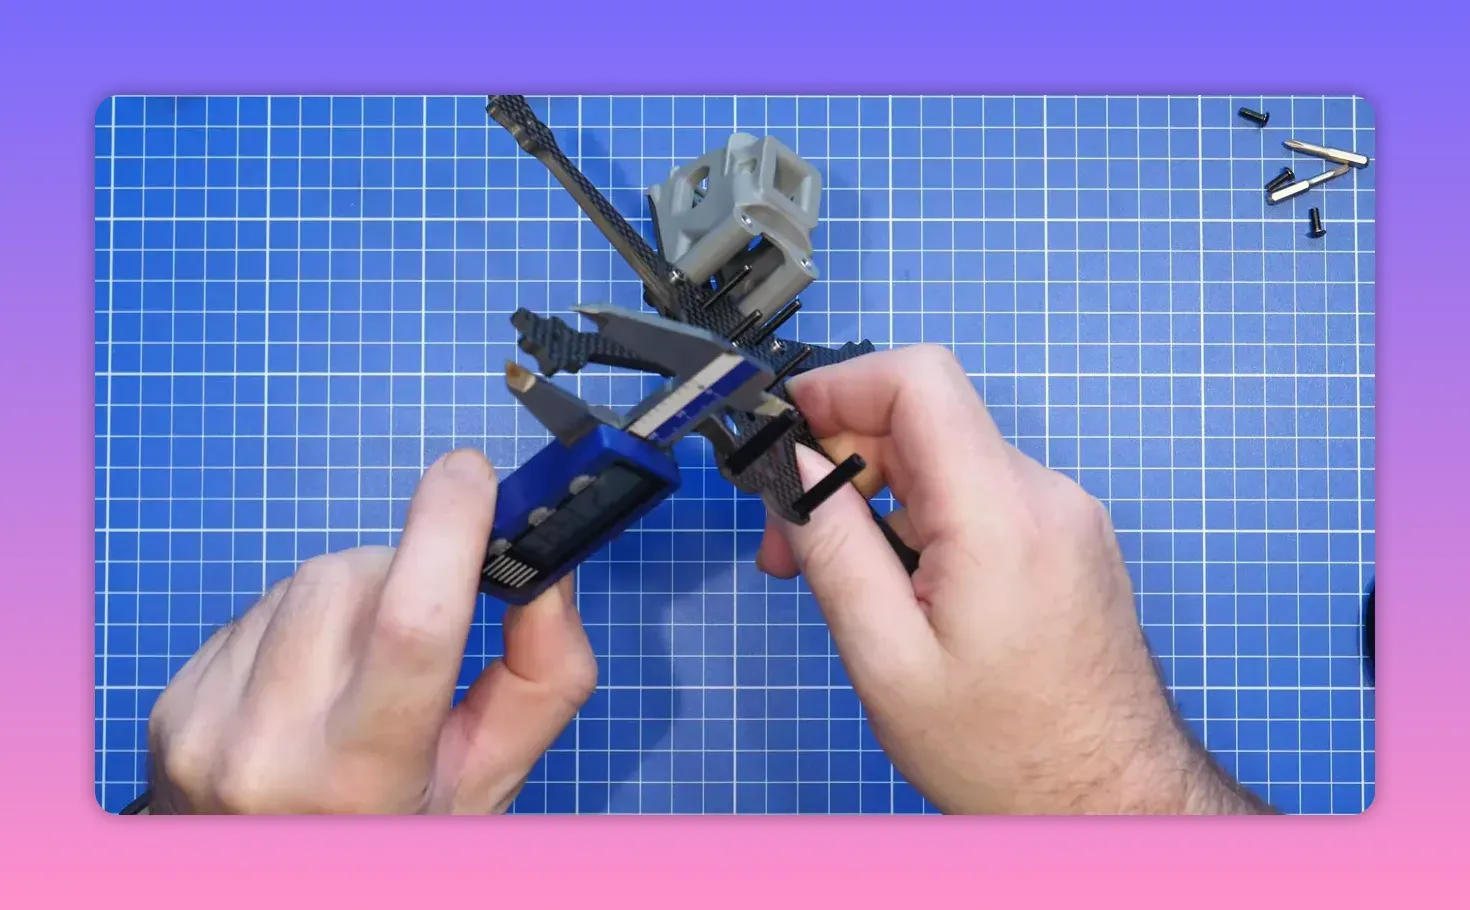
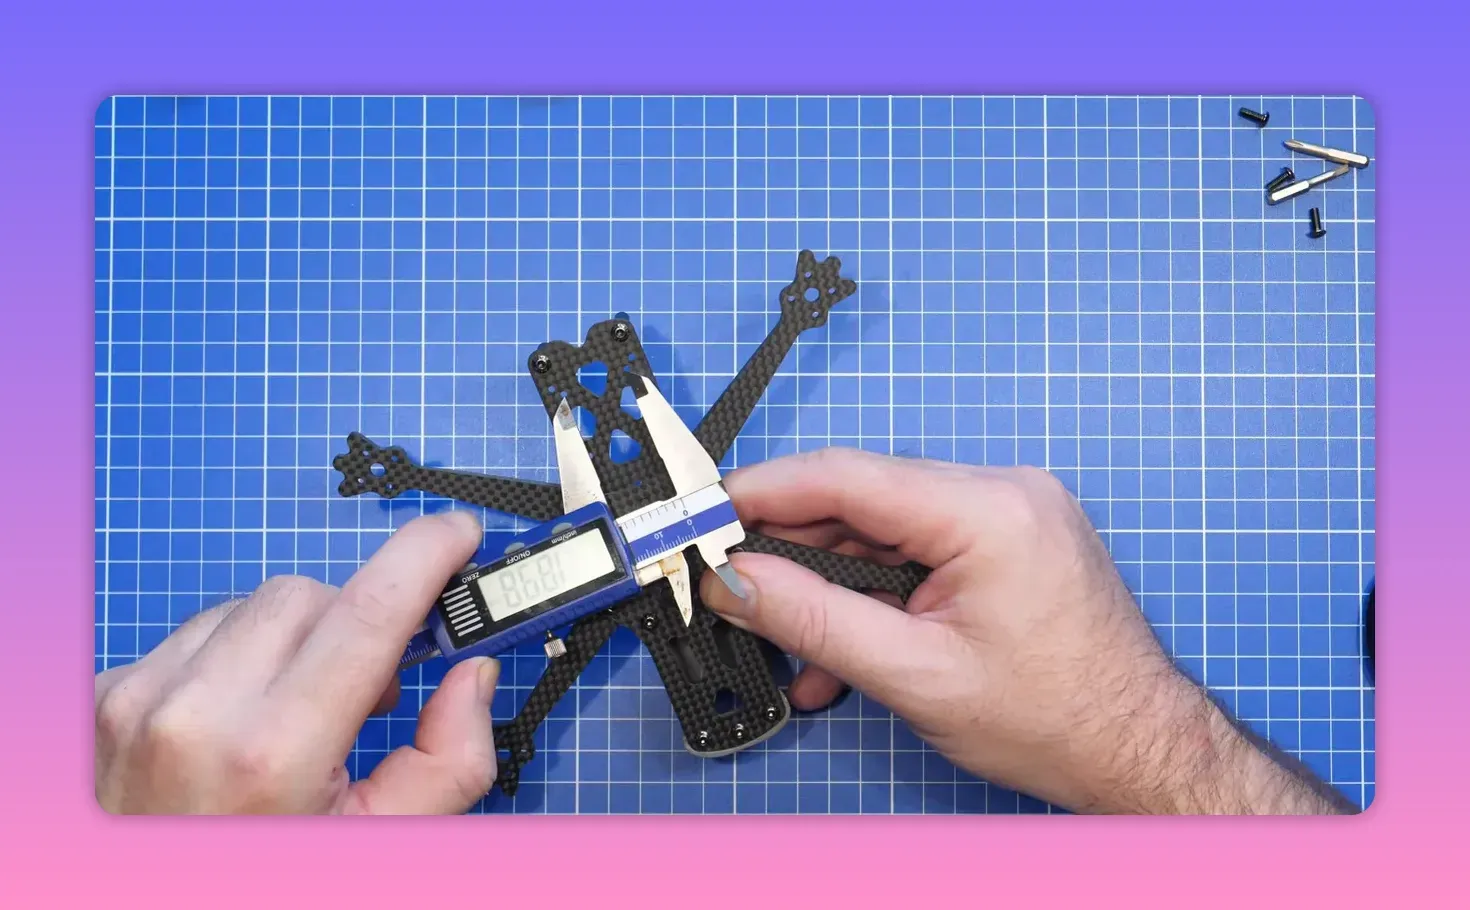
Carbon fibre thickness: what flex will look like
The carbon components reuse a familiar layout: bottom plate, mid plate, and top plate mounted to the front cage. Thicknesses are relatively consistent across plates, with arms thicker for stiffness.
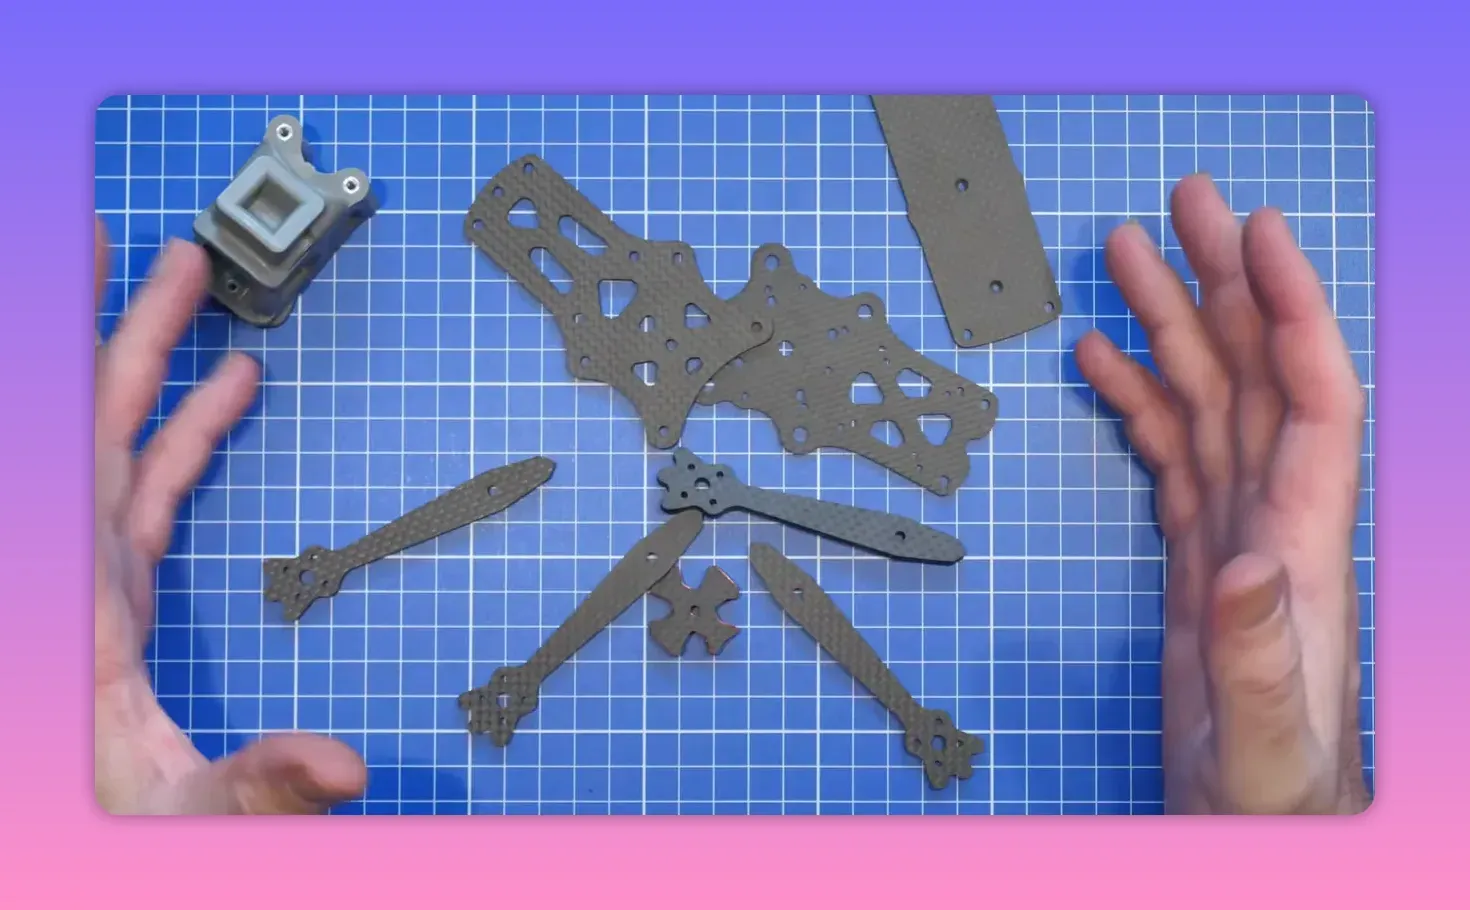
- Bottom plate: ~2.1mm (can read as ~2.02mm when pushed)
- Mid plate: ~2.1mm, “pretty much the same”
- Top plate: ~2.0mm
- Arms: ~4mm
Motor compatibility: T-Hobby cooperation, strict mounting
It’s FPV designed the frame in cooperation with T-Hobby and targets T-Hobby’s ITS FPV 16/04/5 motors. You can also use other motors as long as they use a 12x12mm M2 mounting pattern.
It’s not compatible with 9x9mm motors. That’s the kind of spec that saves you from ordering the wrong motors and then discovering the frame doesn’t care about your optimism.
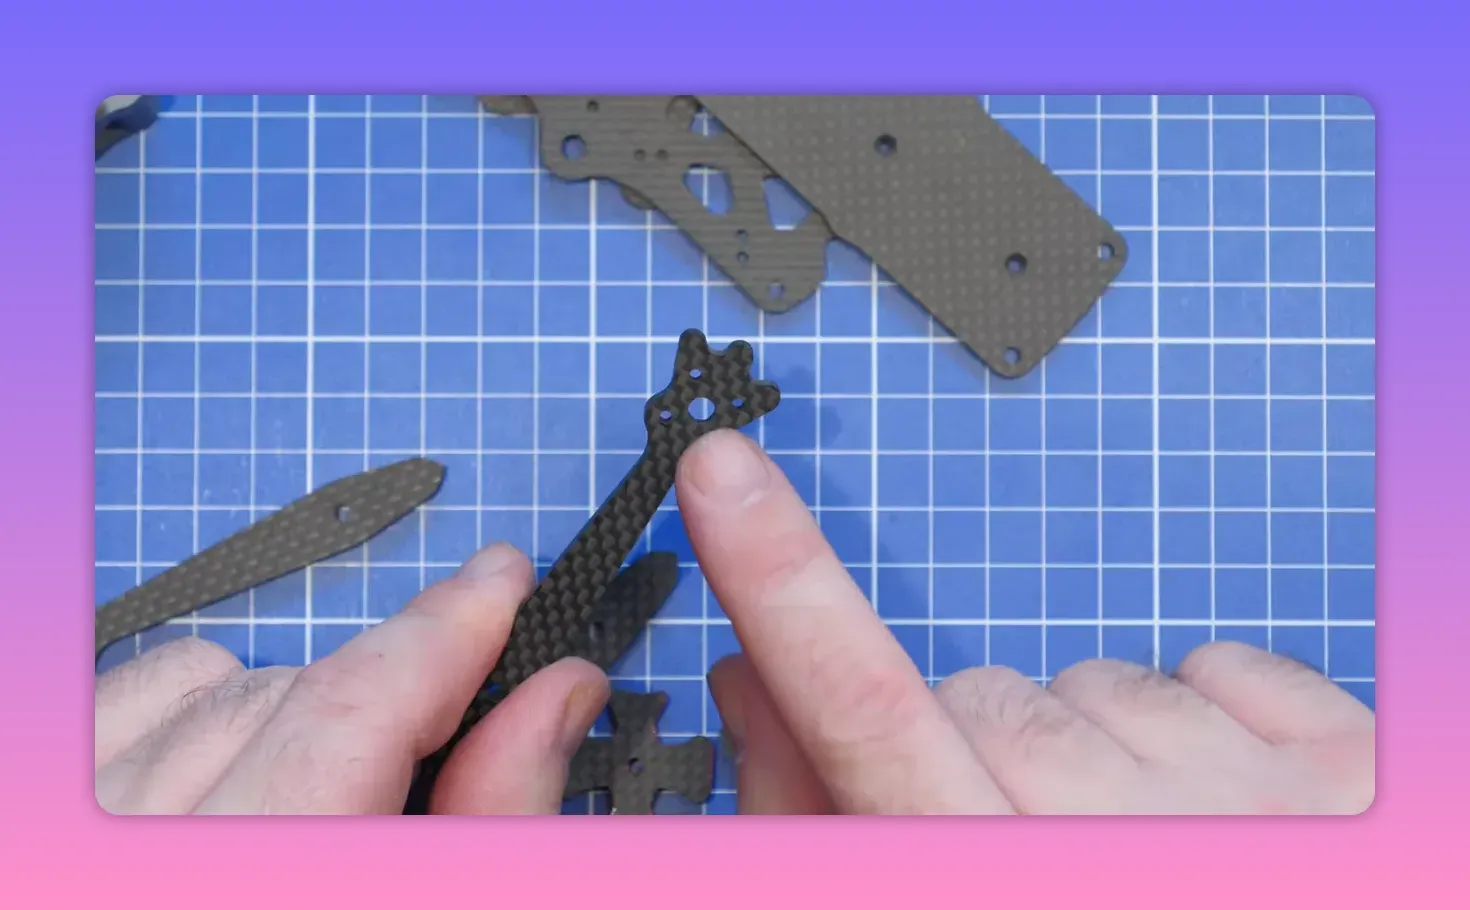
Assembly notes that prevent “why won’t this line up?”
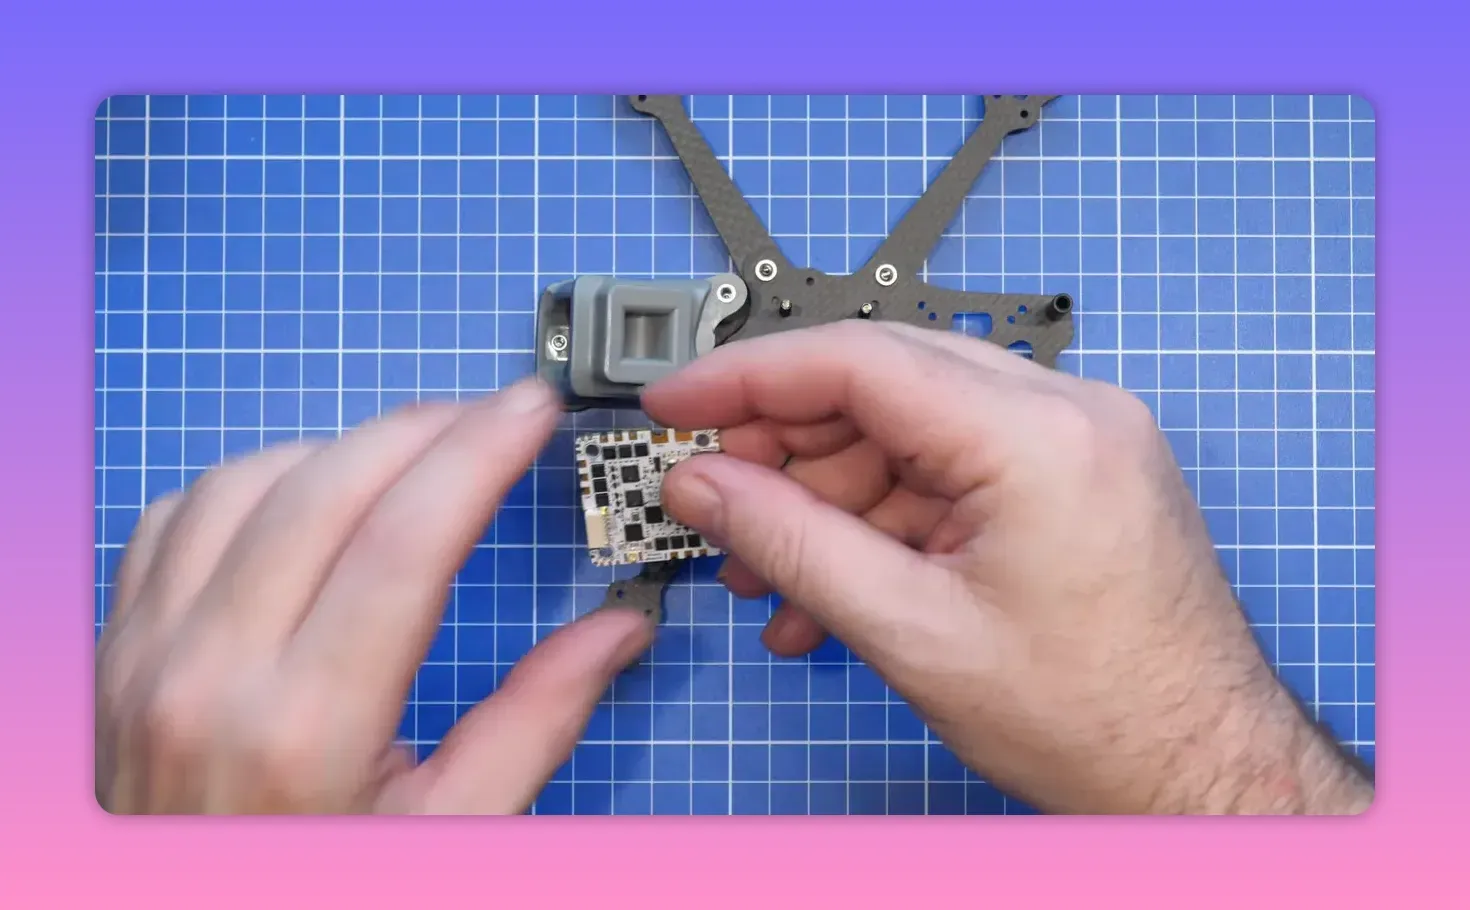
Assembly follows the original ERA approach: front cage, then arms on the corners, then a thicker central piece that includes foam. When you compress it, it helps lock the frame together as you clamp and mount the plates.
Two practical tips matter if you want a sane build. First: pre-fit the captive nuts. There are five that go into the mid plate, and doing it later is fiddly because screw length won’t let you finish cleanly without interference.
Second: mount the flight controller pattern before you assemble everything. It uses either 20x20 or 25x25 mounting patterns depending on your FC, but you must install the standoffs at the right height first. Swapping after assembly means taking screws out and redoing the stack.
Stack height + wiring fit: this is where “3.5 inch” bites
Up front, space is tight for the flight controller. The build has about 21mm between bottom and top plates at the rear, plus screw and nut height that changes your final clearance.
The video called out specific front clearance limits too: roughly 8mm between the standoff and the front. Translation: you can’t stack random hardware and hope it fits—measure, mock, and then tighten.
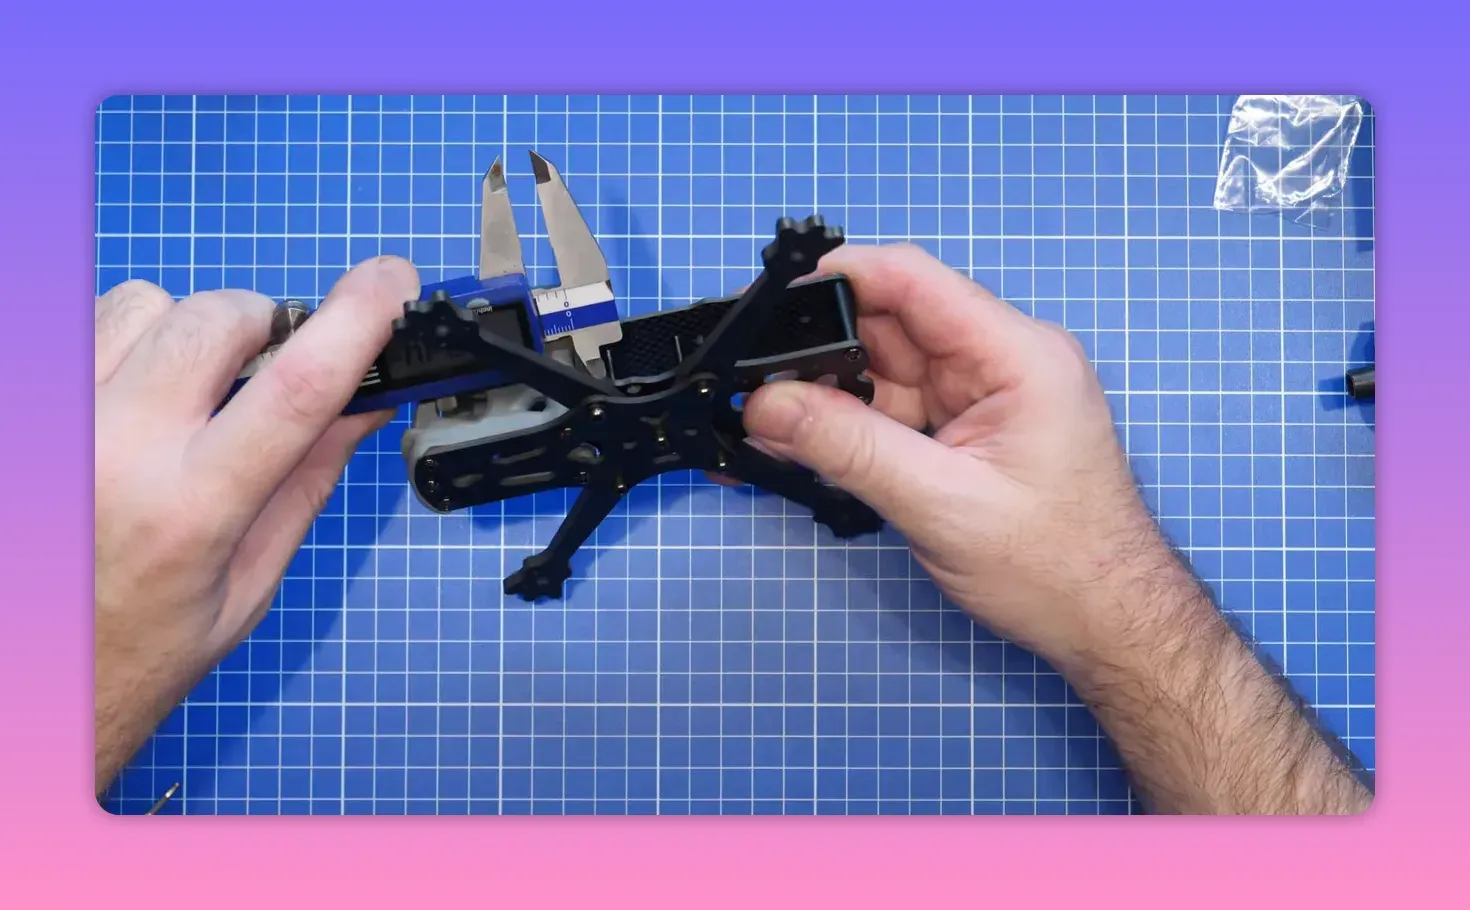
At the back, there’s more breathing room for VTX mounting and related hardware. There are holes for VTX mounting, and the rear supports both 20 and 25 mount patterns—useful when choosing between digital stacks that don’t share the same footprint or camera lead routing.
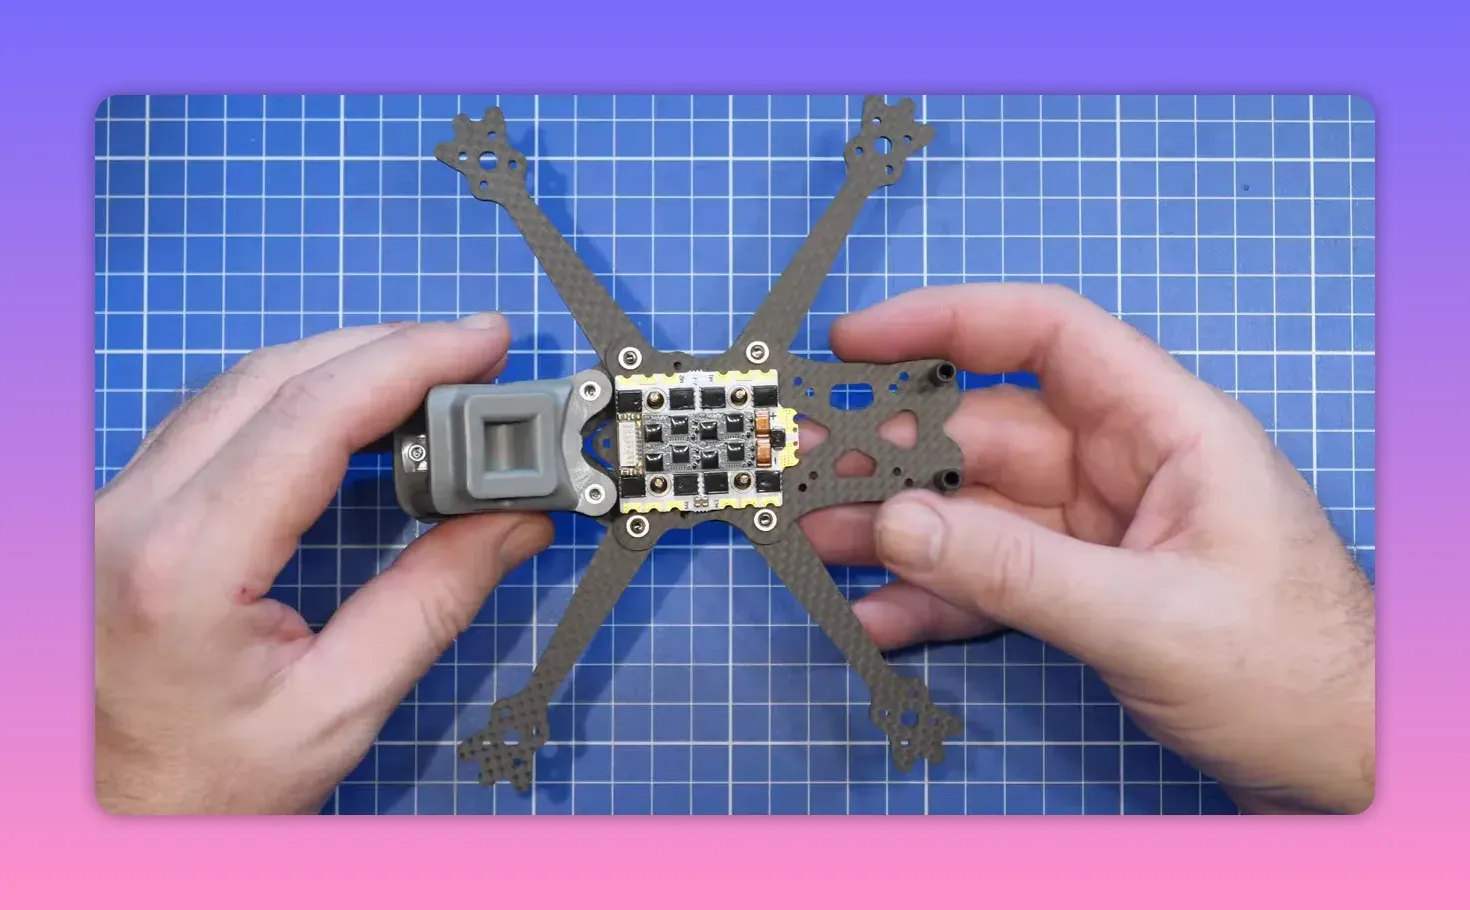
Electronics fitment: FC/ESC/AIO options and one classic mistake
Choose your flight controller, ESC layout, and stack style based on personal preference, but expect space planning to drive decisions. Common FC choices mentioned include a Kiss Ultra Mini on 20x20 mounts, or HD0 Halo options depending on your digital build.
For weight reduction, the frame makes AIOs practical. The HD0 Gamma is highlighted as almost perfect for this frame, because it’s a 25x25 mounting pattern and includes ExpressLRS. One benefit: it tends to give you more internal space than modular digital stacks.
Classic mistake: assuming all HD0 components will sit without interference. The build example shows HD0 Halo and an Avatar Moonlight binding because there isn’t enough room when mounted in one orientation.
The fix is orientation. Mounting parts side-on can resolve clearance and preserve wiring space. If you want fewer fitment headaches, the Gamma approach was effectively “more room, fewer compromises.”
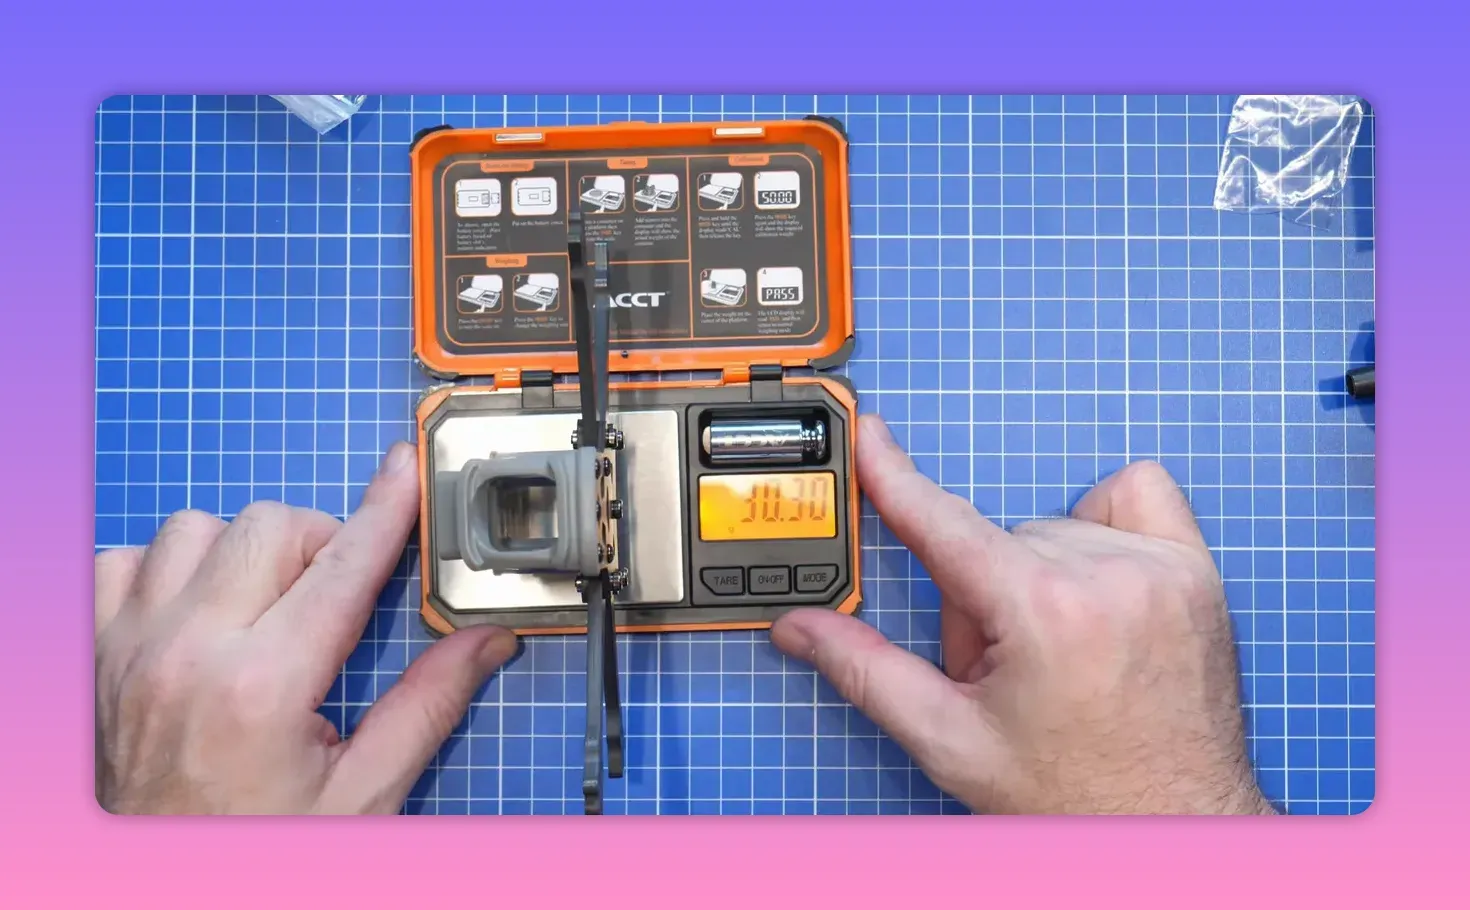
Frame weight and built-in accessories
The bare frame weight is about 90.30 grams. Add electronics, TPU parts, motors, and a battery, and yes—the number rises fast, but 90g for a stiff compact frame isn’t exactly reckless.
It also supports action camera mounts via Its FPV’s accessory ecosystem. The video specifically showed a DJI Osmo Nano-oriented mount that uses a non-standard fitting, plus a printed angled mount and clip-on ND filter section.
Price, low-volume reality, and spare parts you can actually buy
Pricing is part of the story. The original ERA is listed at £90, while the ERA 3.5 Mini frame kit is £67. There are multiple cage colour options depending on standard vs O4 variant.
There’s also an unglamorous advantage to low-volume frame makers: they keep supporting parts. If an arm breaks or a cage chips, you can buy replacements later—unlike some larger brands that quietly stop caring when the next kit drops.
Is the ERA Mini worth it for an FpV drone build?
This isn’t a flight review, so treat it as fitment and build guidance, not performance worship. The frame design concentrates strength up front, uses sensible plate thicknesses, and supports real electronics options for modern FpV drone builds.
The trade-off is manual discipline. You have tight front stack clearance and specific mount patterns that demand you install standoffs and captive nuts before you close the frame. If you like builds that go together cleanly, you’ll appreciate the structure.
FAQ
Which ERA Mini version should I buy?
Buy the standard version for analog, Avatar HD, HD0, and DJI O4 standard fitment. Buy the O4 Pro version for the stock DJI O4 Pro E camera and unit. If you’ve modified O4 Pro to standard fitment, choose the standard frame.
Will the ERA Mini work with 9x9mm motors?
No. It’s designed for motors with a 12x12mm M2 mounting pattern (including T-Hobby’s supported motors).
Do I need 20x20 or 25x25 mounting?
It depends on your flight controller/AIO. The frame supports both patterns, but you must install the standoffs correctly before fully assembling the kit.
Is stack height tight on the front?
Yes. The front area has limited clearance, so you need to account for total stack height and keep the electronics footprint from colliding with the front end.
Takeaway box
ERA Mini summary: a compact FpV drone frame that keeps the ERA’s strength logic via a moulded nylon front cage—while demanding correct front-end version selection, early standoff/captive-nut installation, and careful stack-height planning.
- Pick standard vs O4 Pro based on your camera unit, not vibes.
- Pre-fit captive nuts and standoffs—or you’ll redo work.
- Front stack clearance is tight; measure your FC/AIO height.
- Orientation can save you from VTX/Vision component binding.
Skimmable nuggets (tweets):
- ERA Mini: smaller FpV drone frame, same “strong front cage” DNA.
- Choose the correct version—O4 Pro E front end isn’t cosmetic.
- Pre-install captive nuts. Screw length makes “later” annoying.
- Front stack height bites. Plan for clearance before you tighten.
This article was based from the video It's FPV ERA 3.5" Mini Frame Kit - The Same Great Design But Smaller!