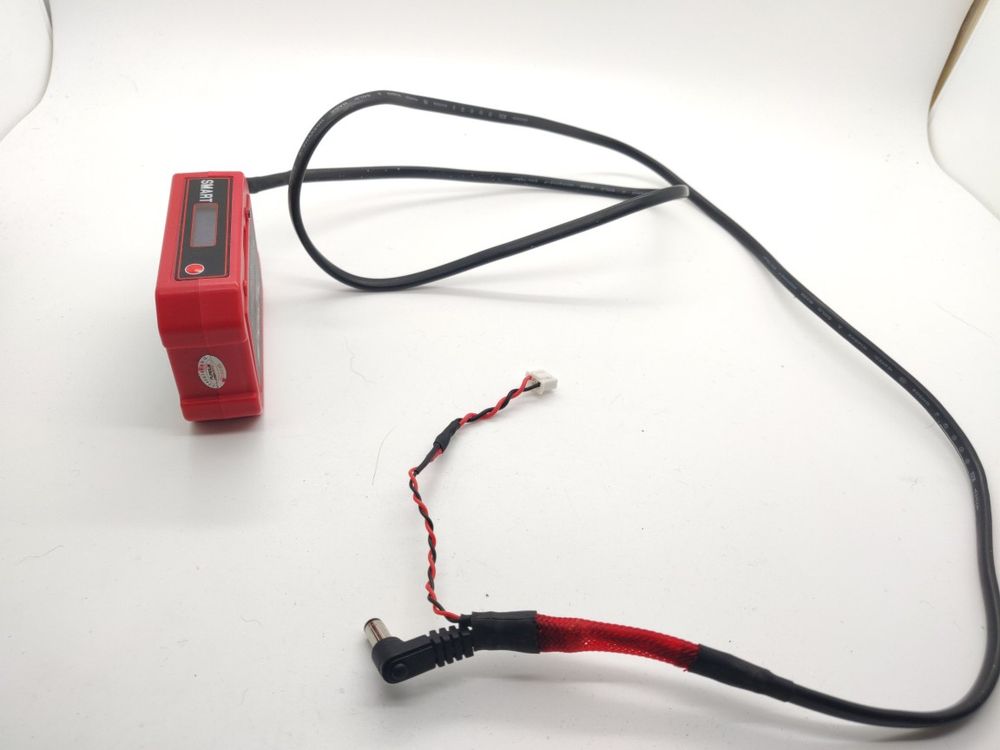
Back when the smart power case was first released, it was very well received – and for good reason! The case offered an unheard of feature for Fatshark goggles: a power button. I know, crazy, right?! Jokes aside – the case allows users to power their goggles with 2 x 18650 cells with no hacking away at stuff or potentially risky soldering – and it has a variety of simple software features (short/high current/low voltage detection, etc.) that make it very appealing.
Shortly afterwards, though, Furious released the Smart Power Cable. For many pilots, that thing is a godsend. It’s convenient, offers all the same features and allows you to take an uncomfortable weight and pressure off your head, so you can power your goggles from your pocket. Awesome.
This post is for those of you who, like myself, love the cable but just got the case – and are wondering what you can do to get the most out of it. I have to say, after a couple of very simple modifications, I don’t find myself feeling the need to go out and pick up a cable – the 18650 case is everything I need it to be and more.
First off, here’s some things you’ll need:
- Your power case
- a voltage regulator – I used 9V, but ideally you want something as close to 7.4 as possible
- A length of wire that you don’t mind dangling by your side when you fly
- Heatshrink
- Wire cutters/strippers
- A willingness tear apart nice things (sort of)
Here’s the wire I used:

For the length of cable, I went with an old 2-core power cable I had laying around unused, which I cut the ends off. The wire is not ideal in that the copper core is thicker than it needs to be, and it’s more rigid than I’d ideally like, but I notice neither of these things when I fly.
Before you start this mod, you should know that you won’t be able to balance charge your cells using the adapter furious included once it’s completed if you do the exact method I use below – I use and recommend a Li-Ion dedicated charger anyway, so this was a non-issue for me.
First off, REMOVE ANY BATTERIES FROM THE CASE! The features of the case should make this a non issue, but it’s always best to err on the side of caution if you like having a house that isn’t burned down. If that happens to be your thing, then… Get help?

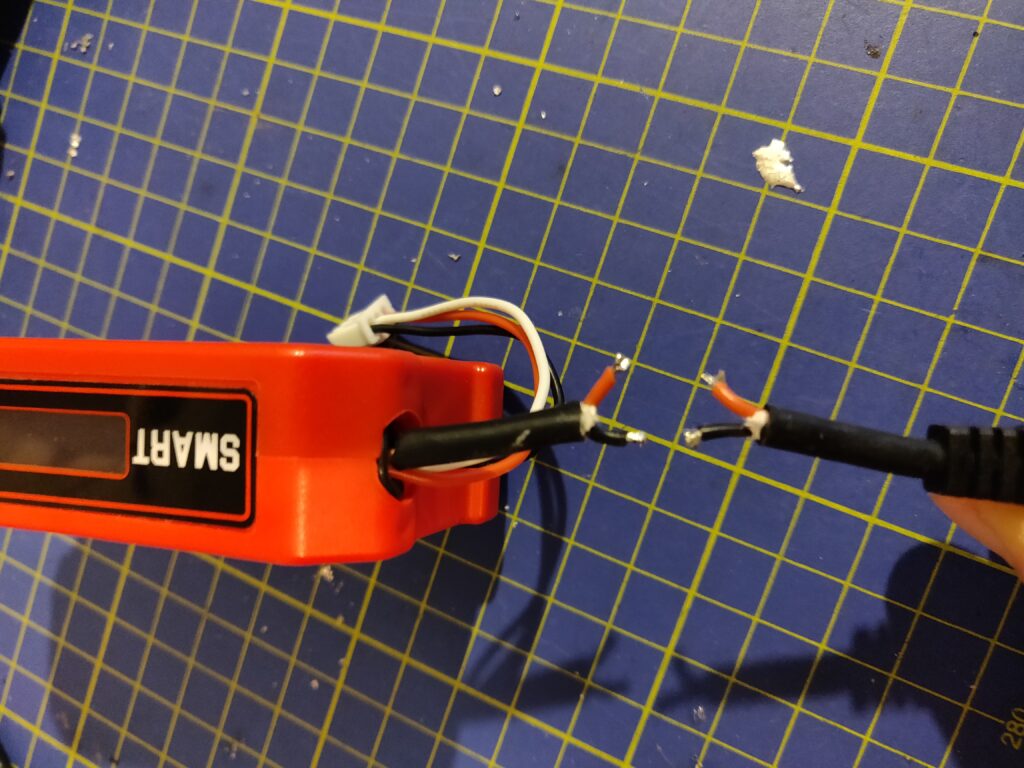
Next, the cutting begins! Cut the wires like shown here, leaving enough length either side to solder to and heatshrink over for a nice finish:

As we won’t be using these wires, blank them off safely and sensibly – I used small heatshrink folded over itself and then covered all 3 wires with some more folded heatshrink:

Strip some of the casing from all of your remaining wires. You only need a mm or two of exposed wire to do this neatly! Disclaimer: I by no means claim that anything I do here is neat, and any comments regarding my soldering will be directed to my colleague so that we can both laugh about them later.

Tin all your exposed wire ends, and ensure that your balance lead (that you cut off) has enough reach to get from the exposed wires on the DC plug to the fan power plug on your goggles – I extended mine with some off-cut wires for ease of use anyway, which I can recommend.

Before you make any connections with your soldering iron, think about whether or not you will need to put heatshrink on your cables beforehand – otherwise you’ll find yourself making the same solder joint multiple times. That always sucks, and yes, I made that mistake.
You can place your voltage regulator at either the bottom of the long cable, near the case, or the top near your goggles. I favoured the top, so the guide will be written as such, but feel free to make changes yourself!
Solder the red (+ve) wire from your case to one of the wires in your long cable, and the black (-ve) wire to the other. Make sure to insulate these individually! Then, shrink wrap over them both for a clean finish.

Moving up the cable, my 9V regulator is a Polulu branded one, with jut 3 pads: V in, V out, and Ground. The pads are accessible on both sides of the tiny PCB, so I’ll take advantage of that as there’s a lotta’ cables to solder there!
On one side of the board, solder the +ve wire from the extended cable that we just connected to your case to the V in pad, and the other -ve wire to ground. On the other side, solder the red +ve wire from the DC connector to V out, and the black wire to ground.

Also, like shown above, solder the +ve wire from your fan balance lead power cable to the V out pad, and the -ve to ground. I twisted this cable and used small amounts of heatshrink to get a cleaner look.
At this point, check for shorts. You don’t want either V pad to be touching or otherwise shorted to ground, and you don’t want the V pads (somehow) shorting either.
Pop your batteries back in, and turn the case on – if you get no short warnings or similar – cover your solder points to the regulator with something (liquid electrical tape would be best, I only had hot glue to hand…) and plug in your goggles to make sure they get powered.

If all looks good – shrink wrap over the regulator (I didn’t have an appropriate size to hand, so I used some braiding and actually prefer the look) and make sure everything is neat and secure, and all is done!

You can now use the entire capacity of your 18650 batteries!
Well, nearly.
You might find that your goggles with the voltage regulator draw too much current and shut the case off when voltage is low. This is intended as a protective feature, but is a problem for us.
If you care, this is down to some pretty basic physics. P=IV, and disregarding the less-than-100% efficiency across the regulator, P(in) = P(out), therefore I(in)V(in) = I(out)V(out).
As the input voltage drops, the regulator has to increase I(in) to keep V(out) level at 9v – therefore, it draws more current and triggers the alarm.
In the power case menu, I set my current limit to 2A and this issue stopped. YMMV, though, depending on the goggles and regulator you use.
Okay, waffling over, you’re all done now – enjoy the relief of not having the extra weight on your head, and the nearly double (in my case) battery life!
Happy flying as always!
-UnmannedCam


