In the ever-evolving world of RC transmitters, the RadioMaster TX15 has been making waves with its impressive hardware and versatility. In a recent video, Painless360 dives into a practical mod that many fixed-wing pilots have been asking about — installing optional three-position switches on the shoulder buttons to unlock six usable switches on top of the TX15. This isn’t just a cosmetic tweak; it’s a game changer for anyone who wants more control options without juggling complicated setups.
Why Bother Adding More Switches?
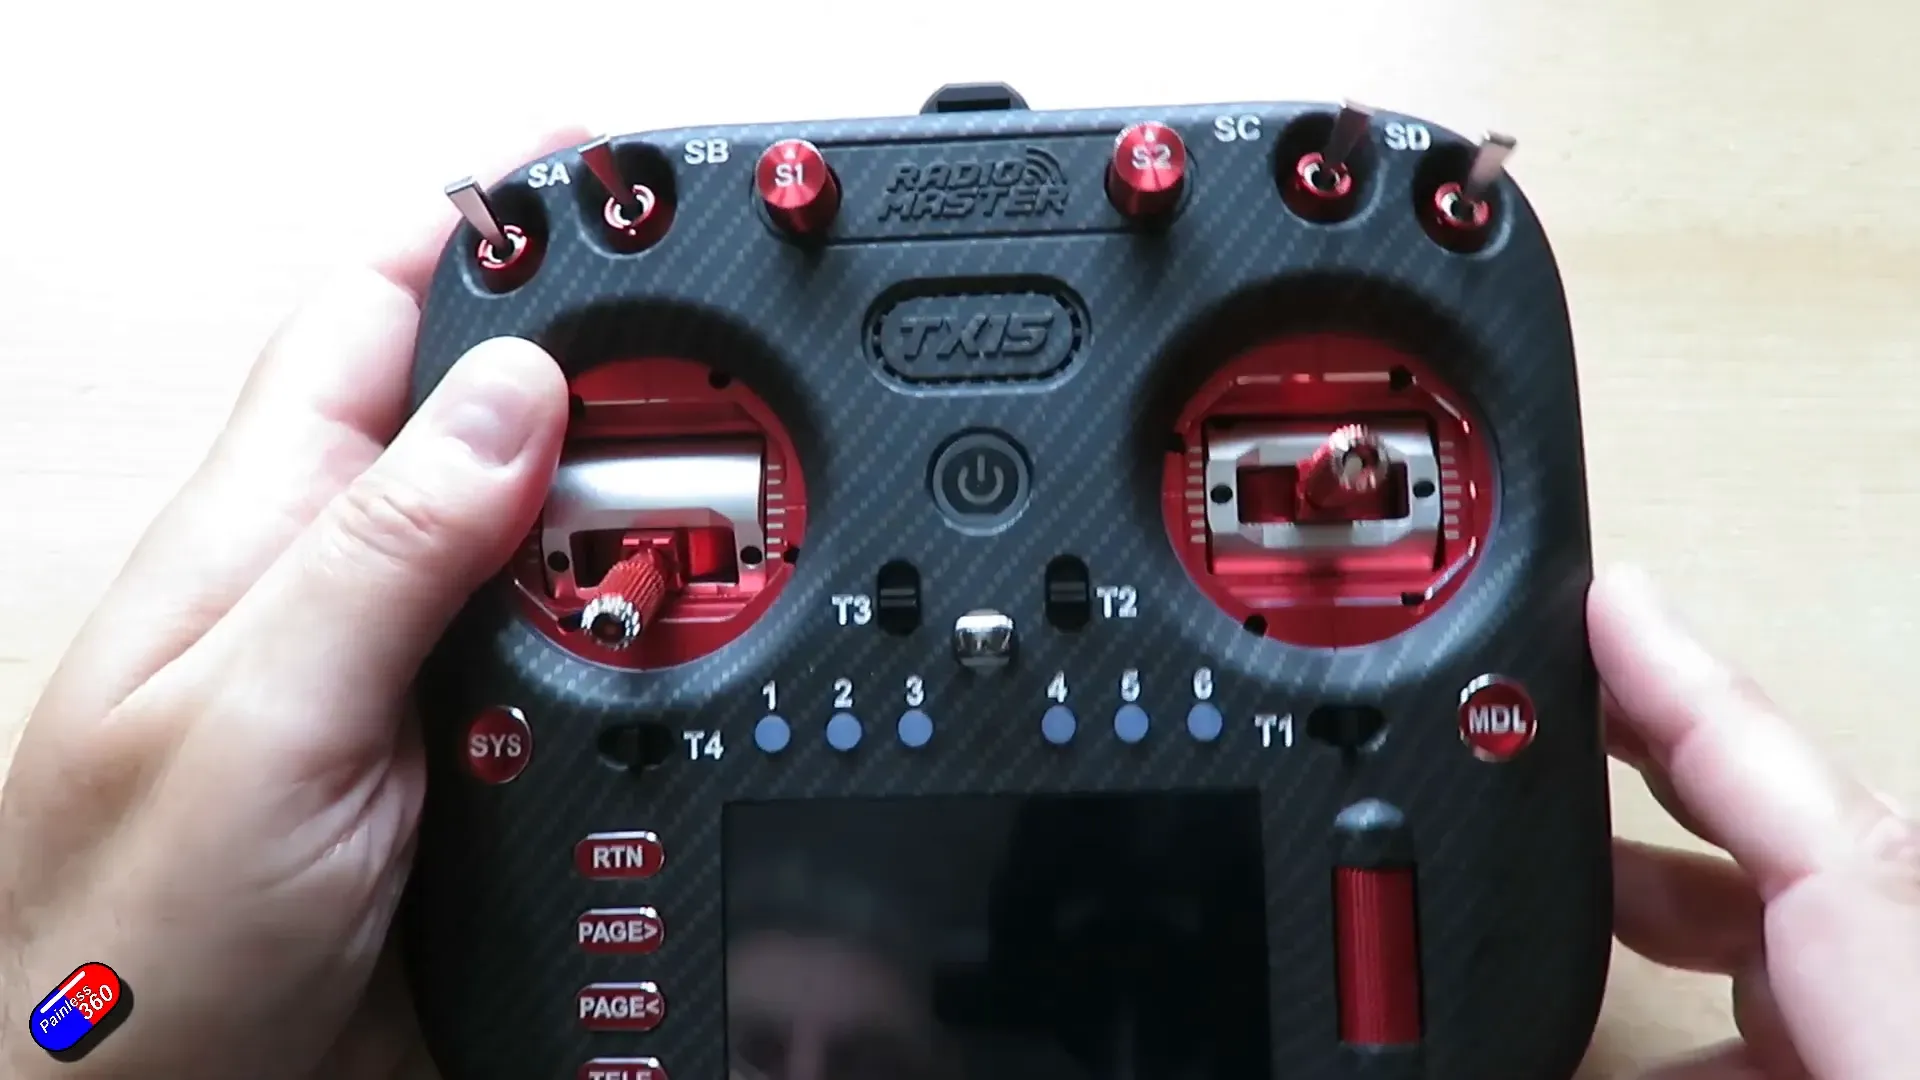
Painless360 starts by highlighting the TX15’s powerful innards — an H7-based processor paired with 4GB of RAM, practically a mini-computer in your hands. This beast can handle complex Lua scripts and multitasking with ease, thanks to its dual F7 processors. But the real magic comes from how you can expand the hardware's usability through simple mods.
For pilots flying fixed-wing models, especially those running iNav or similar firmware, having six switches at the top is a massive convenience. Painless360 uses the extra switches for critical functions like:
- Arming the aircraft
- Mode selection
- Auto trim and auto tune
- Beeper control
- LED management
This setup allows for quick, intuitive control without diving into menus mid-flight or relying on complex channel mixes.
What You Need Before You Start
Before cracking open your TX15, here’s what you’ll want on hand:
- The replacement plastic bezel pieces for the SE and SF switch positions (included in the mod kit)
- Optional coloured switch nuts if your radio has coloured switch caps (also included)
- Three-position switches – these are not included in the kit and must be ordered separately
- Tools: a 1.5mm hex driver and a suitable Phillips screwdriver
- A soft fleece or cloth to safely place the radio face down without scratching
Step-by-Step Installation Guide
Here’s the no-nonsense breakdown of how Painless360 gets those extra switches installed in about ten minutes (coffee break included):
- Disconnect the battery. Safety first — don’t start poking around with power connected.
- Remove the grips. They’re a bit stubborn, so take your time. When reassembling, slightly loosening the screws helps the grips slide back on easier.
- Unscrew the four corner screws on the back panel with your hex driver and carefully remove the back cover. No cables connect here, so it’s safe to set aside.
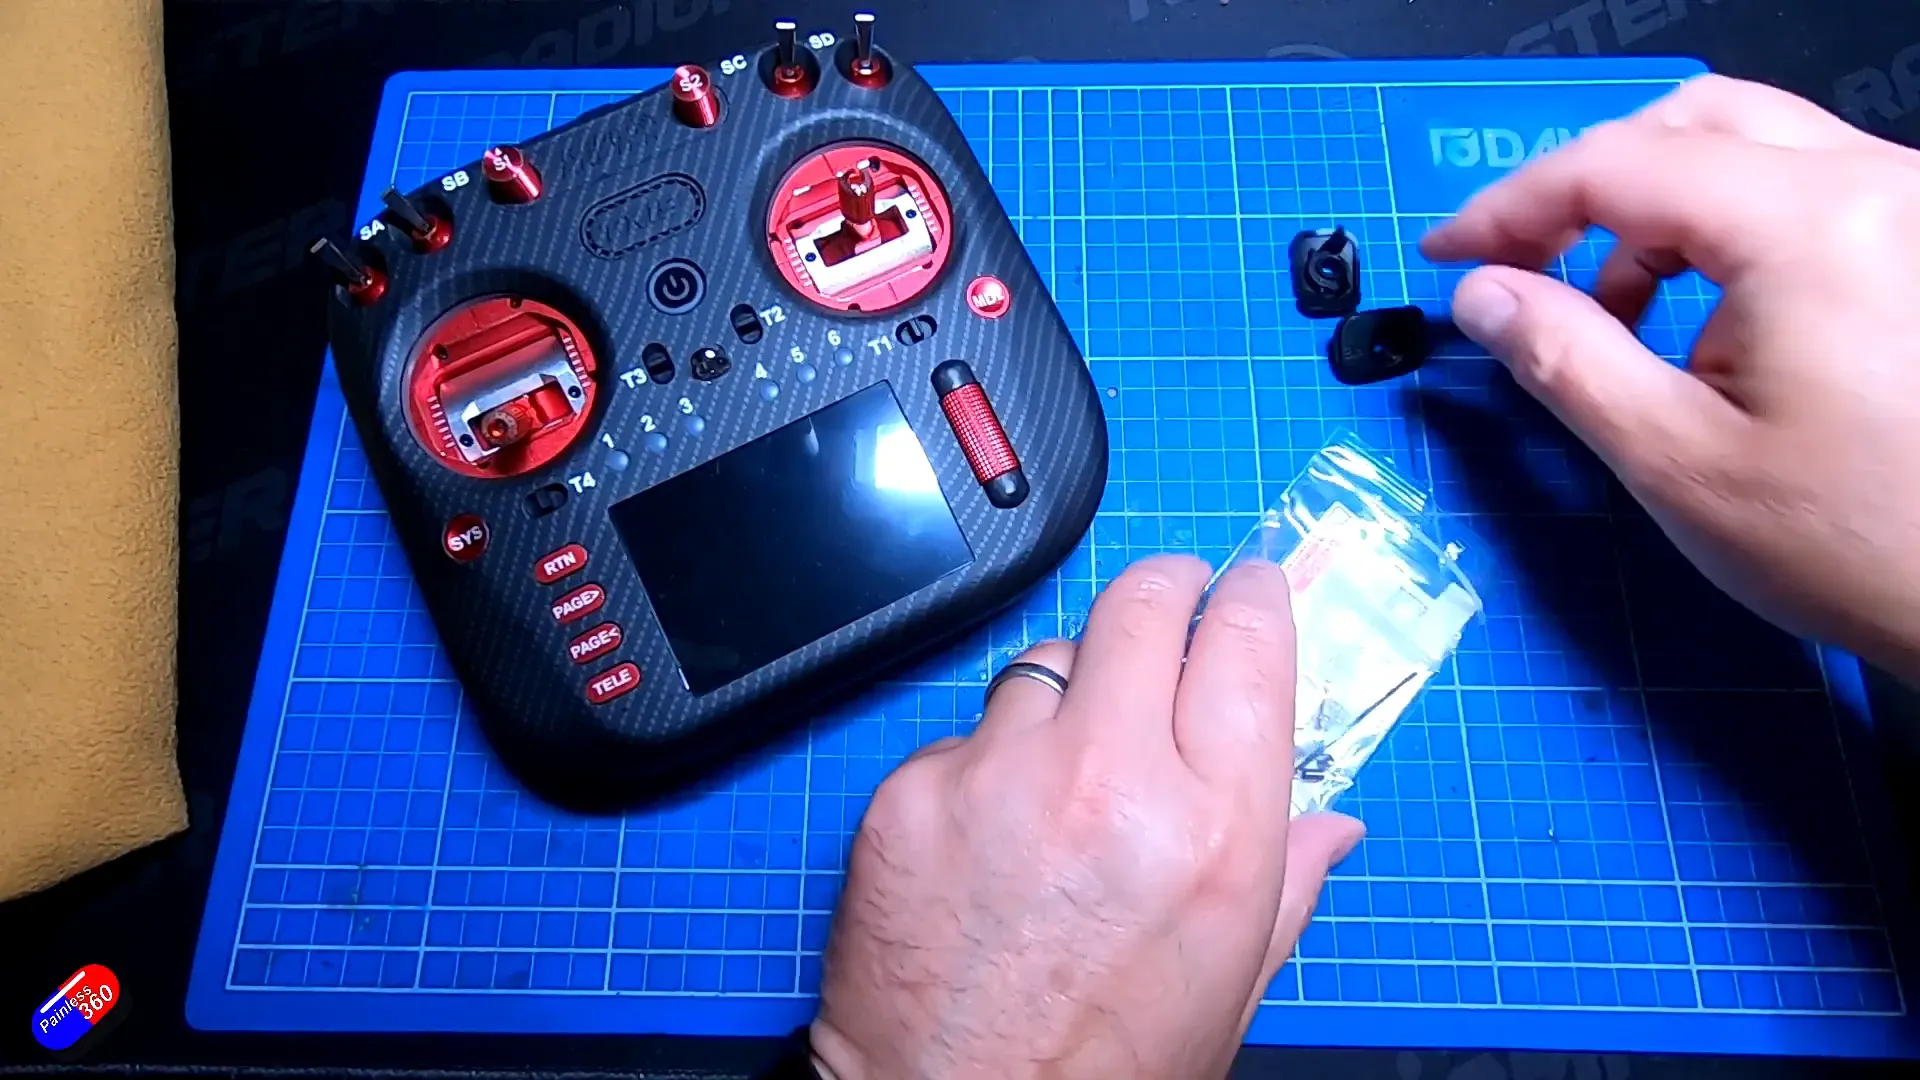
- Locate the two shoulder push buttons. They’re secured by two Phillips screws each. Remove these screws to free the button assemblies.
- Unplug the cables. Press the tab on the connector and gently pull out the cable to avoid damage.
- Insert the new three-position switch into the corresponding plastic bezel from the kit, then secure it back into the radio housing.
- Use a specialized switch nut tool (Painless360 recommends the official RadioMaster switch nut tool, which prevents scratches and speeds up nut tightening).
- Reinstall the screws and plug the cables back in. Make sure cables are routed neatly to avoid snagging.
- Repeat the process for the other side if you want both switches upgraded.
- Replace the back panel and grips. Remember the trick: loosen the grip screws slightly for easier fitting, but don’t overtighten to avoid stripping plastic threads.
Final Setup in EdgeTX
Once the hardware mod is done, the TX15 needs a little nudge in software to recognise the new three-position switches. Power on the radio, and you’ll likely see a warning because the switches now have positions the system didn’t expect.
To fix this:
- Go to the System Menu
- Navigate to Hardware
- Scroll down to the Switches section
- Change the configuration for SE and SF from their default to three-position switch
Power off and on again, and the warning disappears. Your switches will now behave exactly as intended.
Will It Still Fit the Case?
A common concern is whether the new switches will fit in the supplied RadioMaster case. Painless360 confirms the case was designed with this mod in mind — there are built-in recesses for the switches, so no worries about clearance or forced fits. Your radio remains snug and protected.
Summary and Final Thoughts
Adding optional three-position switches to the RadioMaster TX15 is a straightforward upgrade that unlocks six usable switches on the top panel, perfect for pilots who want quick access to important functions without complicated programming. Thanks to the well-thought-out design from RadioMaster, the installation is painless, fits perfectly in the case, and integrates smoothly with EdgeTX firmware.
As Painless360 puts it, with just a hex driver, a Phillips screwdriver, and about ten minutes of your time, you can have a radio that’s not only more functional but also tailored to your flying style. This mod is especially handy for fixed-wing pilots running iNav or similar setups, but really anyone who craves more switch real estate will appreciate it.
For additional insights into RC hardware mods and firmware tips, check out this deep dive on dual MCU setups and this guide on configuring flight controllers.
FAQs
Are the three-position switches included in the RadioMaster TX15 kit?
No, the plastic bezels and additional screws are included, but the three-position switches must be ordered separately.
Do I need special tools to install the switches?
You’ll need a 1.5mm hex driver and a Phillips screwdriver. A RadioMaster switch nut tool is highly recommended to avoid scratching and make tightening easier.
Will the modification void my TX15 warranty?
Modifying hardware usually voids the warranty. Proceed with caution and only if you’re comfortable opening your transmitter.
Does this mod work with other types of switches?
Yes, it also supports short 2-position latching and switching switches included with the radio.
Will the new switches fit in the original RadioMaster case?
Absolutely. The case has recesses designed specifically for these optional switches.
Where can I buy the optional switches and switch nut tool?
Painless360 links to official RadioMaster accessories in the video description, including the switch nut tool and optional switches. You can also find them on RadioMaster’s official site.
Credits and Further Viewing
This detailed walkthrough and modification guide comes courtesy of Painless360, a trusted voice in RC transmitter reviews and tutorials. To see the full installation in action, watch the original video on Painless360’s YouTube channel. Don’t forget to like and subscribe to support quality content like this.
This article was created from the video RadioMaster TX15: Optional extra switch installation (viewer request).