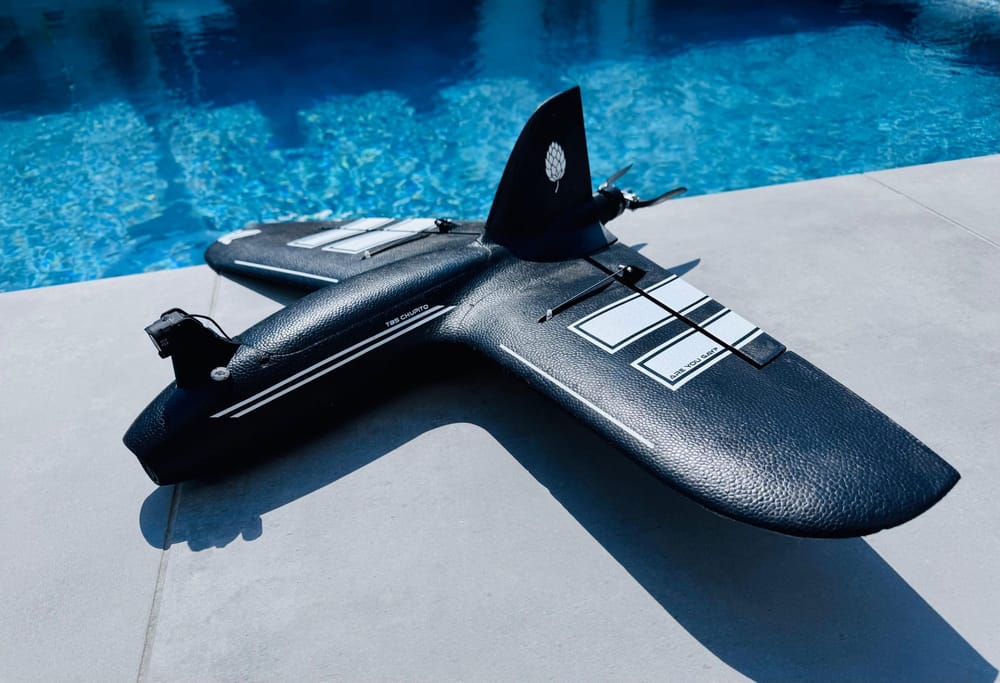
In this video write-up I’m covering Painless360’s first look at Team BlackSheep’s new sub‑1m wing, the Chupito (pronounced “choo‑PEE‑to”, not a cocktail meltdown). If you watched the video, you’ll recognise the detailed unboxing, the close inspection of a neat new all‑in‑one (AIO) flight controller, and a lot of tinkering ideas. If you haven’t watched it yet — Painless360 walks through everything and I’ll summarise the tech, the gotchas and the sensible mods you’ll likely want to make.
Quick take
- Platform: TBS Chupito — a compact forward‑swept flying wing inspired by the Mojito but much smaller and more packable.
- Claimed performance: default kit ~20 minutes; testers have reported everything from ripper‑fast 6S setups to ultra‑endurance >1 hour on a big 2S pack when kept light.
- Standout feature: a tidy new AIO flight controller/ESC board that plugs into the rear motor tray — minimal soldering and labelled ports.
- Form factor: breaks down for transport; HD camera cage in the nose sized for modern HD FPV units.
What’s in the box — unboxing highlights
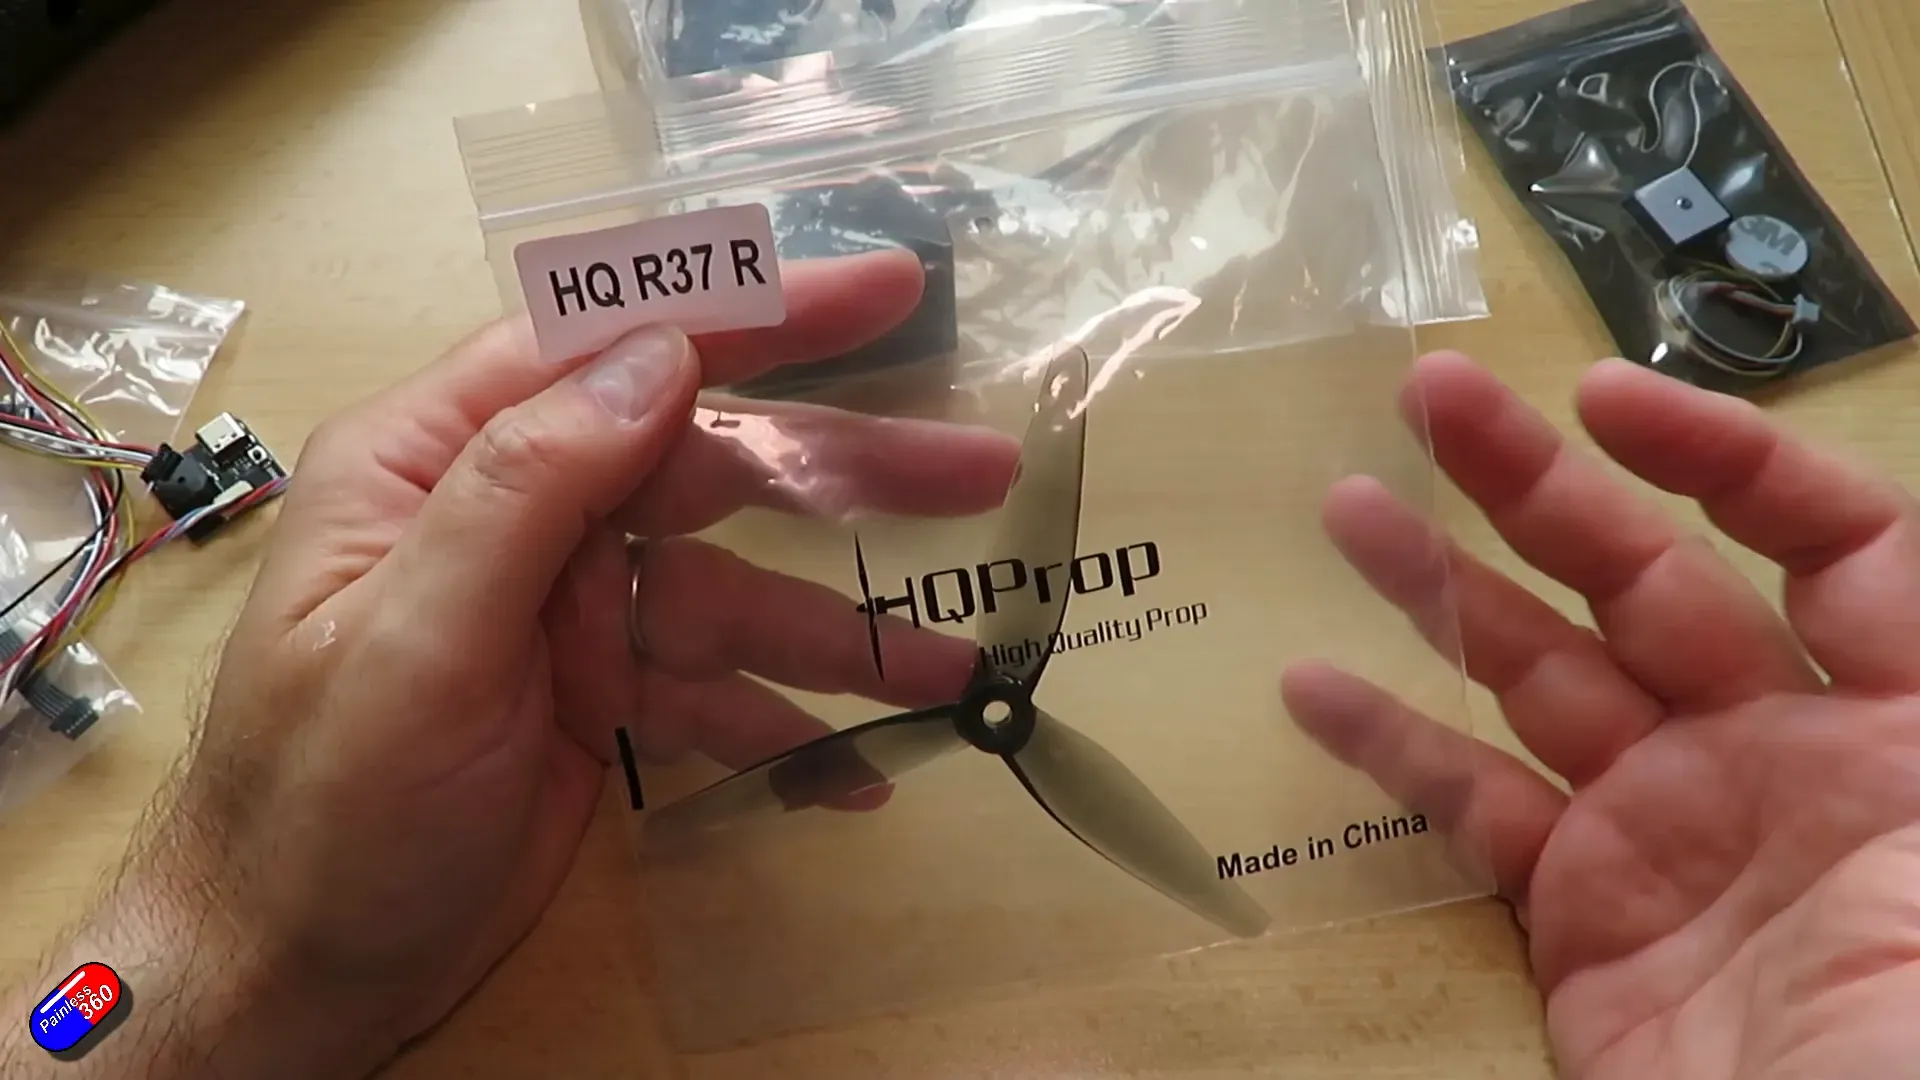
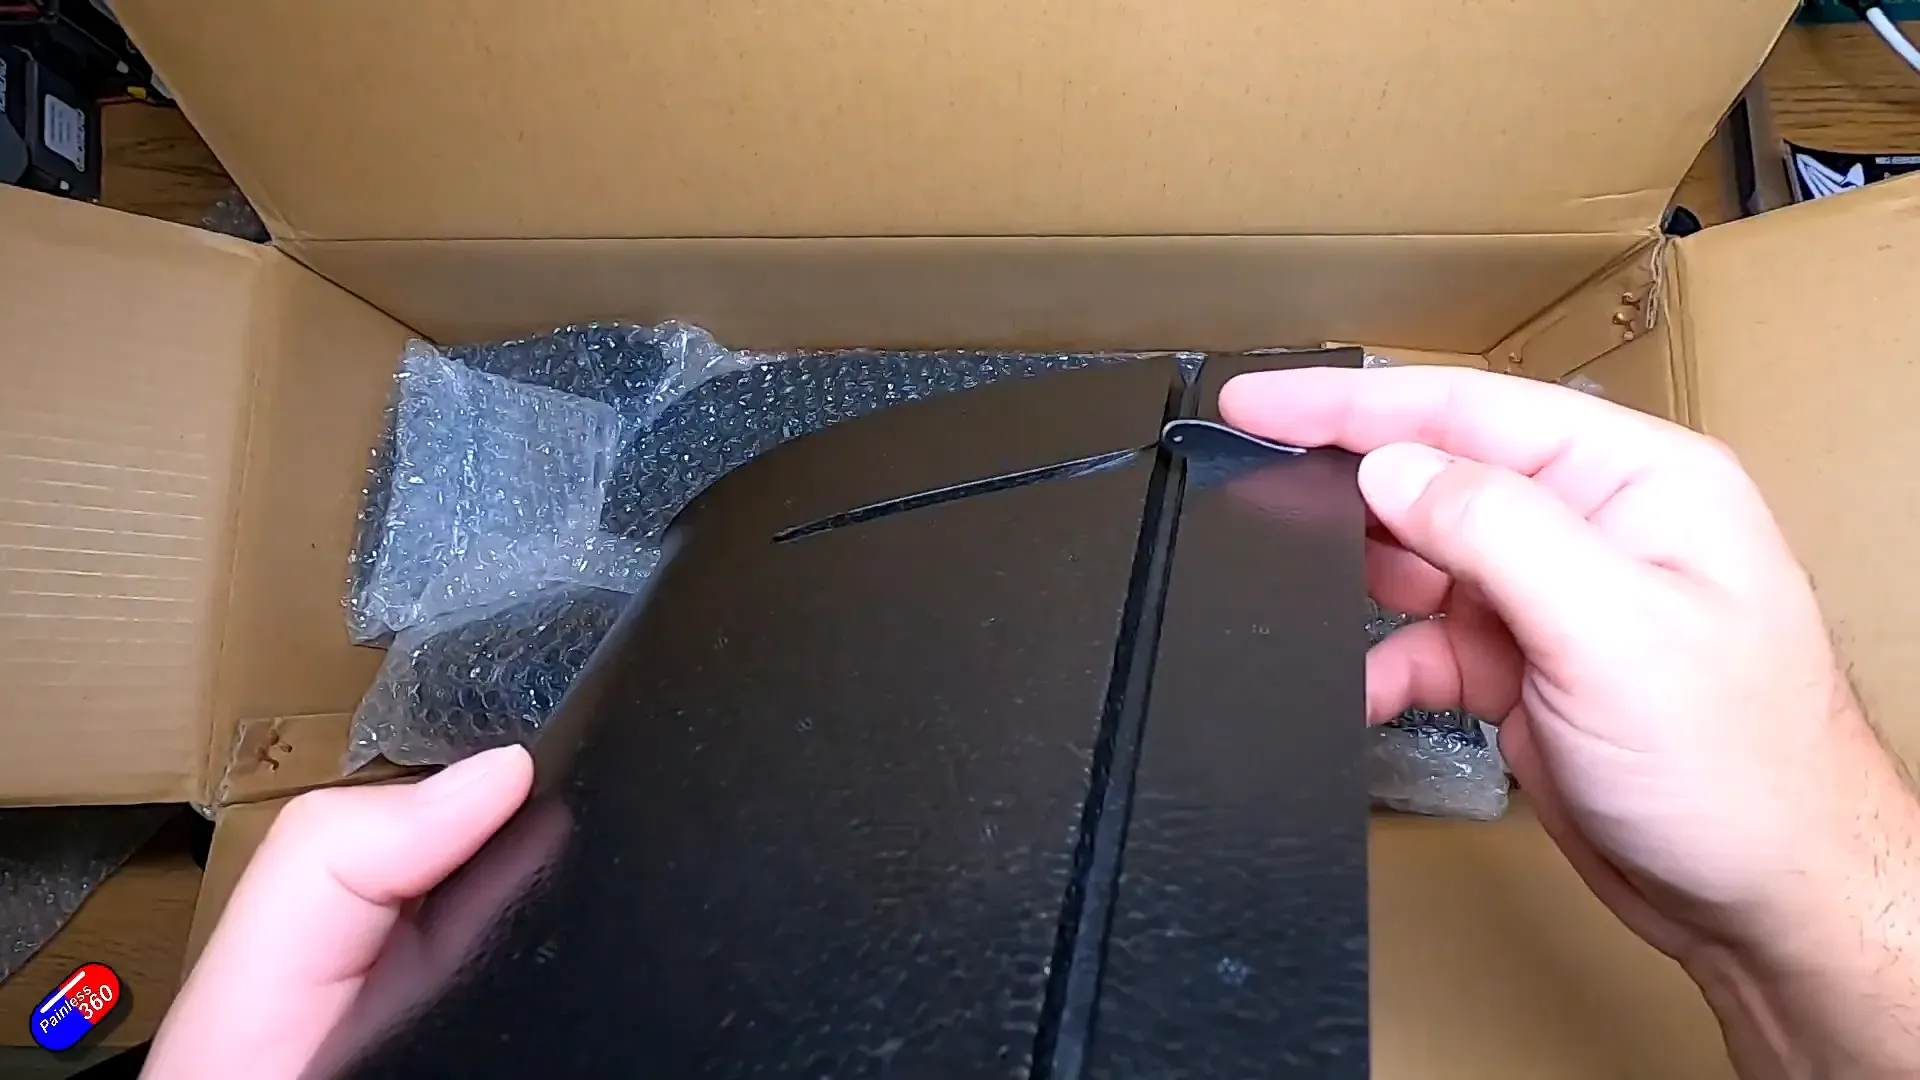
Painless360 unboxes the Chupito and lays everything out: two metal‑gear servos, a prop, motor, carbon spars (one full‑width spar + two smaller), the AIO flight controller, GPS, remote USB board (boot/buzzer), foam‑hinged control surfaces and the molded fuselage with balsa battery tray.
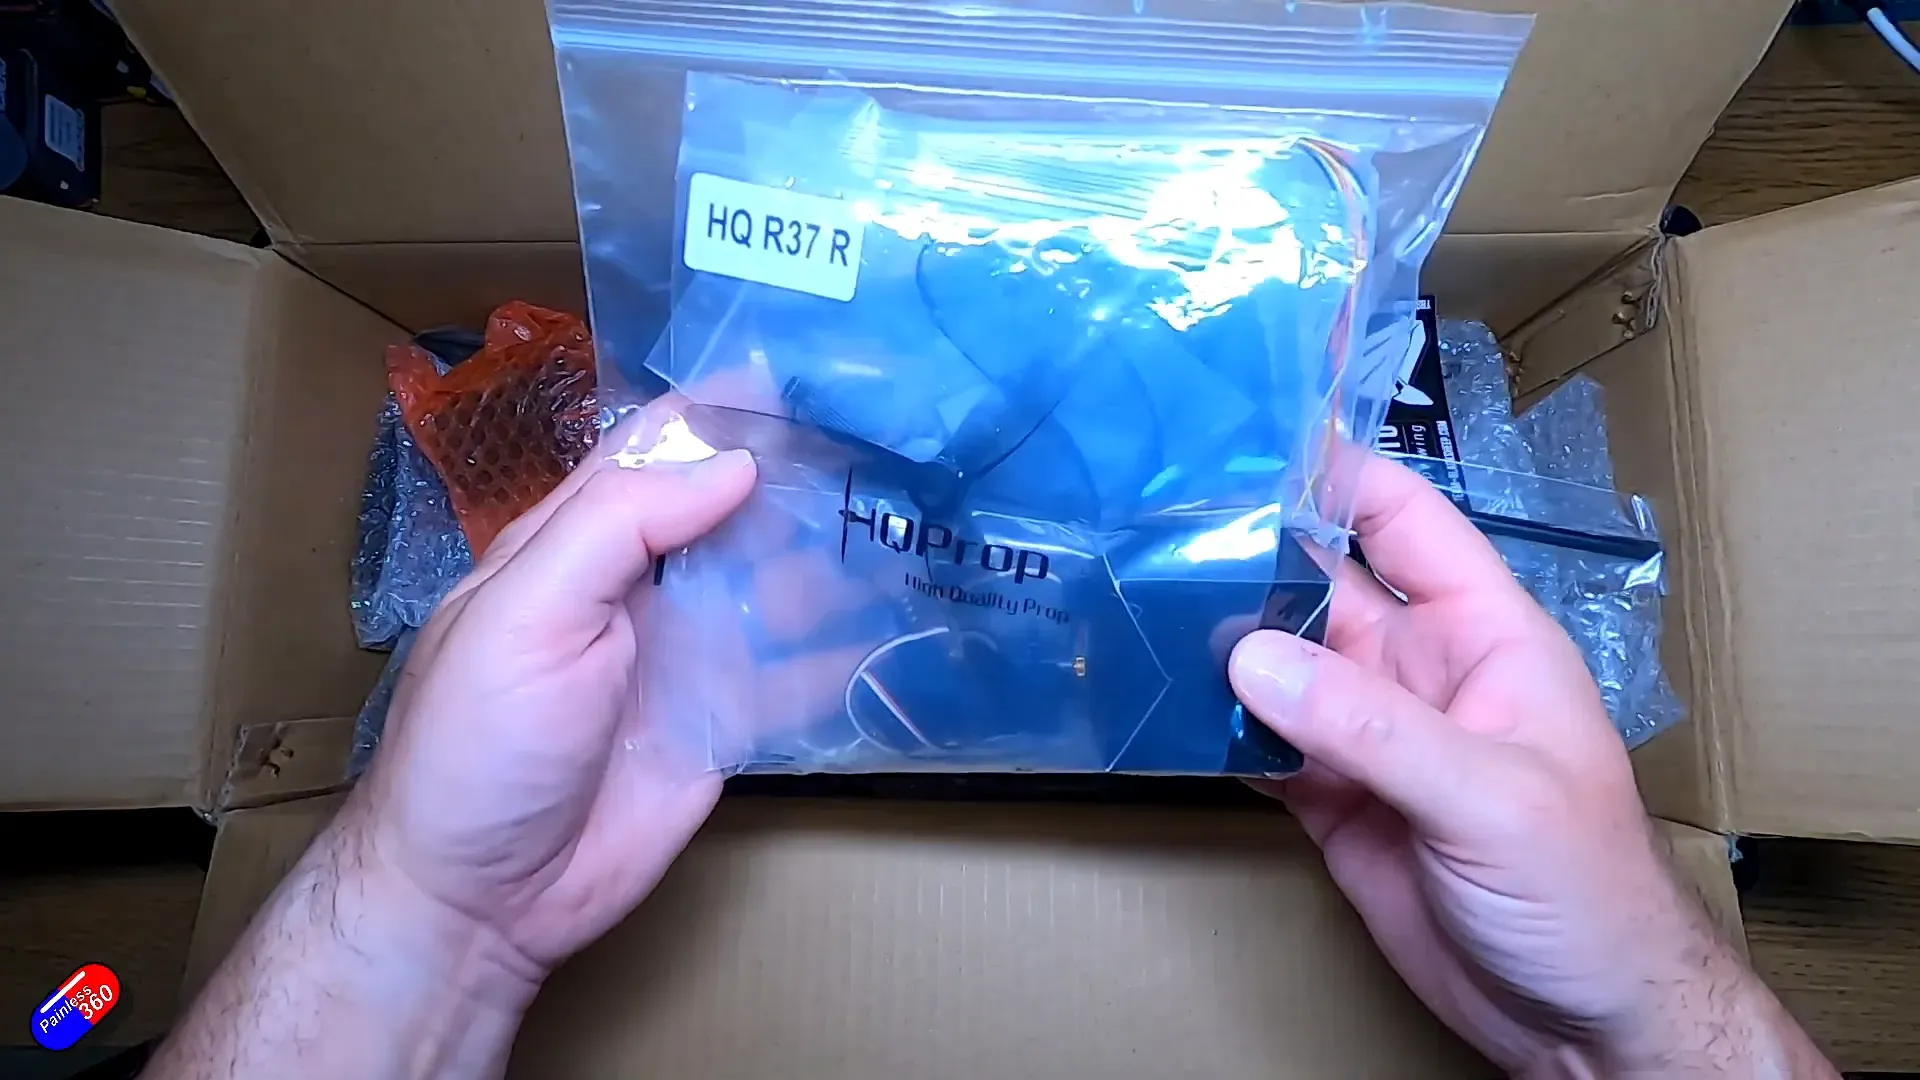
Notable items and specs observed in the video:
- Motor (stock): a 2207‑style motor stamped around 2000 KV (Painless360 reads it as a 2207 2000KV multilrotor style motor) with a polarized connector for plugging into the AIO unit.
- Servos: metal‑gear digital servos supplied — good choice. They need short extension leads to reach from wing bays to the fuselage connector.
- Prop: supplied with the kit. The motor/prop combo is set for the “default” configuration which aims for a balance of speed and efficiency.
- GPS: an M10‑based module is included and ready to plug into the AIO’s GPS port.
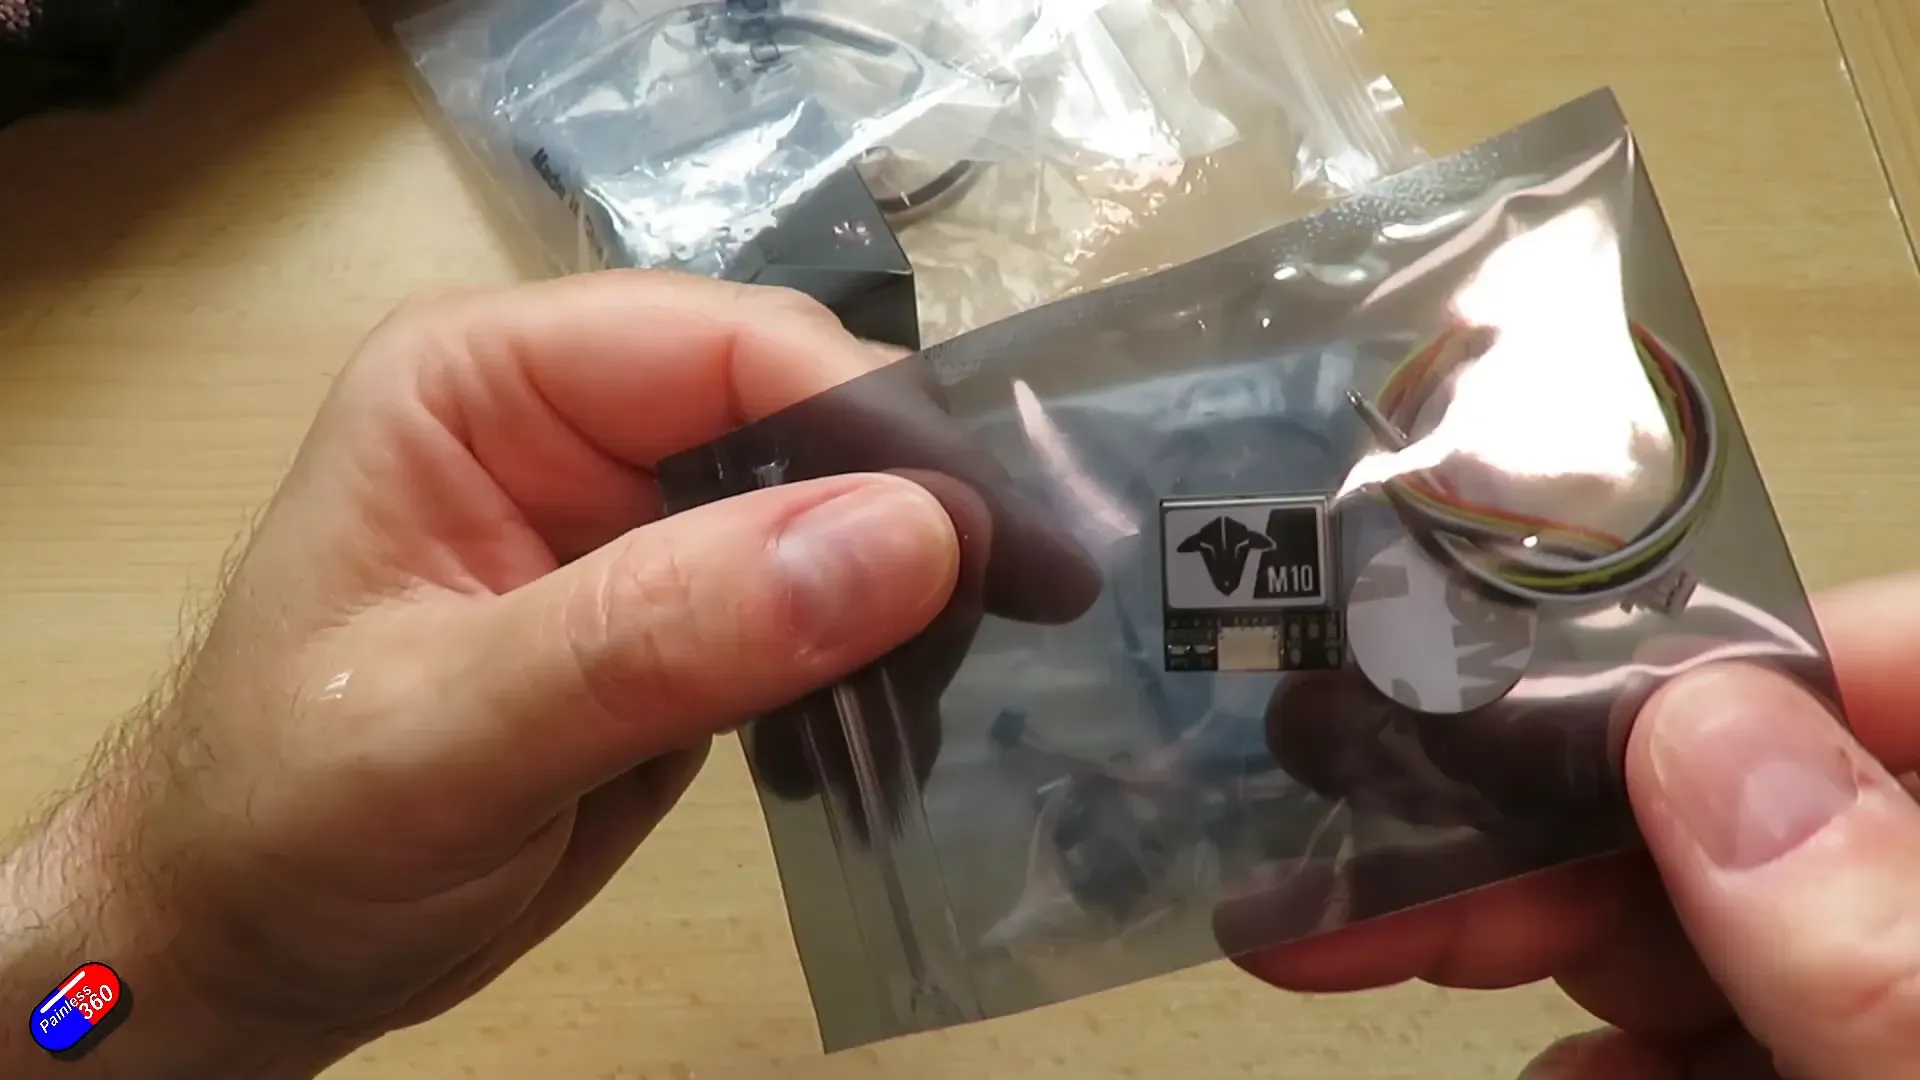
The new TBS AIO flight controller — why it matters
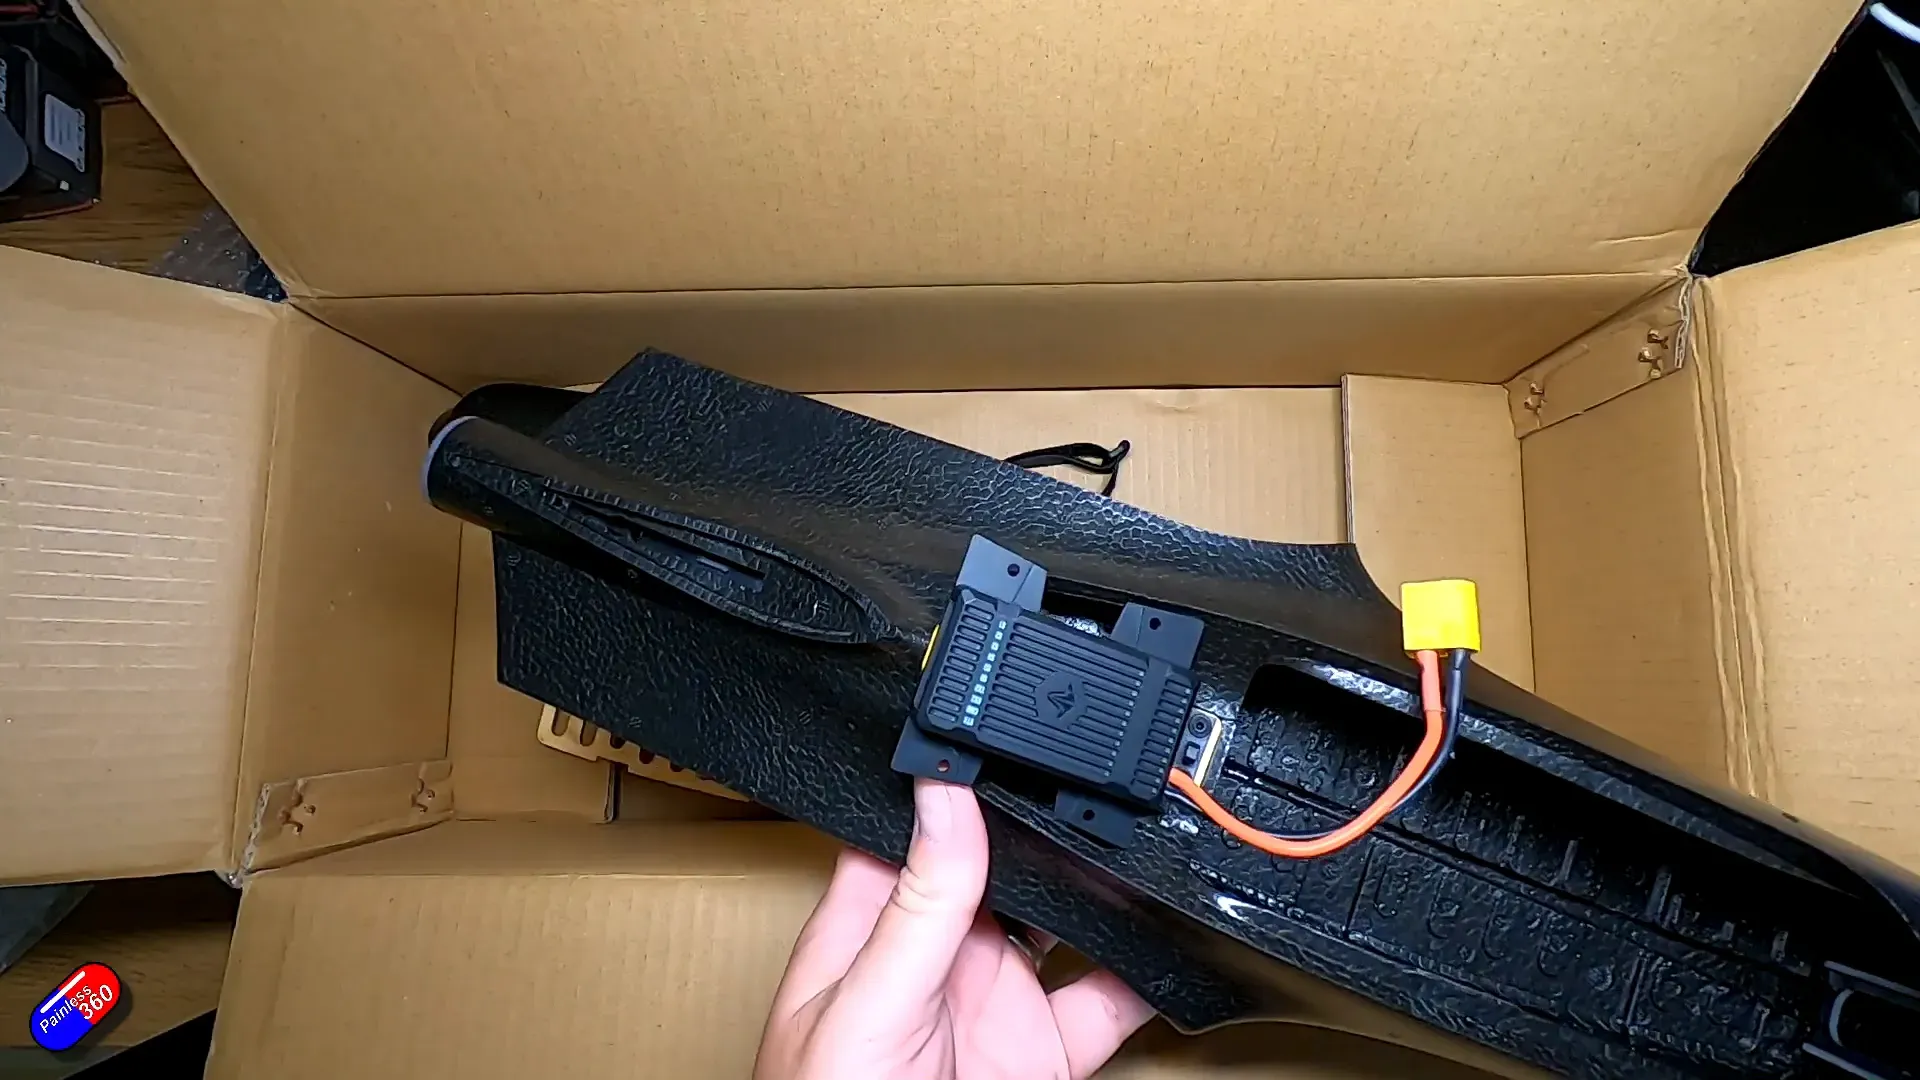
Painless360 spends time on the AIO flight controller because it’s the neat bit: it combines the flight controller, ESC and labelled breakout ports into a small, plug‑and‑play board designed to sit in the rear bay.
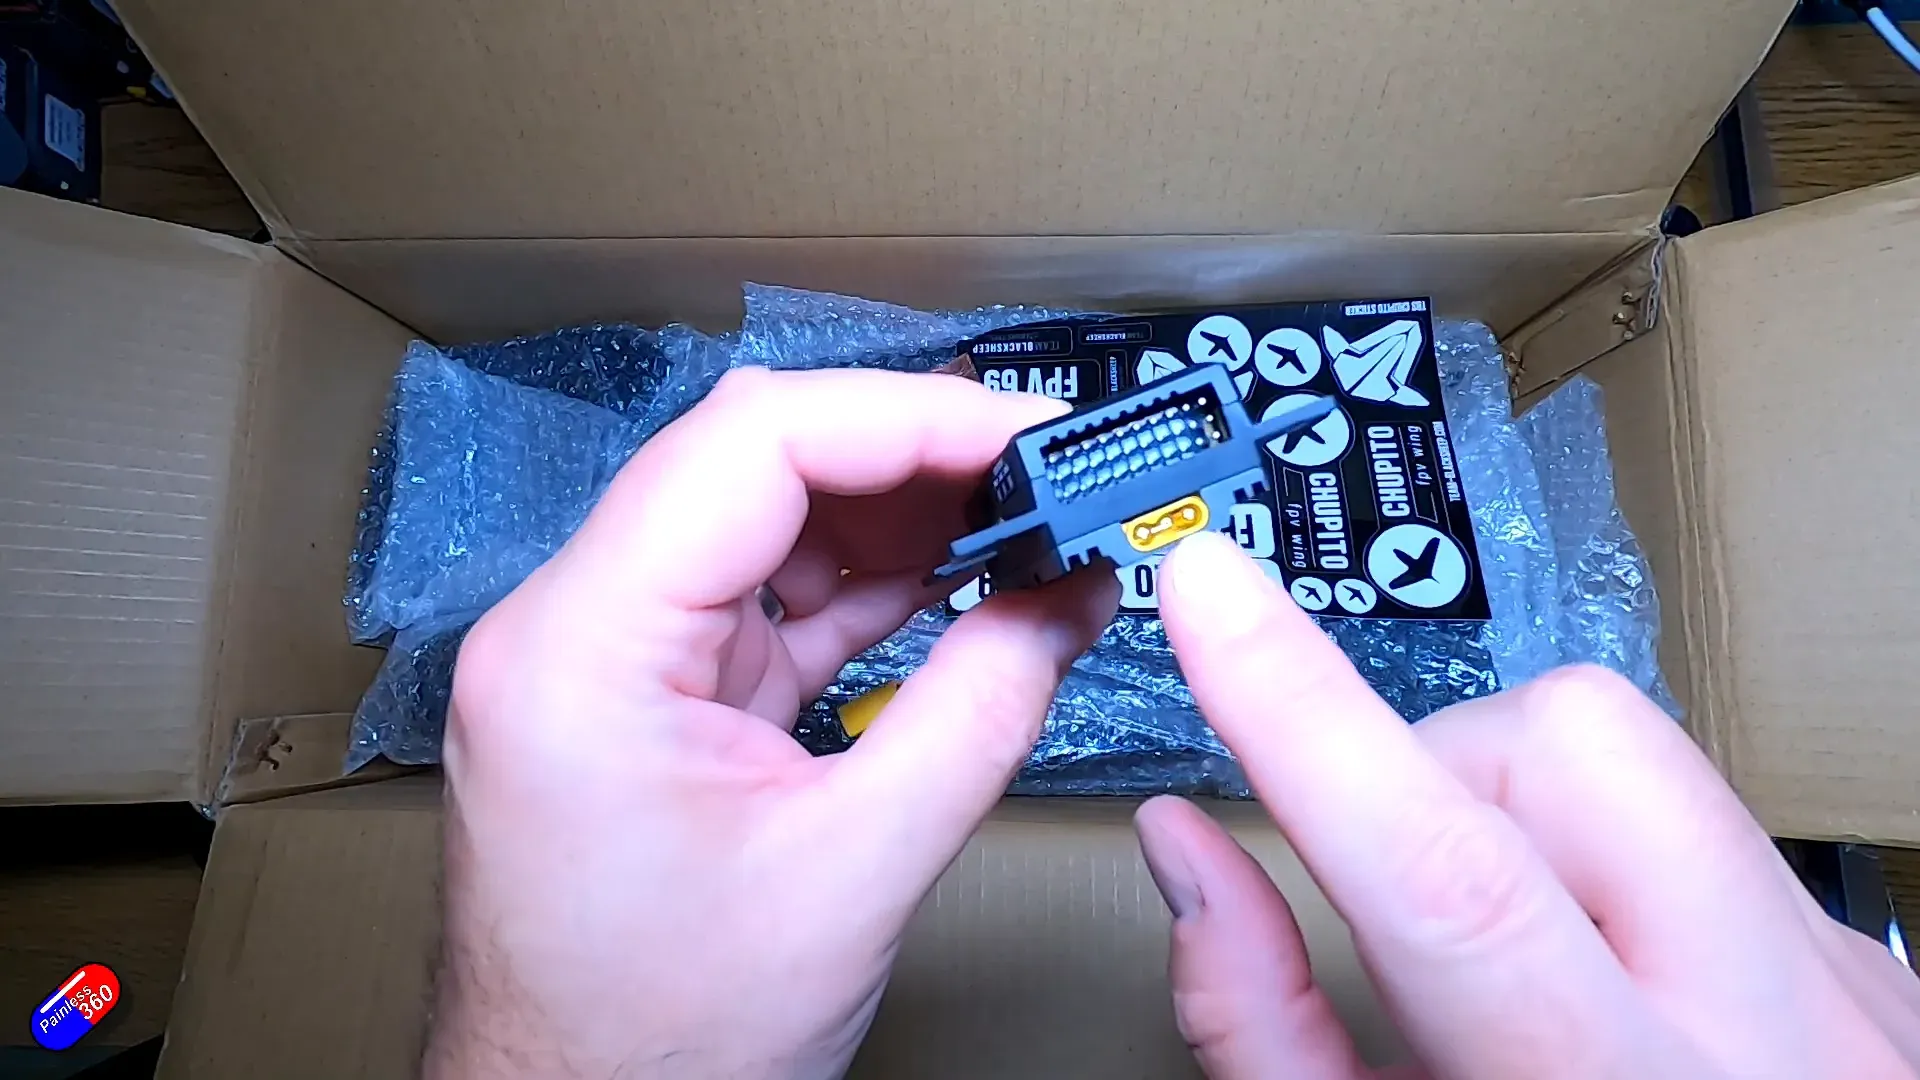
Key details and benefits noted in the video:
- Plug connectors: motor plugs straight into the board, servos plug in, GPS and receiver ports are labelled. That reduces soldering — a big win for many pilots.
- SD slot & USB breakout: an SD card slot for logging and a separate floating USB breakout board for easier access during setup.
- VTX / camera headers: Front/back camera and VTX connections are present (the HD cage and digital setups are anticipated by the design) even if Painless360 won’t use them immediately.
- Polarised motor connector: prevents plugging the motor in backwards — small detail, big pain saved.
From a systems perspective this AIO approach mimics the recent trend toward compact, low‑profile wing stacks (see the writeups on tiny wing flight controllers for similar philosophies). It’s worth comparing how other boards mount GPS/receiver/SD for your own builds before you glue anything in place.
Related reading (planning your FC and GPS placement):
https://www.unmannedtechshop.co.uk/2023/08/09/wheres-the-best-place-to-mount-your-quadcopters-gps-module/
https://www.unmannedtechshop.co.uk/2023/04/30/fpv-pilots-cant-get-enough-of-the-speedybee-f405-wing-flight-controller/
Airframe details and inspection notes
The Chupito is clearly modelled on forward‑swept designs like the Mojito family: the forward sweep is forgiving in stalls and allows slow, stable flight. Painless360 points out the things you’ll appreciate (and those you might want to change):
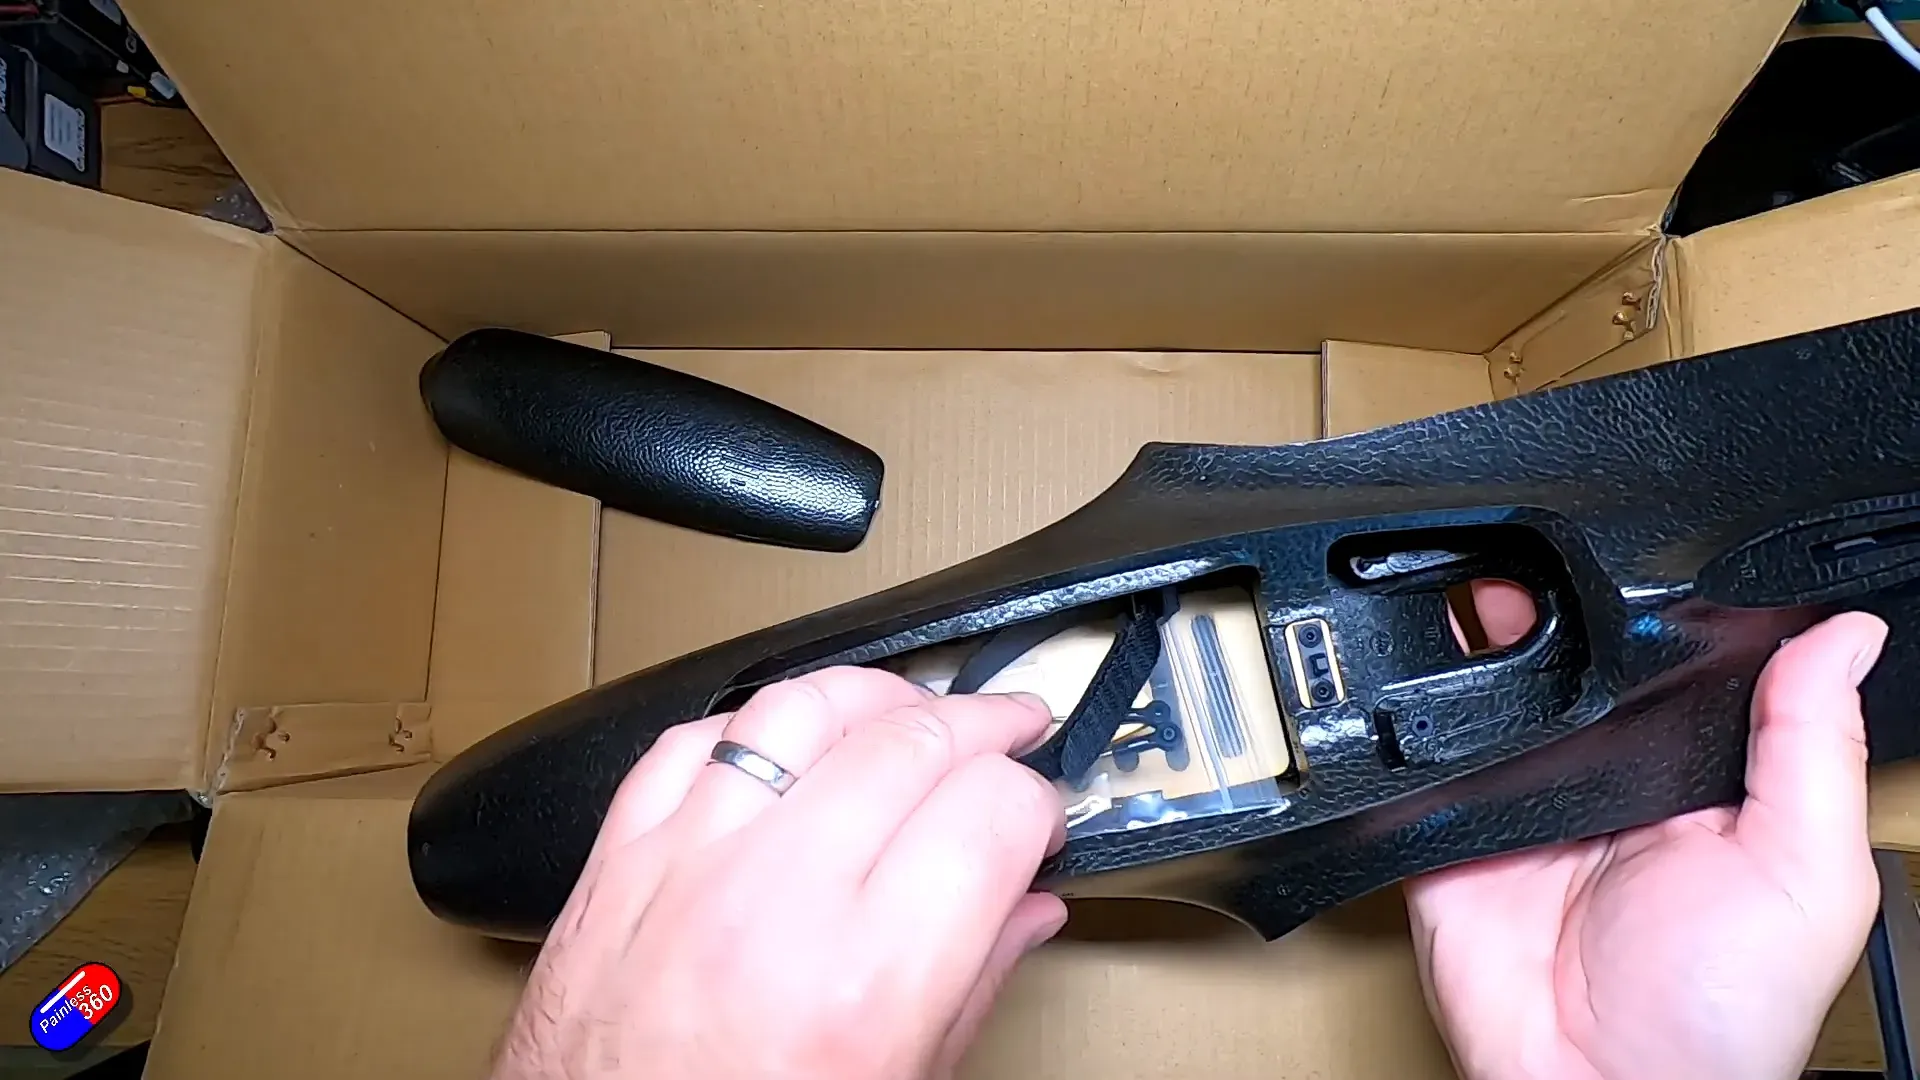
- Camera cage: a carbon‑style HD cage lives in the nose — roughly a 20 mm gap for camera bodies, designed with DJI O4A ergonomics in mind but compatible with other HD units with small standoffs.
- Servo access and control surfaces: foam hinges and pre‑mounted control horns. The wing bays use elastic hooks and carbon spars to hold the wings together — quick to assemble, some pilots will replace foam hinges with CA hinges or laminate for high‑speed ops.
- CG markings: clear CG marks near the front of the wing — useful for the maiden setup.
- No leading edge protection or LEDs: you’ll probably add tape or a sacrificial strip if you’re worried about dings on launch/landings.
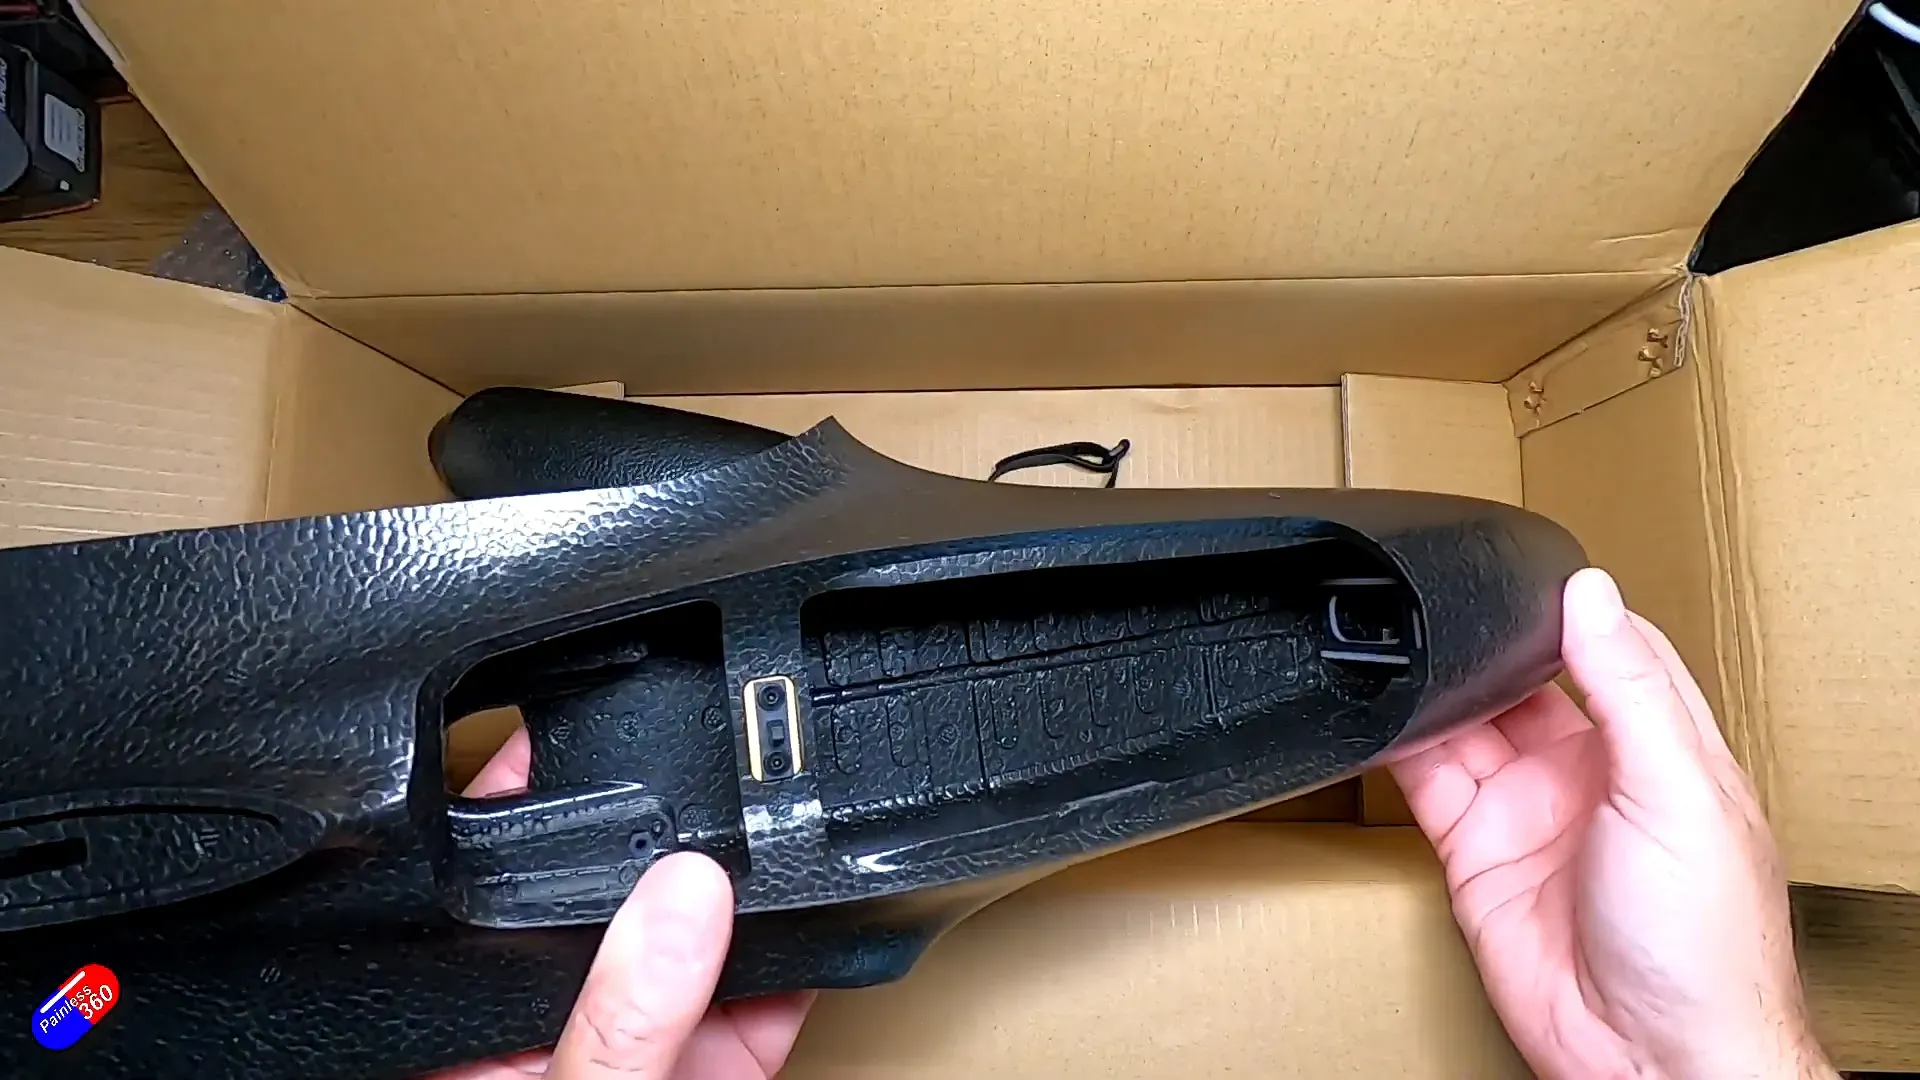
- Tail and motor tray: the rear motor tray slides out so you can mount the motor rearward and plug it into the AIO. The vertical stabilizer is glued in by default; Painless360 would have preferred a removable tail (magnets or a thumb‑screw would be nice for backpackability).
Powertrain, props and endurance: 2S vs 6S playground
This is where the Chupito becomes interesting. Painless360 reiterates a recurring theme from TBS test pilots: the same airframe can be tuned for different roles depending on motor/prop/battery choice.
Practical notes:
- Default performance: configured as shipped the Chupito will fly briskly and Painless360 suggests ~20 minutes is easily achievable in that setup.
- Ripper setups: pilots have toyed with 6S builds turning the little wing into a fast flyer — expect significantly higher speeds and structural loads.
- Endurance setups: with a very large 2S pack and a light build, testers have reported flights over an hour. That’s only feasible if you keep weight down and choose prop/motor combos optimised for low RPM cruise.
- Motor plug & polarity: the motor connector into the AIO is keyed — you can’t accidentally plug it the wrong way round.
If you're wondering which motor or prop to pick, a primer that helps choose the correct motor for your drone is handy:
Build notes and recommended tweaks
Painless360’s practical build tips and warnings are worth repeating before you button the Chupito up:
- Servo extensions: the two servos need ~10 cm extension leads to reach the fuselage socket. The retail kit includes them, but the review unit did not—so order some if you’re buying the wing alone. (UnmannedTech product pages carry servo extension cables if you need parts.)
- Cable routing: the fuselage has a channel to run VTX/camera/power wires from front to rear. Don’t glue those channels with wires trapped — Painless360 warns to dry‑fit and route before adhering the balsa battery tray.
- Battery tray: balsa piece for battery sits low in the fuselage and is glued in place — plan your strap routing before bonding.
- GPS placement: the board has a GPS port — Painless360 suggests mounting the provided M10 GPS on top of the AIO area where possible for better visibility and signal.
- Hot glue judiciously: for signal vs power wires Painless360 avoids running them together and recommends hot‑gluing small shelves to hold leads in place.
- Consider hinge upgrades for hard‑running setups: foam hinge works fine for the general flying this plane is aimed at; for extreme speed you might swap to CA or taped hinges and laminate for rigidity.
Software & testing plan
Painless360 plans to do the maiden with the stock electronics first, then move on to iNav 8 for full configuration testing with the AIO flight controller. The AIO supports SD logging and the USB breakout for easy connection during configuration.
Suggested setup steps based on the video and common practice:
- Fit the motor and servo extensions, routing wires through the fuselage channel but not gluing yet.
- Insert the AIO board, plug power/motor/servos, and check board boots and USB breakout connectivity.
- Verify GPS lock with the included M10 module before permanently fixing anything.
- Balance the plane at the recommended CG marks before first flight.
- Perform a gentle hand launch to validate trim and control directions; adjust as required in iNav.
Planning software setup resources (soldering and configuration primers):
Critical observations — pros and cons
Painless360’s overall tone is positive: the Chupito is a smart, portable wing with a sensible electronics package. Here’s a concise pros/cons list that summarises the video’s points.
- Pros: compact and packable; forgiving forward‑swept wing; included AIO reduces soldering; HD cage for modern digital FPV; versatile powertrain options from ultra‑endurance to ripper speed.
- Cons: tail appears glued (not easily removable); no leading‑edge protection out of the box; servos need extensions (retail kit includes them — review kit didn’t); some pilots will want to laminate or change hinges for high‑speed builds.
FAQ
Q: What flight times should I expect?
A: Stock kit is reported by Painless360 to achieve around 20 minutes in default setup. Testers have flown >1 hour on very large 2S packs with light builds and low‑RPM props. Your real‑world result depends on motor/prop/battery and total weight.
Q: Does the AIO flight controller require soldering?
A: Minimal. The AIO is designed to use plug‑in connectors for motor and servos, plus labelled ports for GPS, receiver and SD. You will need to make any custom cables or extensions, but heavy soldering of the ESC/motor harness is largely avoided.
Q: Can the Chupito carry DJI O4A or other HD units?
A: The nose cage is designed with DJI O4A sizing in mind; it has ~20 mm clearance so other HD units will fit with small standoffs if required.
Q: Is the tail removable for backpacking?
A: In the shipped kit the vertical tail is glued in place. Painless360 suggests you could mod this with magnets or a thumb screw to make it removable, but out of the box it’s fixed.
Q: Where should I mount the GPS for best performance?
A: Painless360 suggests using the GPS port and mounting the M10 module near the top of the AIO area where possible. See the GPS mounting guide for best practices:
Further reading and resources
Watch Painless360’s video for the live unbox and commentary — he goes through every part, fits things, and explains his planned iNav setup.
Conclusion — should you buy a Chupito?
If you want a compact, packable wing that can be tuned for either comfortable long‑endurance missions or sharp high‑speed runs, the Chupito is the sort of kit that rewards tinkering. Painless360’s unbox demonstrates that TBS focused on usability: the AIO board, camera cage, and simple mechanical fitment are all thoughtful. If you’re picky about modularity (removable tail, factory L.E. protection), be prepared to mod a little.
Credit to Painless360 for a clear, hands‑on walkthrough — watch the original unbox for the full sequence and the tactile commentary (and the modest insistence that you should subscribe).
This article was created from the video TBS Chupito: Unboxing and first look at the wing and the new AIO FC.


