Ever wondered how far a Lora antenna can really reach? Join me as I embark on a thrilling adventure to build a DIY Yagi antenna aimed at smashing my previous distance record of 20 km. With some clever engineering and a bit of experimentation, let's see if we can push those limits even further!
Introduction to the Challenge
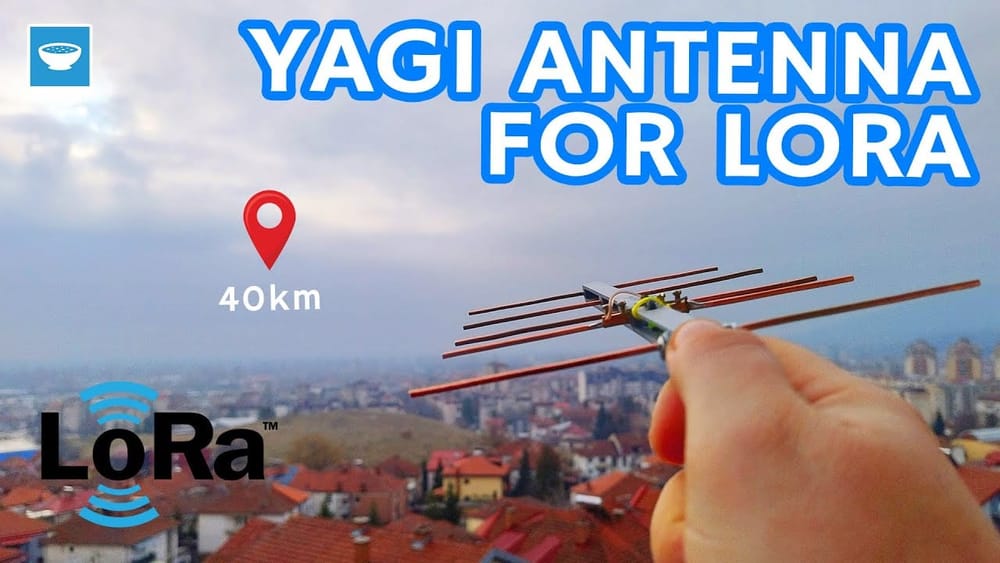
So, here we are, ready to take on the ultimate test of distance with our DIY Yagi antenna. The goal? To push the limits of a Lora antenna and make it scream across a whopping forty kilometers! After nailing a previous record of twenty kilometers with an omnidirectional antenna, the curiosity to go further was just too enticing to resist. This time around, we’re not just rolling the dice; we’re engineering a directional antenna that’s designed for precision and performance.
The challenge is as much about the build as it is about the results. Will we achieve the desired range? Or will we find ourselves left in the dust? There’s only one way to find out, and that’s to roll up our sleeves and dive into the nitty-gritty of construction. Buckle up, because we’re about to embark on a journey that’s as technical as it is thrilling!
Gathering Materials and Tools
Before we even think about firing up the 3D printer, let’s gather the materials and tools that are crucial for this project. Here’s what you’ll need:
- Copper Rods: These will form the core of our antenna elements. The diameter matters, so grab 2mm rods.
- 3D Printed Parts: You’ll need a design that holds everything together. If you don’t have a 3D printer, don’t sweat it—services like PCBWay can help you out.
- Coaxial Cable: This is necessary to connect your antenna to the LoRa board. An SMA connector is preferred.
- Tools: You’ll need a drill, glue (CA glue works wonders), and a soldering iron for those electrical connections.
Once you have everything, you’ll be ready to start crafting your masterpiece. Let’s not forget that preparation is key. A well-organized workspace can make all the difference!

3D Printing the Antenna Components
Let’s get that printer humming! The first step in our construction process is to print out the necessary 3D parts. This includes the boom and the structural components that will hold our copper rods in place. Here’s a quick rundown of the process:
- Download the STL files from the provided link. If you’re not sure how to print, don’t worry; services like PCBWay are here to help.
- Set your 3D printer settings to ensure a clean print. The quality of the print will directly affect the performance of the antenna.
- Once printed, clean up any rough edges to ensure a perfect fit for the copper rods.
Why go through all this hassle? Because a well-printed structure means a solid foundation for your antenna. It’s all about precision, and in the world of antennas, every millimeter counts!
Cutting and Preparing the Copper Rods
Now that we have our 3D printed components ready, it’s time to turn our attention to the copper rods. These bad boys are the heart of our Yagi antenna, and how we prepare them is crucial for the overall performance. Here’s how to tackle this step:
- Measure and Cut: For the reflector, cut a piece exactly 168mm long. The driven element should be cut to 159mm but split in half for proper spacing. The directors will need to be 151mm, 149mm, and 147mm in length.
- Use Proper Tools: A flush cutter is ideal for this job. It ensures clean cuts without damaging the wire.
- Check Your Measurements: Precision is key! Double-check your lengths to make sure they’re spot on.
Every cut, every measurement—it all plays a role in how far our Lora antenna will reach. So, take your time and make sure each piece is perfect before moving on!

Assembling the Yagi Antenna
With our components prepped and ready, we’re now at the exciting part: assembly! This is where everything comes together, and we start to see our Yagi antenna take shape. Follow these steps:
- Insert the Copper Rods: Begin by sliding the copper rods into the designated holes in the 3D printed parts. Alignment is crucial, so take your time to ensure everything is straight and centered.
- Secure with Glue: Use CA glue to hold the copper rods in place. A little goes a long way—just don't get it on the hinge!
- Connect the Driven Element: The center wire must be connected to the driven element. Here’s where soldering comes into play. Make sure your connections are solid for optimal performance.
This assembly process is where the magic happens. Your attention to detail now will pay off later when you’re testing the antenna’s range. Remember, a well-constructed antenna is a powerful antenna!

Setting Up the Testing Environment
Before we embark on this epic journey to test our DIY Yagi antenna, it’s crucial to set the stage properly. The testing environment can make or break our results, so let’s ensure everything is in tip-top shape.
First off, we need a solid base station. I chose to use the Rayex air y l r nine nine eight module, which is compact yet powerful. This little beauty will remain stationary at home, equipped with its onboard antenna while we venture out with the remote setup. It’s essential to ensure that our setup is functioning correctly before hitting the field. A continuity check on the cables is a must to avoid any nasty surprises when we’re out there.

Next, let’s get our microcontroller connected to the antenna. By pressing the flash button, we can send messages to our base station and confirm the communication is working as expected. It’s all about that ping back, baby! Whatever we send out should come right back to us. This back-and-forth will be our lifeline during the tests.

Now, let’s talk about location. I plan to set up the base station on my balcony, giving me a clear shot at our target destination. But before we go for the gusto, I’ll first test it at a more manageable distance of about eight kilometers. This will allow us to confirm everything is operational before we attempt the full forty-kilometer stretch. Safety first, right?
Field Test: Initial Distance Check
Fast forward to the field test—I'm currently parked about eight kilometers from my base station, and the excitement is palpable! With my daughter assisting, we’re ready to put this bad boy to the test. The first order of business? Press that flash button and see if we get a message ping back.

Lo and behold, the antenna is working like a charm! Even though it's not perfectly aligned, we’re still getting reliable communication. But let’s not stop there. Directionality is key with a Yagi antenna, so let’s experiment with different orientations to see how it affects our signal.
As we switch the antenna’s direction, we discover something fascinating: when pointed away, the signal drops. This highlights the importance of alignment when using a directional antenna. A little tweak here and there can significantly impact performance. We got the ping back when aimed correctly, but when we turned it away from the base station, it was a no-go.
With this initial test under our belts, it’s time to gear up for the big challenge. The stage is set, and we’re eager to push the limits!
The Big Test: 40km Challenge
After confirming that the antenna works seamlessly at a shorter distance, it’s time to tackle the ultimate challenge: a whopping forty kilometers! I can already feel the adrenaline kicking in. The next day, despite the less-than-ideal weather, we’re ready to head out with our gear.

Arriving at the forty-kilometer mark, I carefully set up the antenna, pointing it in the direction of the base station. The moment of truth is upon us. Will our DIY Yagi antenna rise to the occasion? I hit the flash button and… it works! The communication is established, and I can hardly contain my excitement.
But wait, there’s more! Just to prove this isn’t a fluke, I pull out the omnidirectional antenna we used previously, which only managed to get us to twenty kilometers. Guess what? It still works at forty kilometers! This is a testament to the significance of clear line of sight and proper antenna alignment. The difference is night and day, and it’s clear that our DIY efforts have paid off.

To further validate our results, I swap back to the DIY antenna. Each time I align it correctly, we maintain communication without any hiccups. However, if I point it away, the connection drops. This reinforces the directional nature of the Yagi antenna—point it right, and it’s golden; point it wrong, and you’re out of luck.
Results and Conclusions
After a thrilling day of testing, I’m thrilled to announce that our DIY Yagi antenna has successfully achieved communication over a distance of forty kilometers! This experiment has not only proven the effectiveness of our design but also highlighted the importance of antenna alignment and clear line of sight.
What’s even more surprising is that the omnidirectional antenna, which was previously thought to be limited, managed to perform at the same distance. This just goes to show that with the right conditions, even the simplest setups can yield impressive results.

In conclusion, this project has been a fantastic journey filled with learning and discovery. The DIY Yagi antenna exceeded expectations, and I encourage anyone interested in exploring the capabilities of Lora antennas to give it a shot. Just remember, precision in construction and alignment is key!
FAQs About Lora Antennas
As we wrap up this adventure, let’s address some common questions about Lora antennas that might be on your mind.
- What is a Lora antenna?A Lora antenna is designed for long-range, low-power communication, typically used in IoT applications. It operates on specific frequencies and is optimized for distance and efficiency.
- How important is antenna alignment?Extremely! Directional antennas like the Yagi require precise alignment to maintain a strong signal. Misalignment can lead to a significant drop in performance.
- Can I use an omnidirectional antenna for long distances?Yes, but performance will vary. While omnidirectional antennas can provide coverage in all directions, they may not achieve the same distances as a well-aligned directional antenna.
- What are the best practices for building a Lora antenna?Focus on precision in measurements, ensure your connections are solid, and always test your setup in various conditions to understand its capabilities.
This article was created from the video DIY YAGI Antenna for LoRa with amazing distance results