
Ian from MadsRC dives deep into the intricacies of the new Caddx GM series gimbals designed for use with the Avatar HD system. These innovative gimbals allow for pass-through head tracking using wireless systems on goggles like the Goggles L, and possibly the upcoming Goggles X. However, a twist emerges with the simultaneous release of the GT high power two-watt VTX, which doesn’t officially support the gimbals for this feature. Let's unpack the details.
Understanding Compatibility Issues
The GM series of gimbals are compatible with Caddx VTXs equipped with the new USB update cable connector. The original VTX models featured a four-pin connector, while later versions, including the Moonlight, adopted a six-pin connector that includes additional UART capabilities for better control. This is where things get tricky with the new GT VTX, which lacks the necessary USB port for direct gimbal connection.

Although the GT VTX is updated via micro SD card, it’s important to note that it doesn’t support the direct USB connection required for the gimbal to function correctly. This raises questions about the design choices made by Caddx, as the timing of these releases seems counterintuitive.
The Solution: Internal Modifications
Fear not! Ian guides us through a workaround that involves tearing down the GT VTX to access an internal TX and RX port. While this may sound daunting, it’s a manageable task if you have some soldering skills. Here’s how to proceed:
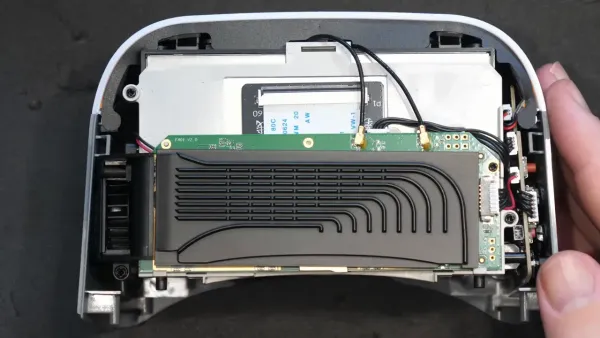
- Begin by removing the fan, which is secured with four screws that also hold the camera MIPI cable in place.
- Carefully lift the fan aside without damaging the cables.
- Use a small Phillips screwdriver to remove the top section of the VTX, exposing the PCB.
- Locate the small pads labeled TX and RX on the underside of the PCB, which are crucial for connecting to the gimbal.

Once you have access to these pads, you’ll need to solder wires to them to create an external connection for your gimbal. Ian emphasizes the importance of precision here, as these pads are quite small.


Soldering and Reassembly
After successfully soldering the wires, the next challenge is to route them out of the VTX. Ian notes that the existing casing lacks sufficient gaps for the wires, necessitating some creative cutting to create space without compromising the integrity of the VTX. This part is crucial to avoid trapping the wires during reassembly.

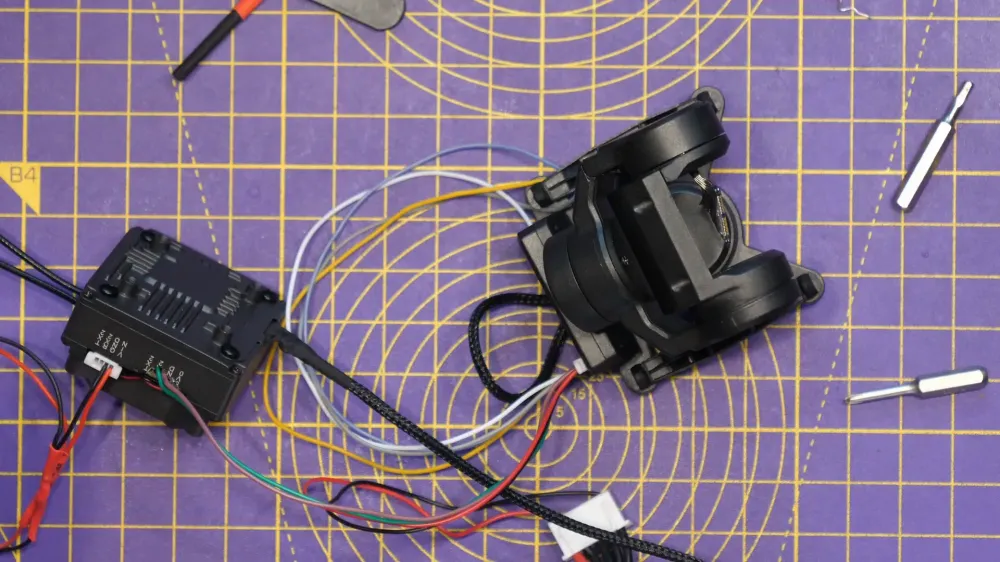
With the wires successfully routed and the VTX reassembled, it’s time to test the setup. Ian demonstrates that the modifications allow for a functional connection between the gimbal and the Avatar GT, enabling the pass-through head tracking feature.

Final Thoughts and Future Prospects
It’s peculiar that Caddx launched the GT VTX alongside the GM gimbals while limiting compatibility. Ian speculates that a firmware update might eventually enable external UART usage for the GT VTX, although this would come at the cost of OSD functionality. For now, those willing to undertake the internal mod can enjoy the benefits of head tracking.
If you found this guide helpful, consider supporting Ian and the MadsRC team through their Patreon or Buy Me A Coffee links. Community support is crucial for continuing this valuable content creation!
FAQ
- What tools do I need for the modification? You'll need a Phillips screwdriver, soldering iron, and some wire for the connections.
- Is it safe to modify the VTX? While it can void warranties, many enthusiasts find it a worthwhile risk for enhanced functionality.
- Can I revert the VTX back to its original state? With careful soldering and handling, you can preserve the original connections, making it reversible.
This article was based from the video Caddx Avatar GT Kit Gimbal Mod - GM 3 Gimbal How-To