Hook: A clear, safe AutoTune workflow stops you guessing and wrecking rotorcraft. This guide explains the ArduPilot helicopter tuning process and why Uav pilots should care.
TL:DR
Follow a six‑flight AutoTune sequence in calm conditions. Prep: wobble‑free hover, trims set, pitch/roll P&D low or zero, ArduPilot 4.6.2+. The routine runs feed‑forward, P&D and angle/rate steps separately and saves after each landing.
Why this matters for Uav helicopter folk
Tuning transforms a twitchy model into a predictable machine. AutoTune replaces trial‑and‑error PID fiddling with a repeatable six‑step process. You get safer flights and fewer shattered pride moments.
Basic safety and prerequisites
Fly in a large, empty area away from people, pets and property. Larger helis throw dangerous debris at head height; treat them like wrist‑snapping catapults. Make sure firmware is ArduPilot 4.6.2 or later before you start.
Start point: hover stability and trims
The helicopter must hover without oscillation and drift under roughly 1 m/s. Use ATC_HOVER_ROLL_TRIM for side drift and AHRS_TRIM_Y for fore/aft. Drop pitch and roll P&D to zero (or Mission Planner's lowest allowed) — ArduPilot tolerates this.
Configure AutoTune parameters
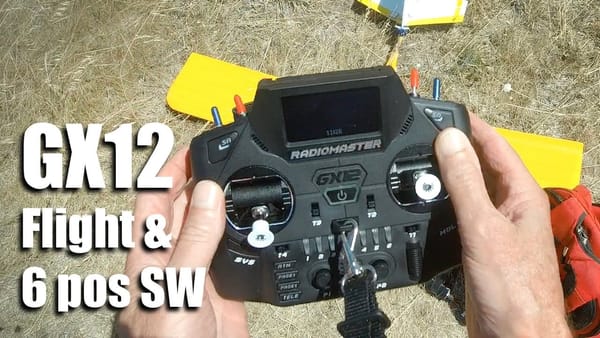
Set AUTOTUNE_FREQ_MAX to 100 for smaller models like the OMP M4. Reduce AUTOTUNE_GN_MAX to 1.0 for small helis (wiki default 1.8 targets larger machines). Set the extra AUTOTUNE params for roll and pitch to 3 and map AutoTune to a switch. Watch messages on a ground station while it runs.
Six flights, one at a time
AutoTune now splits work into six dedicated flights. Do them in sequence. 1) Feed‑forward. 2) Pitch P&D. 3) Roll P&D. 4) Pitch & roll angles. 5) Rate. 6) Final angles. Land and disarm after each successful step — parameters save on disarm.
How to execute a tuning flight
Arm, remove motor interlock, climb to ~20–30m and switch to AltHold. Engage AutoTune; monitor messages. Wait for the success message before landing. If it wanders, stick‑input pauses the routine; release to let it continue.
When AutoTune completes or misbehaves
If you dislike the new behaviour, exit AutoTune before landing and disarming — values won't save. The modern AutoTune avoids violent oscillations; it's deliberately conservative and safe. If unsure, repeat a step on another day and keep a log of sequences completed.
Pro tips from Matt and the ArduPilot devs
Do the process on a calm day — wind corrupts the tune. Use Mission Planner or another ground station — AutoTune emits many status messages. You do not need to finish all six flights in one session; keep track of your sequence number.
FAQ
How strict is the firmware version requirement?
Use ArduPilot 4.6.2 or later. The AutoTune logic changed recently and older builds lack the safer six‑step flow.
Can I autotune with non‑electric helicopters?
AutoTune supports many setups, but the wiki lists caveats for nitro, petrol, governors and ESCs. Follow the wiki for drivetrain specifics before testing.
What if my heli drifts a lot before tuning?
Fix mechanical issues first — secure the FC, level the swash, tighten fasteners. Use ATC_HOVER_ROLL_TRIM and AHRS_TRIM_Y to reduce drift below 1 m/s.

Takeaway box
Skim answers for field use — three quick nuggets below.
- Uav AutoTune runs in six, discrete flights — save after each landing.
- Zero pitch/roll P&D first; tune feed‑forward then P&D then angles/rates.
- Use ArduPilot 4.6.2+, calm weather, and a ground station to watch messages.
This article was based from the video Ardupilot Helicopter Tuning Process Explained