Welcome to the world of ArduPilot Lua scripting! In this guide, we'll unravel the mysteries of Lua syntax, explore essential resources, and walk through a practical example script. Whether you're a seasoned programmer or just starting out, this blog will equip you with the knowledge to enhance your ArduPilot experience.
Lua Scripting for ArduPilot: Navigating the Quirks and Perks
Introduction to Lua Scripting for ArduPilot
Welcome to the whimsical world of Lua scripting for ArduPilot! If you're looking to dive into the intricacies of coding for autonomous vehicles, you’ve landed in the right spot. Lua is a lightweight, high-level scripting language that is both powerful and flexible, making it an ideal choice for customizing your ArduPilot experience. This section will introduce you to the essentials of Lua scripting tailored specifically for ArduPilot.
Essential Reference Material & Documentation
When embarking on your Lua scripting journey, it’s crucial to have a toolkit of resources at your disposal. ArduPilot documentation can sometimes feel like an outdated relic from the past, but fear not! Here are some essential references:
- ArduPilot Lua Documentation: Although it may be a bit behind the times, it’s still a great starting point for understanding the basics of Lua in the ArduPilot context.
- Lua 5.3 Reference Manual: Visit lua.org for in-depth information on syntax and structure. Just remember to stick to version 5.3, as ArduPilot does not yet support the latest versions.
- Sample Scripts: The best way to learn is by example. Check out the sample scripts linked in the ArduPilot documentation; they’re often more detailed and up-to-date than the accompanying text.
- Mavlink Documentation: Understanding Mavlink messages is vital. Head over to mavlink.io for a comprehensive overview of message structures and functionalities.
Understanding ArduPilot's Lua Version
As mentioned, ArduPilot operates on Lua 5.3. This version is crucial because it introduces several features that enhance scripting capabilities. For instance, it supports tables, which are Lua's way of handling data structures akin to arrays or dictionaries in other languages. Tables are highly versatile and can be used to create complex data types, making them a fundamental aspect of Lua scripting.
Another notable feature of Lua 5.3 is its support for a variety of data types, including strings, numbers, and booleans, which all contribute to its loosely typed nature. This flexibility allows you to write code that is both efficient and easy to read, provided you maintain clarity in your variable declarations and scope management.
Navigating Outdated Documentation
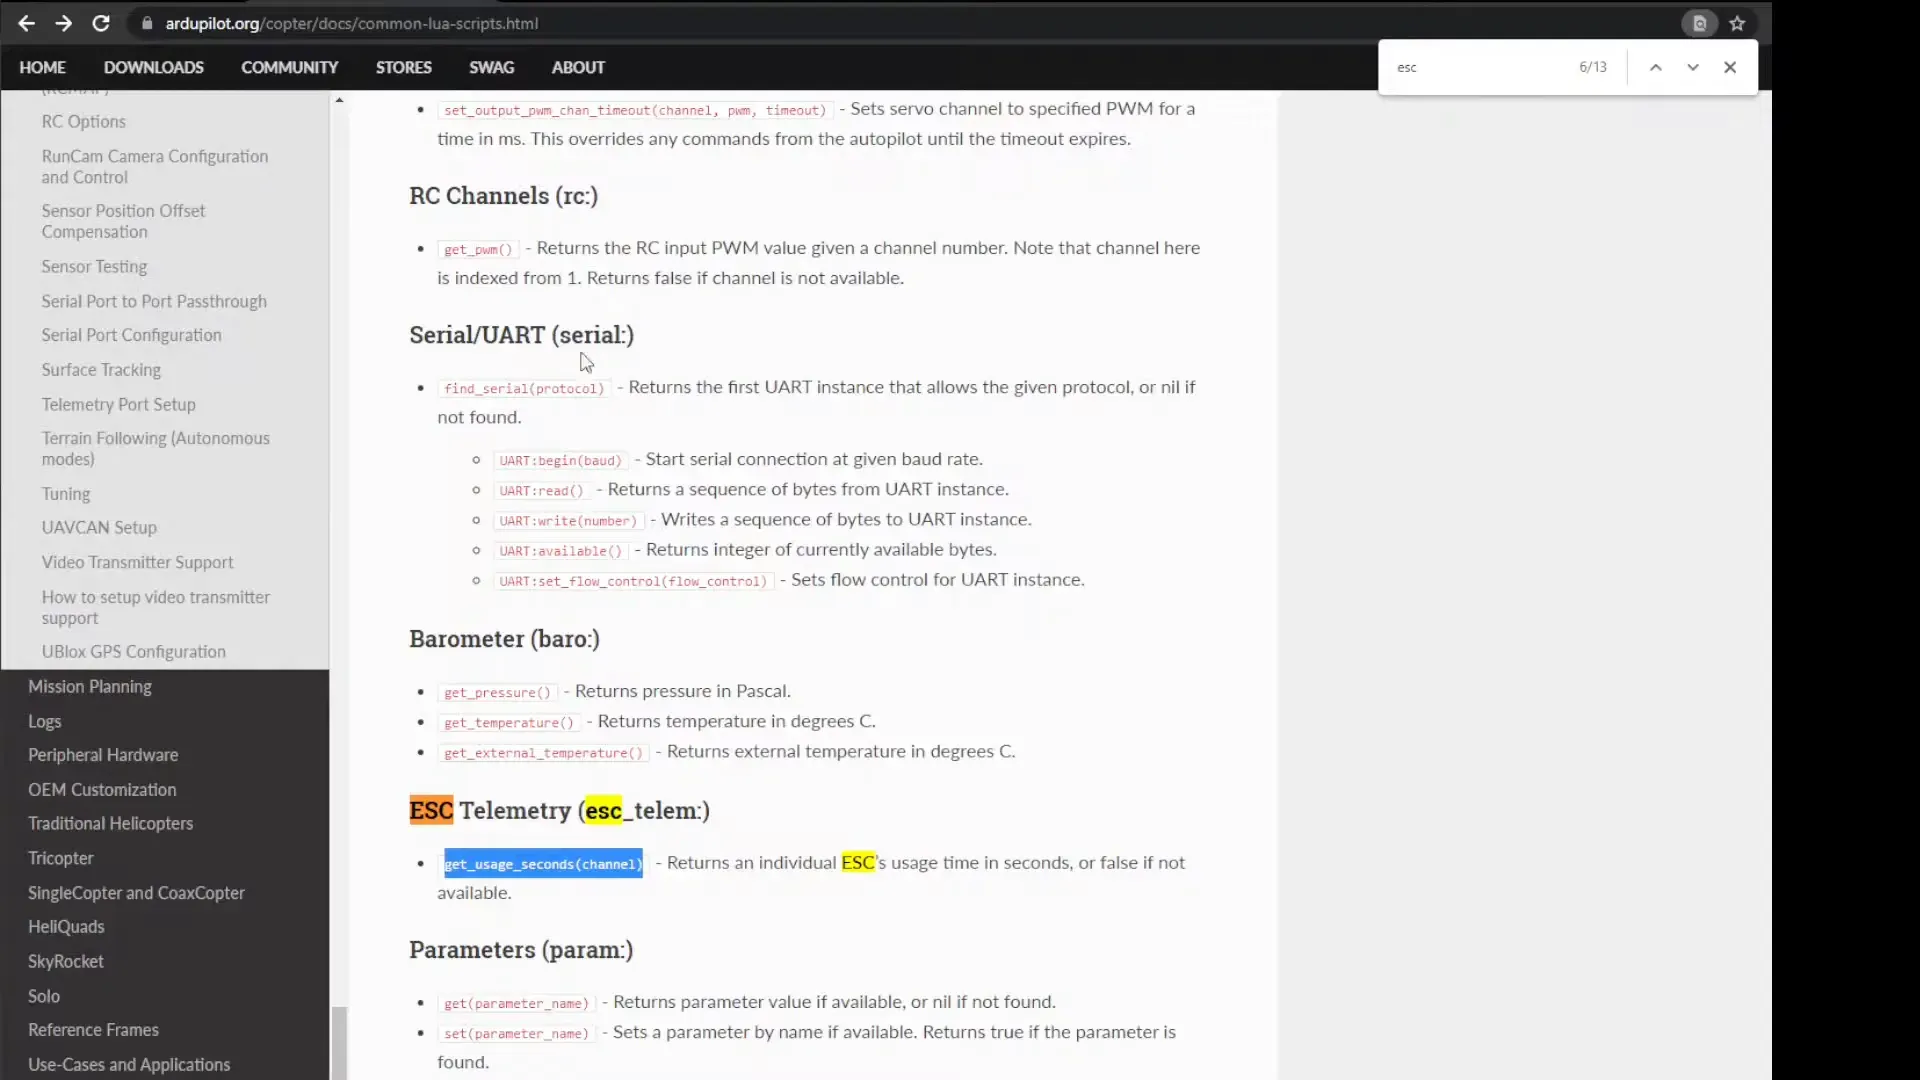
One of the biggest challenges in working with ArduPilot's Lua scripting is the occasionally outdated documentation. For example, the ESC telemetry documentation may only reference a limited set of functions, like getUsageSeconds. However, the bindings generator reveals a treasure trove of additional methods such as getRPM, getTemperature, and others that are essential for a comprehensive understanding of what you can do with ESC telemetry.
When you encounter discrepancies in the documentation, don’t hesitate to explore the codebase directly. Often, digging into the actual source code can provide insights that official documents lack. Community forums and discussions can also be invaluable resources for real-world applications and troubleshooting.
Exploring ESC Telemetry and Available Methods
ESC telemetry is an exciting area of exploration within ArduPilot Lua scripting, offering critical insights into your vehicle's performance. The primary functions available for ESC telemetry include:
getRPM: Retrieves the revolutions per minute of the motor.getTemperature: Gives you the current temperature reading.getMotorTemperature: Specifically focuses on the motor's temperature.getCurrent: Monitors the current draw from the battery.getVoltage: Provides the voltage reading from the battery.getConsumptionMilliampHours: Calculates the total consumption in milliamp hours.
These methods empower you to monitor and optimize your vehicle's performance effectively. By integrating these telemetry functions into your Lua scripts, you can create responsive and intelligent systems that adapt to changing conditions in real time.
As you delve deeper into Lua scripting for ArduPilot, remember that the community is your ally. Engage with other developers, share your scripts, and learn from their experiences. The journey may be complex, but the rewards of mastering Lua scripting in ArduPilot are well worth the effort!
API References and Mavlink Messages
When delving into the realm of Lua scripting for ArduPilot, a solid grasp of the API and Mavlink messages is essential. These components form the backbone of communication between your scripts and the ArduPilot system, ensuring your autonomous vehicle operates smoothly and efficiently.
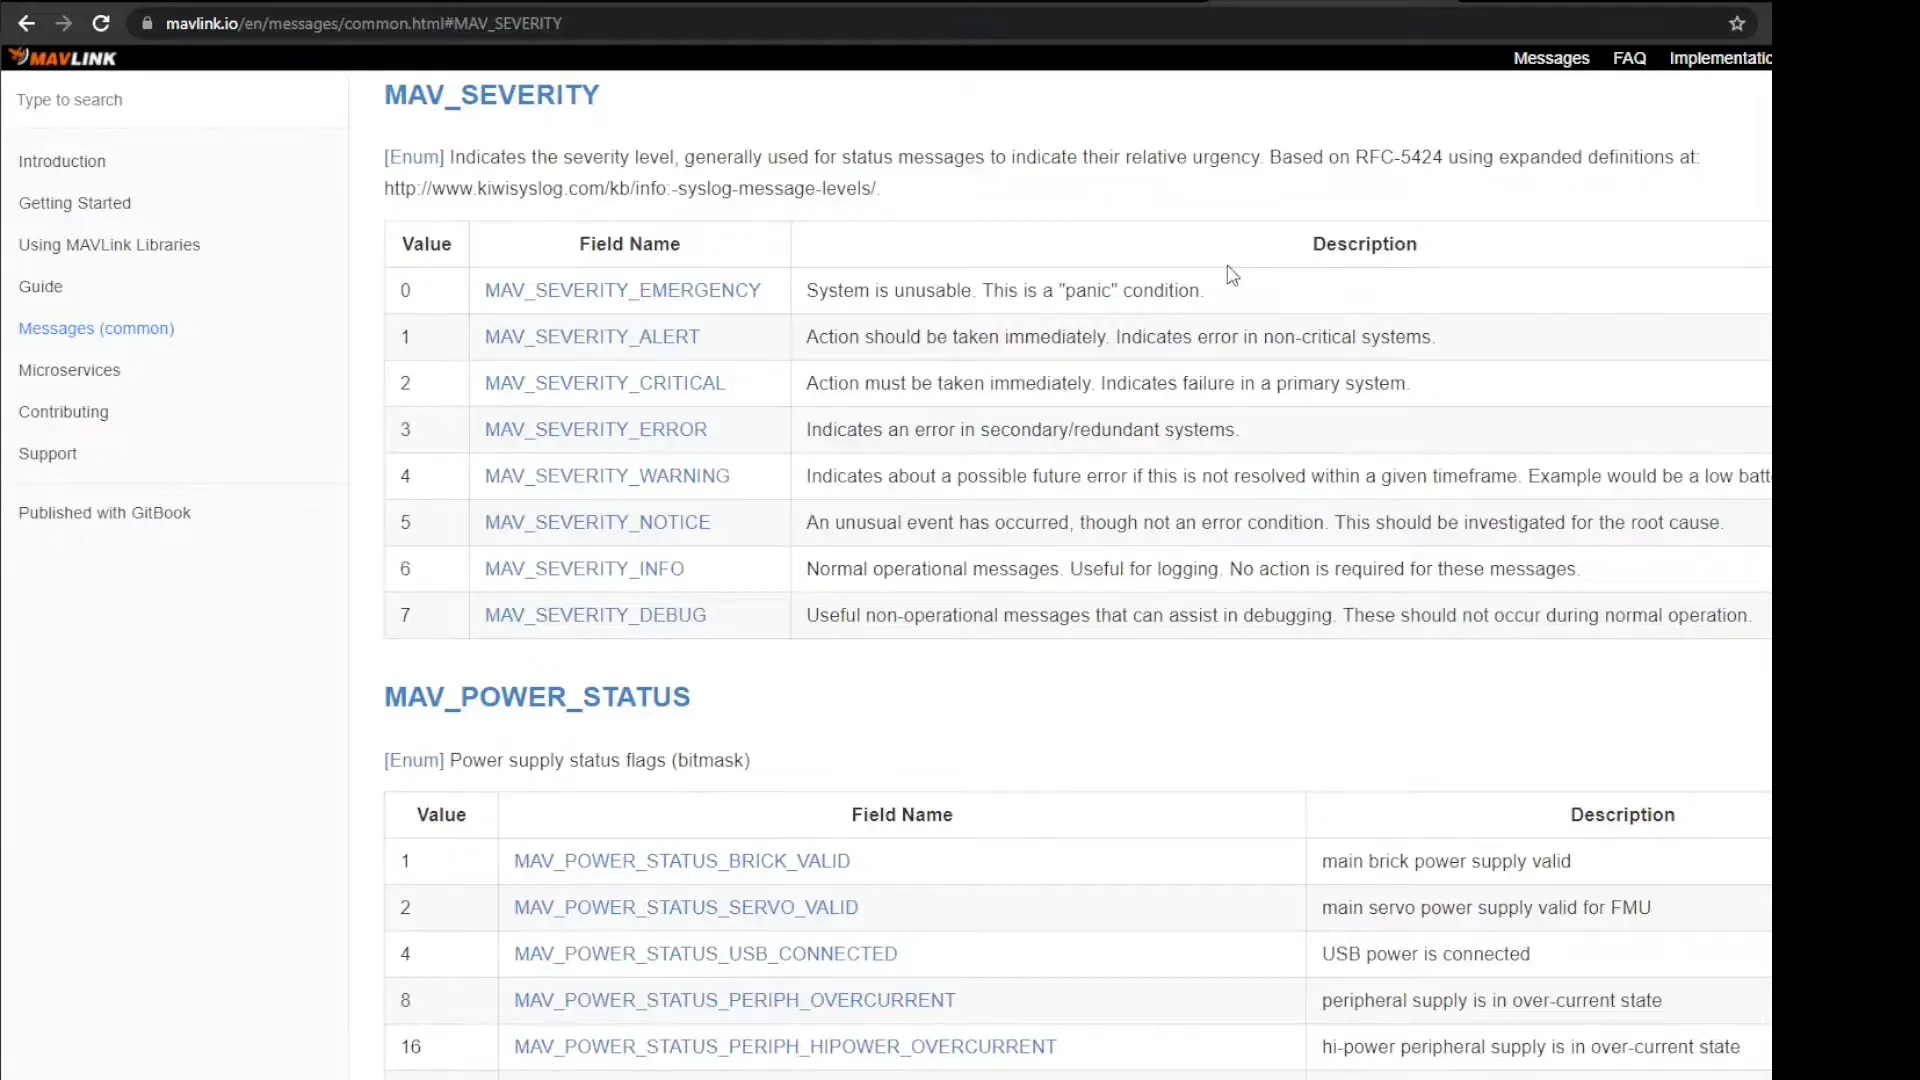
The Mavlink protocol is a lightweight messaging protocol that is crucial for communication between drones and ground control stations. For those interested in the nitty-gritty details, the Mavlink documentation serves as a comprehensive resource. Here, you can explore the structure of messages, how to send them, and what to expect in return.
In ArduPilot, understanding the severity levels of Mavlink messages can be particularly beneficial. The severity level ranges from zero (emergency) to seven (debug), allowing you to tailor the importance of the messages sent back to the ground control system (GCS). This is particularly useful during debugging sessions, as it helps in filtering out less critical messages.
Getting Started with Lua Syntax
Now that we've set the stage with the importance of Mavlink, let's dive into the syntax of Lua. Lua's syntax is designed to be simple and intuitive, making it accessible even for those who may not have extensive programming experience. It shares some similarities with JavaScript, particularly in its handling of whitespace and optional semicolons.
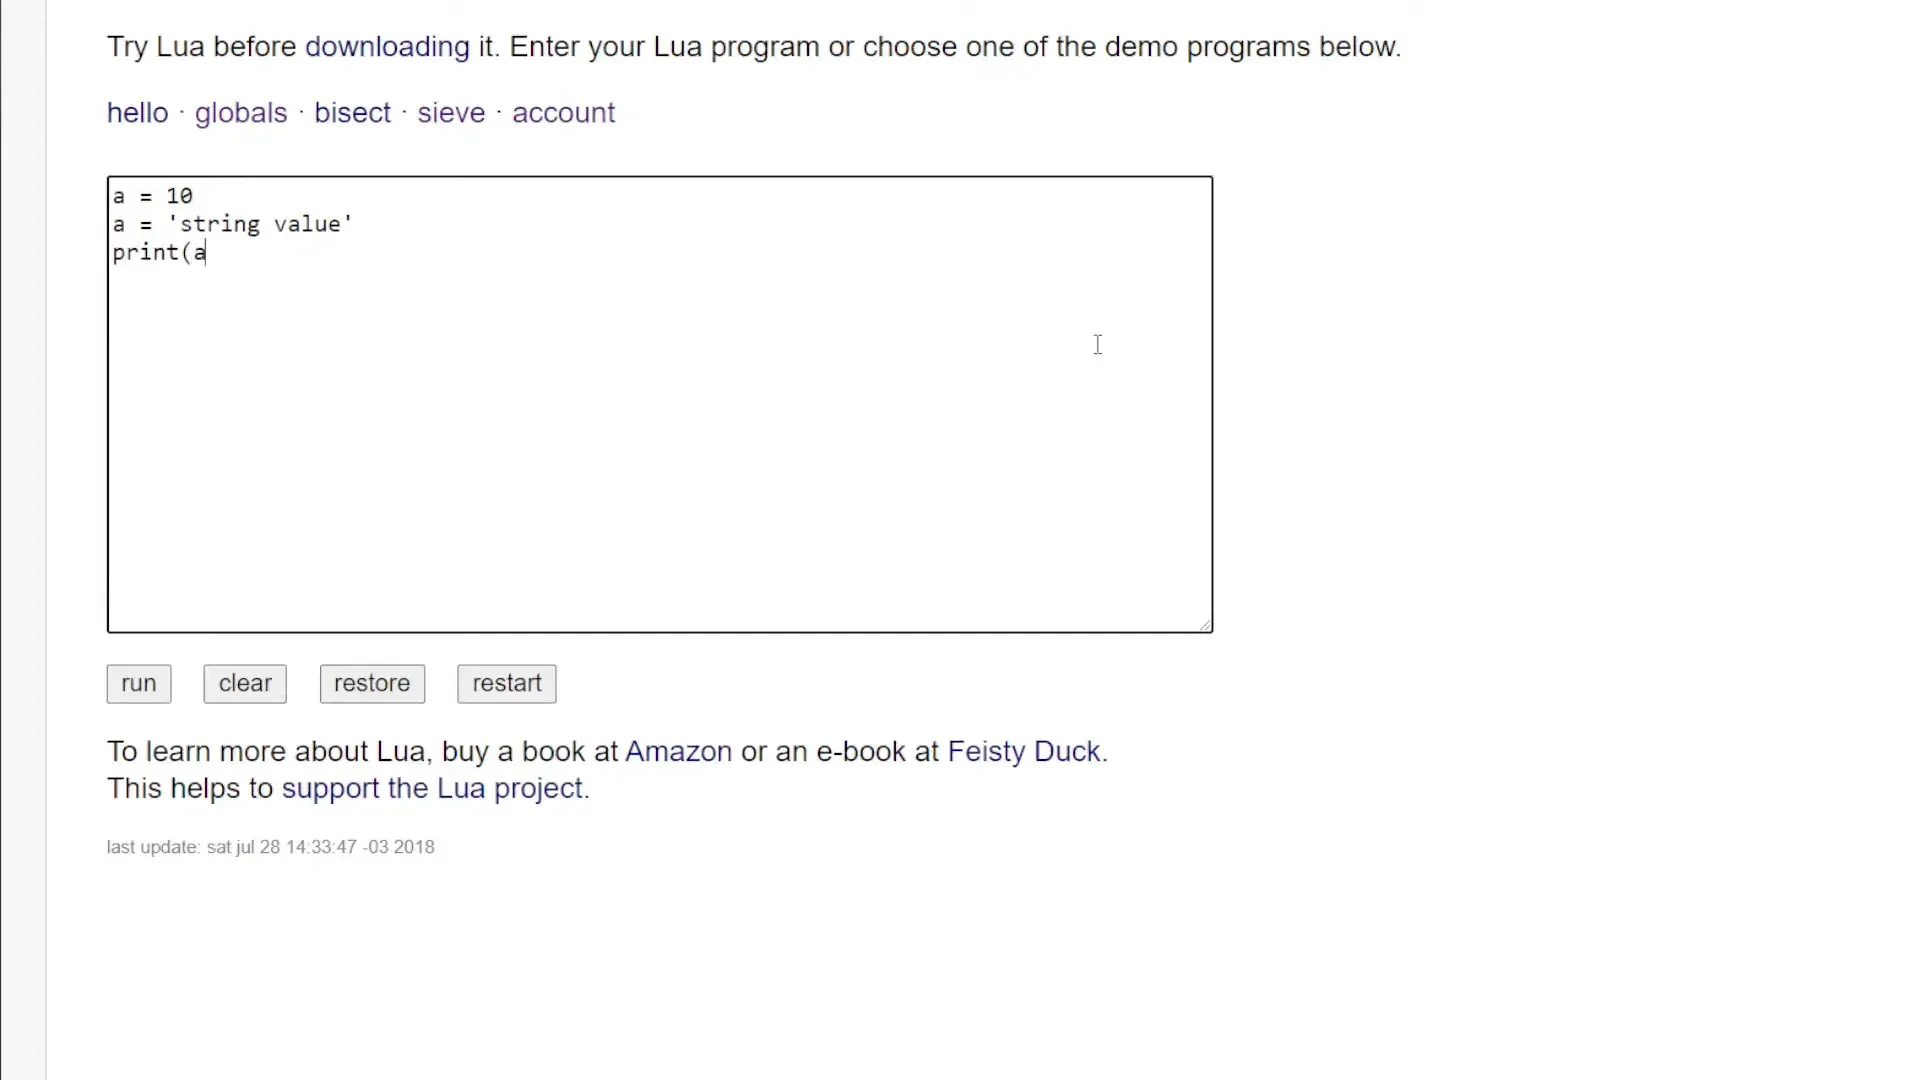
One of the most appealing aspects of Lua is its loosely typed nature. This means you can assign different types of values to the same variable without running into errors. For instance, you can start with an integer and later assign a string to that same variable. This flexibility can be a double-edged sword, though; while it allows for quick prototyping, it may also lead to confusion if not managed carefully.
Variable Declaration & Scope
In Lua, variable declaration is straightforward. You can declare a variable simply by assigning it a value. However, understanding variable scope is crucial for effective scripting. By default, variables are global, which can lead to unintended consequences if not controlled properly.
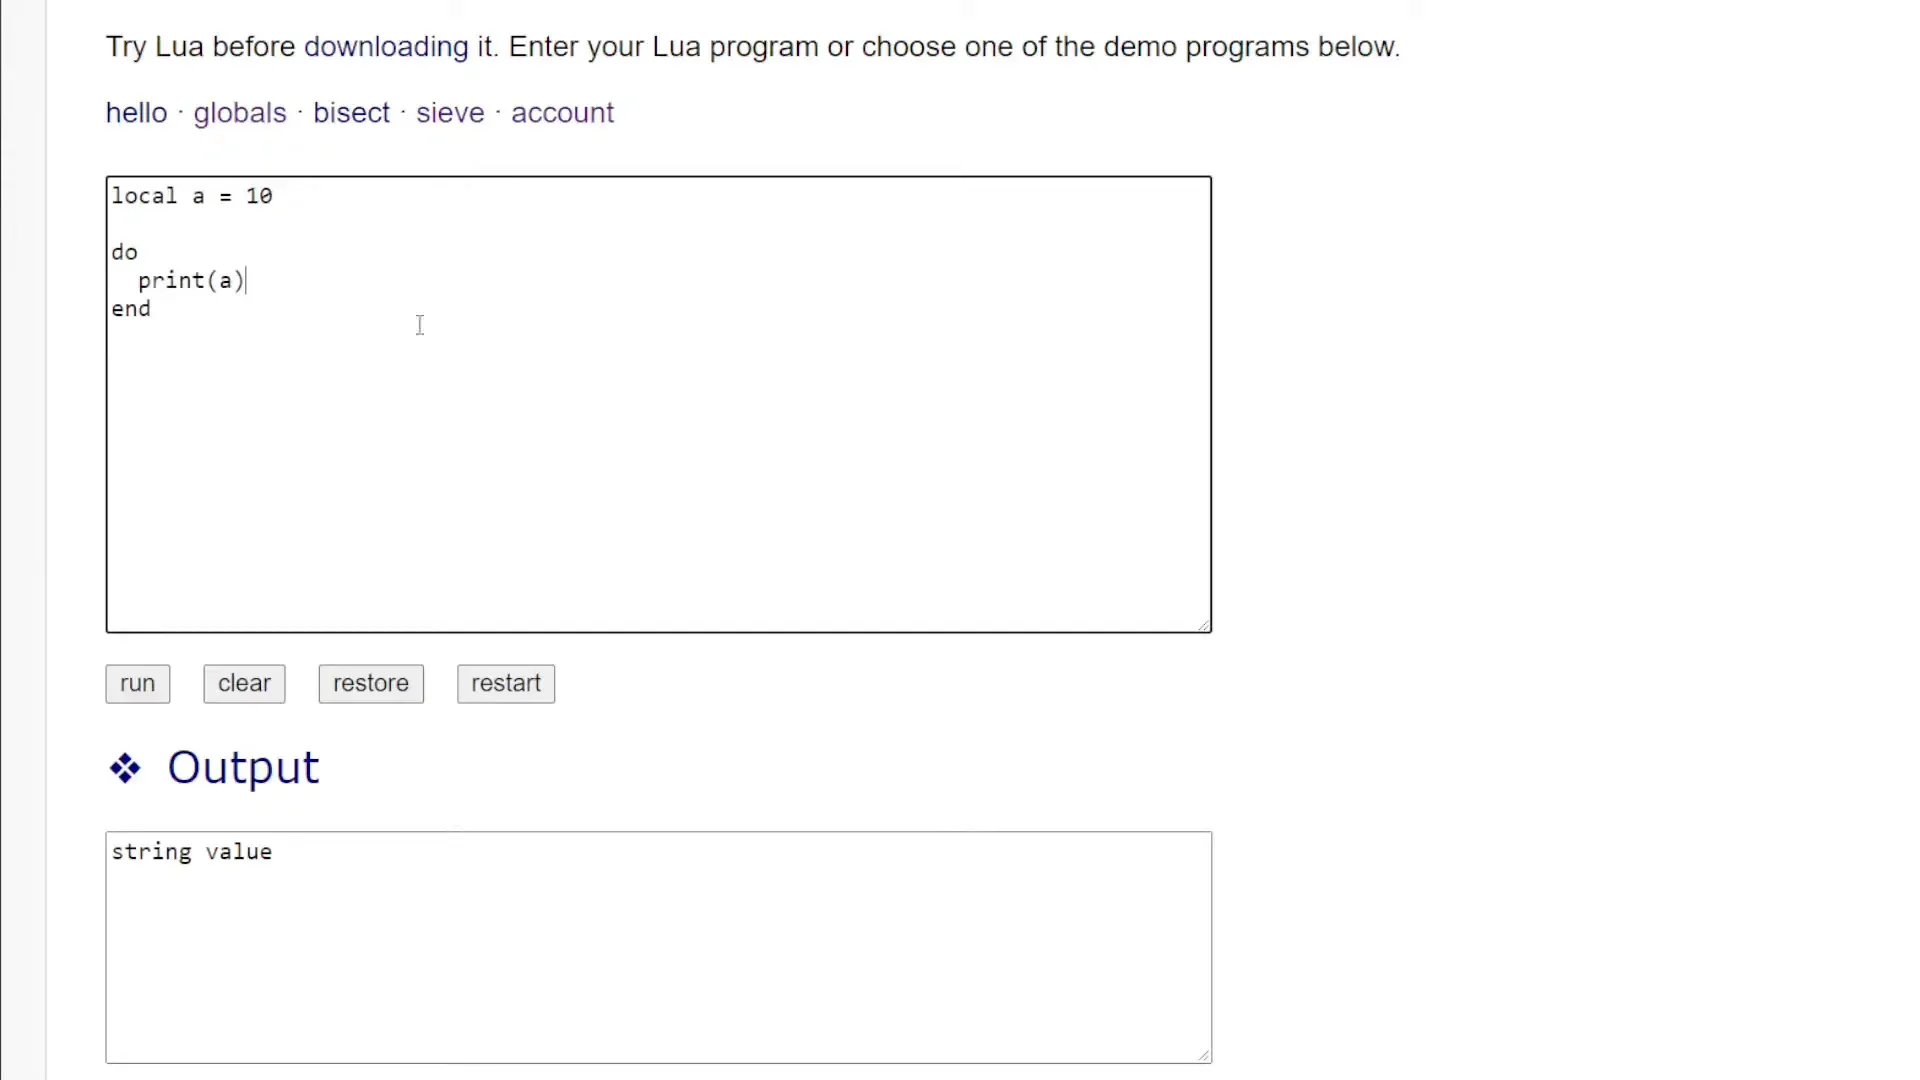
To define a variable's scope, use the local keyword. This restricts the variable's visibility to the block of code in which it is declared, preventing conflicts with similarly named variables in other parts of your script. For example:
local a = 10In this case, a is only accessible within the scope it was declared. If you try to access it outside that block, you'll encounter a nil value, indicating the variable doesn't exist in that context.
Conditionals: if/then Statements
Conditionals in Lua are handled using if statements, similar to many other programming languages. The syntax is clean and intuitive:
if condition then
    -- code to execute if condition is true
end
Unlike some languages, parentheses around the condition are optional, although including them can improve readability. Remember, any conditional statement creates a new local scope, meaning variables declared within that block won't be accessible outside of it.
For instance, if you declare a variable b inside an if block, trying to access b outside of that block will result in a nil return:
if true then
    local b = 12
end
print(b) -- This will output nil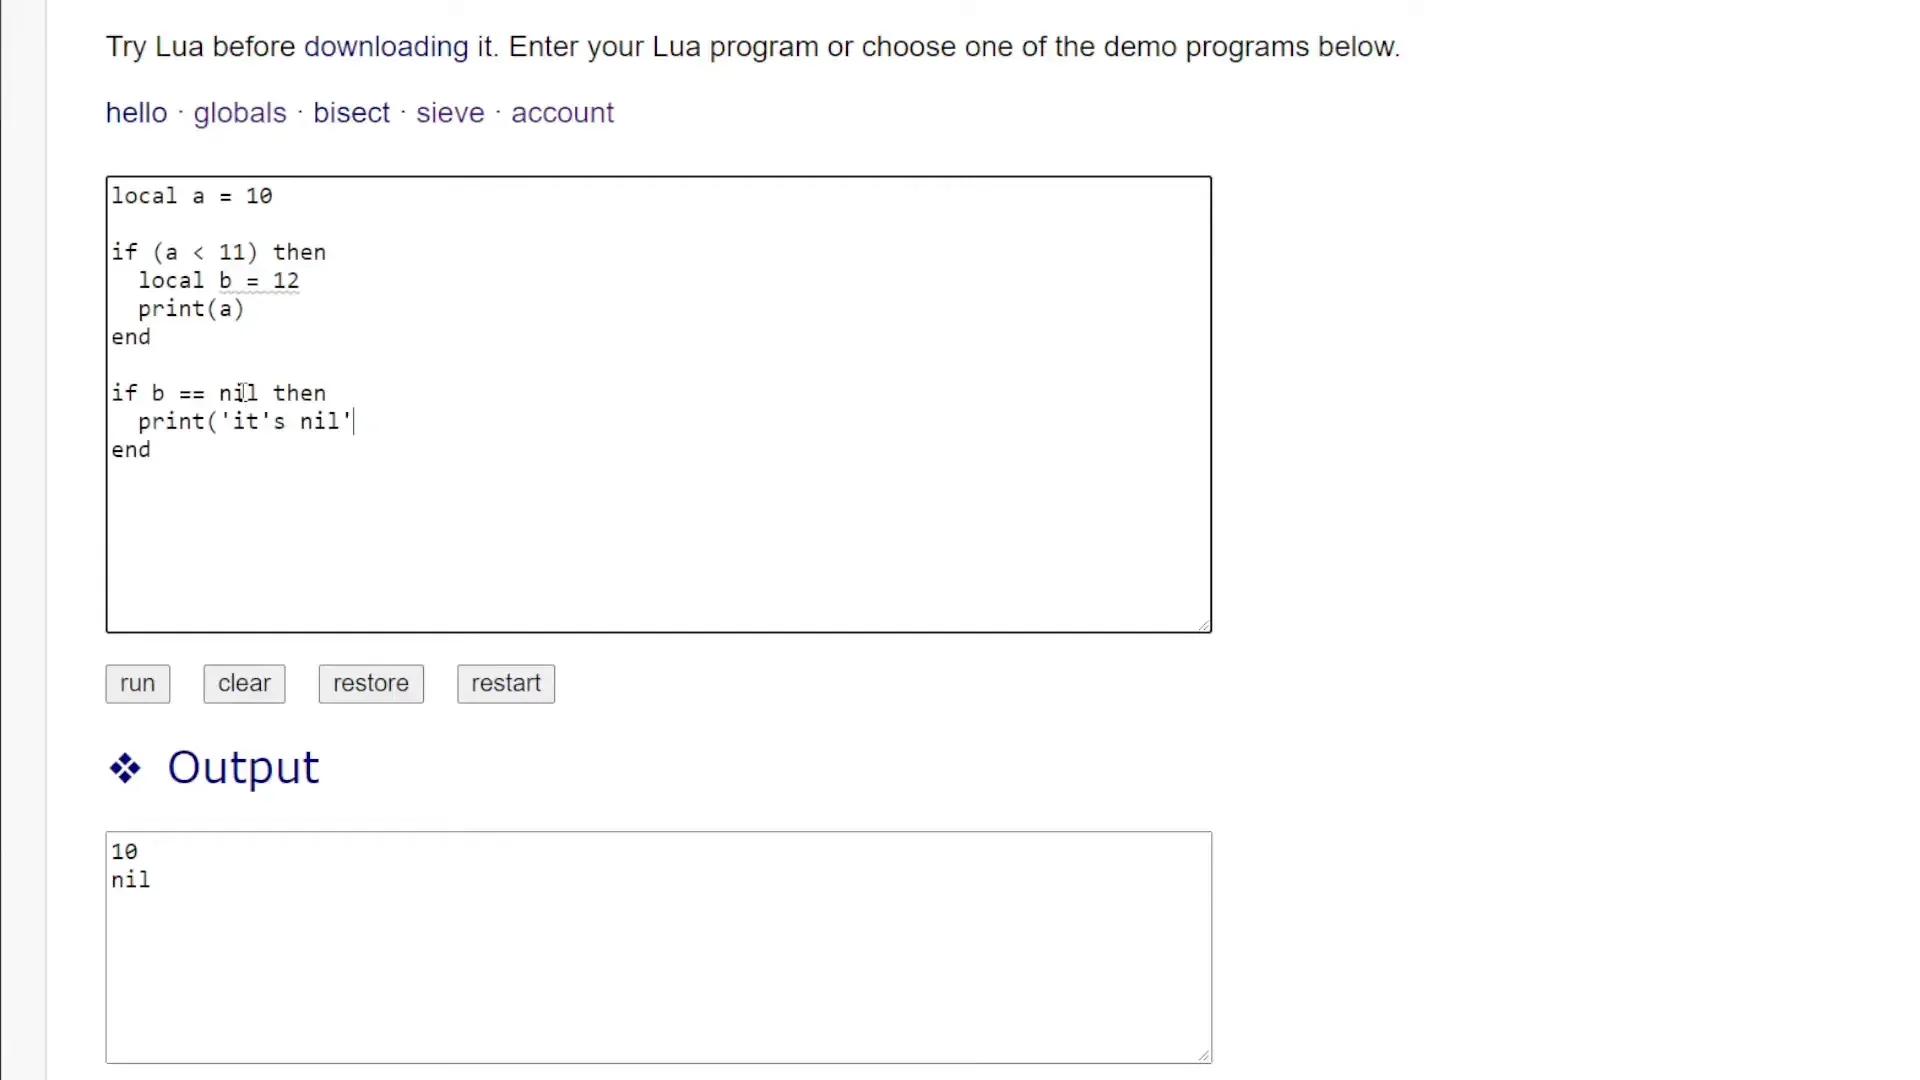
The For Loop: Iteration in Lua
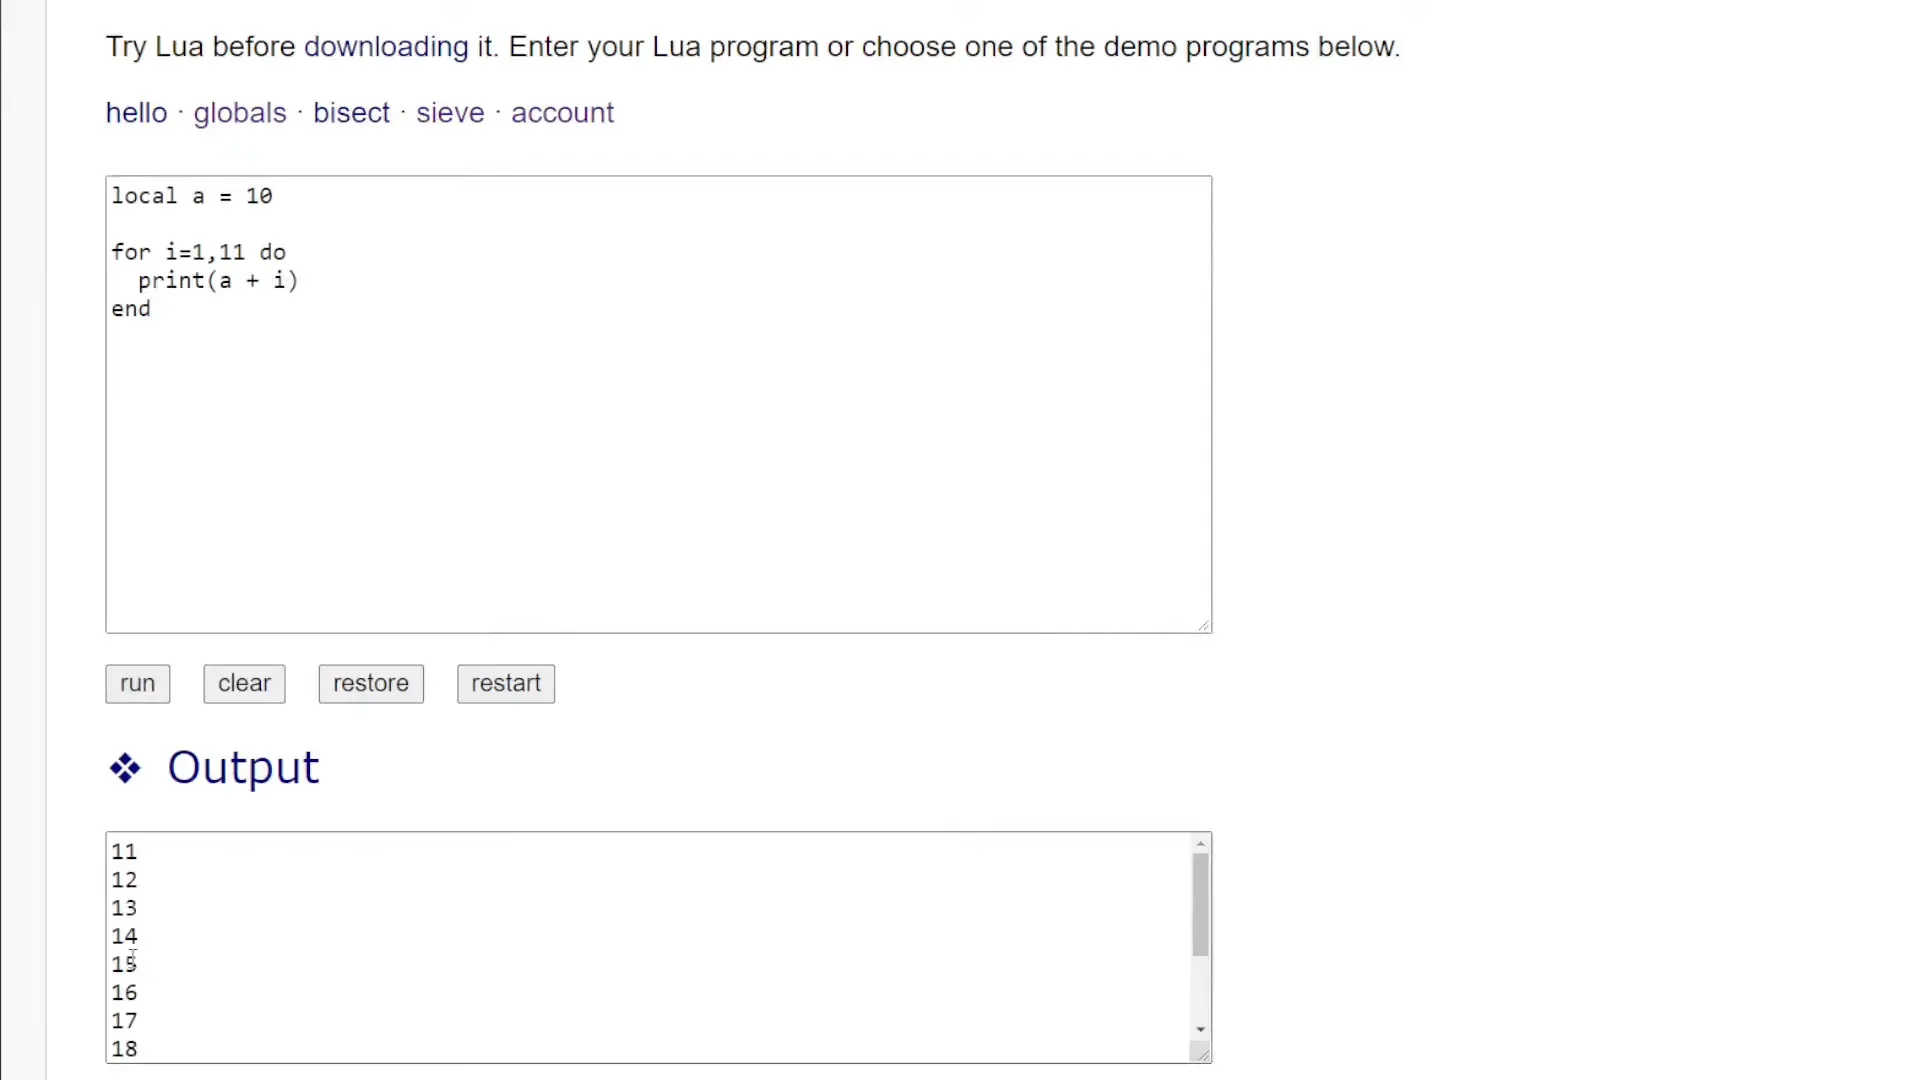
Iteration in Lua is typically achieved using the for loop. The syntax is straightforward:
for i = 1, 10 do
    print(i)
end
This loop will print the numbers from 1 to 10. It's important to note that the range is inclusive, meaning both the starting and ending values are included in the iteration.
In addition to traditional counting loops, Lua also supports iterating over tables using the pairs function, which is essential for working with complex data structures:
local myTable = {a = 1, b = 2, c = 3}
for key, value in pairs(myTable) do
    print(key, value)
end
Here, key will hold the name of the element, while value will contain the corresponding value. This flexibility makes Lua's looping constructs powerful and versatile.
Understanding Tables in Lua
In Lua, tables are the cornerstone of data organization and structure, functioning similarly to arrays and dictionaries found in other programming languages. They allow for a flexible way to manage data and can be indexed by numbers or strings, making them incredibly versatile.
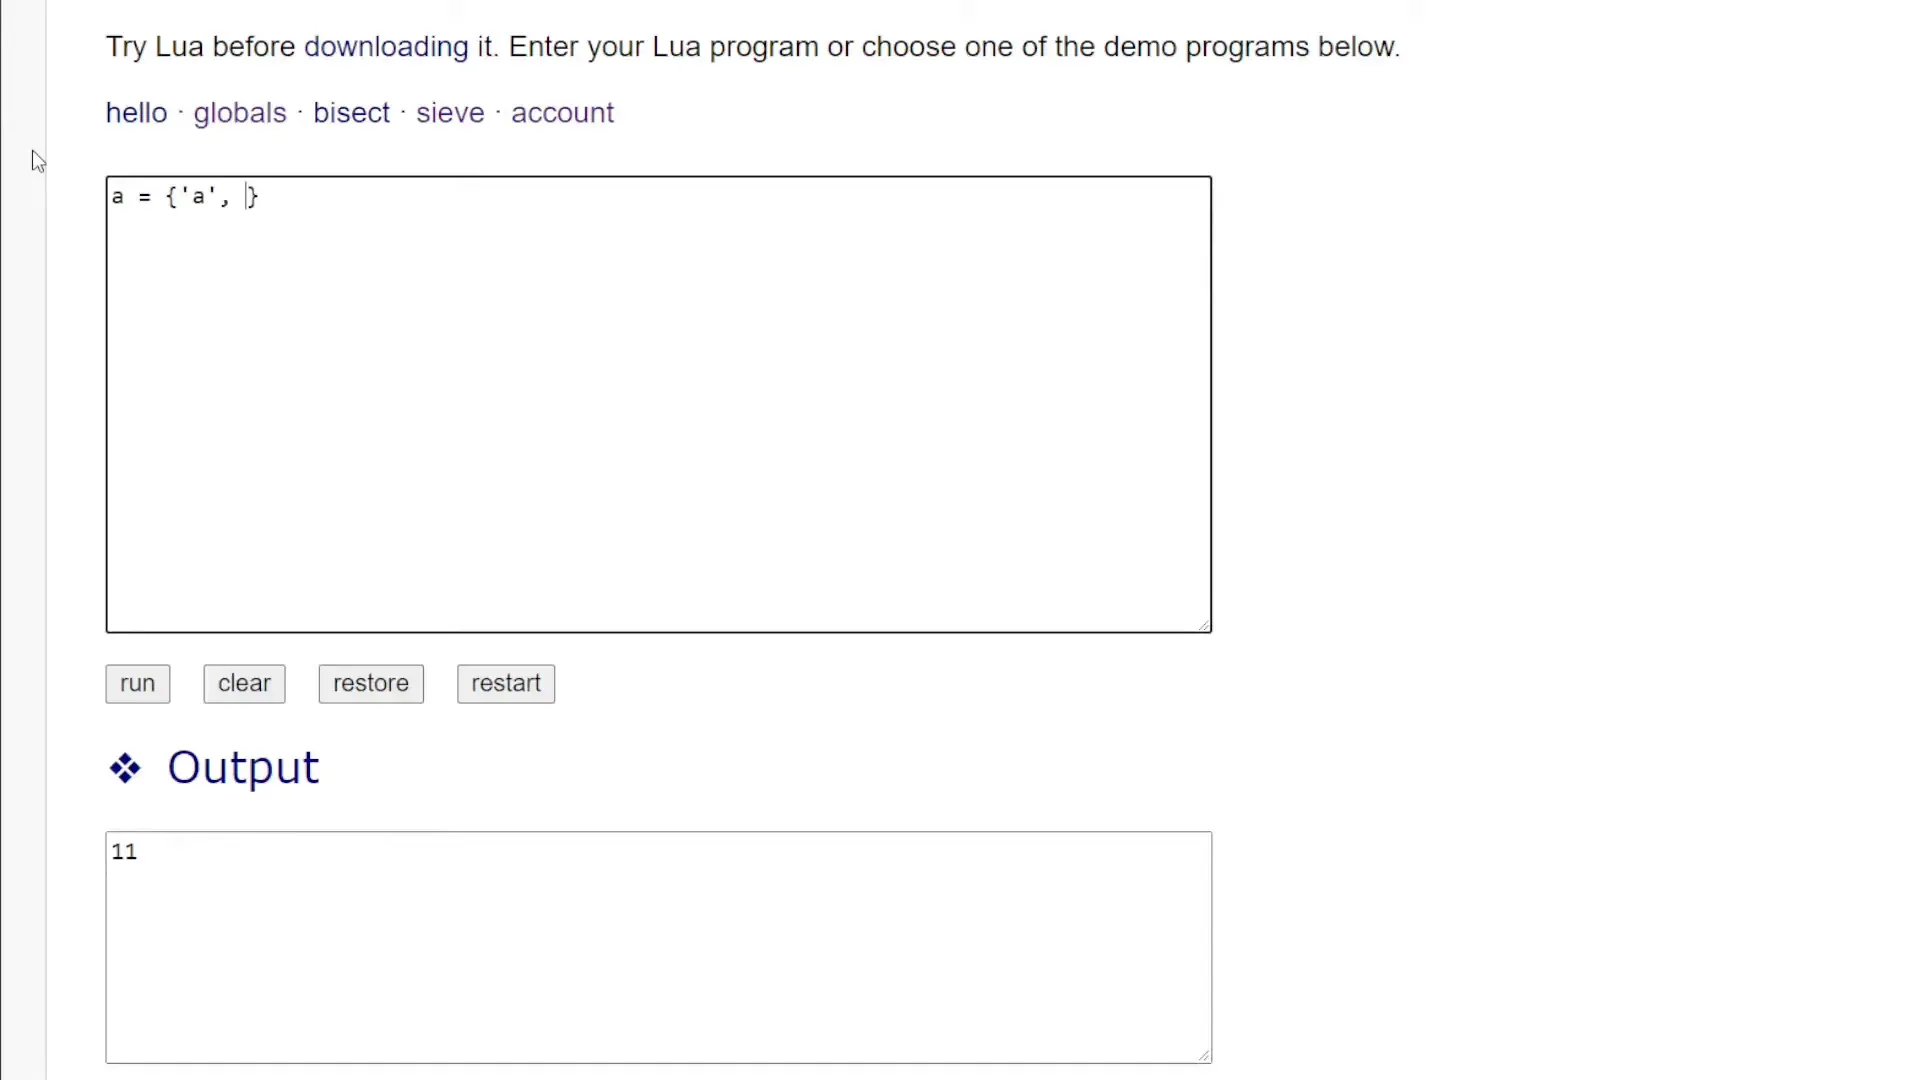
To declare a table, you simply use curly braces:
local myTable = { "apple", "banana", "cherry" }This creates a table with three elements. Lua tables are one-indexed, meaning the first element is accessed with the index "1" rather than "0" as in many other languages.
Tables can also be used to create associative arrays:
local fruitColors = {
    apple = "red",
    banana = "yellow",
    cherry = "red"
}
Here, the fruit names are keys mapped to their respective colors. You can access values using their keys:
print(fruitColors["apple"]) -- Output: redThis flexibility makes tables an essential part of Lua scripting for ArduPilot, allowing you to store and manipulate complex data structures easily.
Iterating Over Tables: A Practical Approach
Iterating through tables in Lua is straightforward, thanks to the pairs function. This function allows you to traverse all key-value pairs in a table:
for key, value in pairs(fruitColors) do
    print(key, value)
end
In this example, the loop will print each fruit along with its corresponding color. If you don't need the key, you can use an underscore to indicate that it's not used:
for _, value in pairs(fruitColors) do
    print(value)
end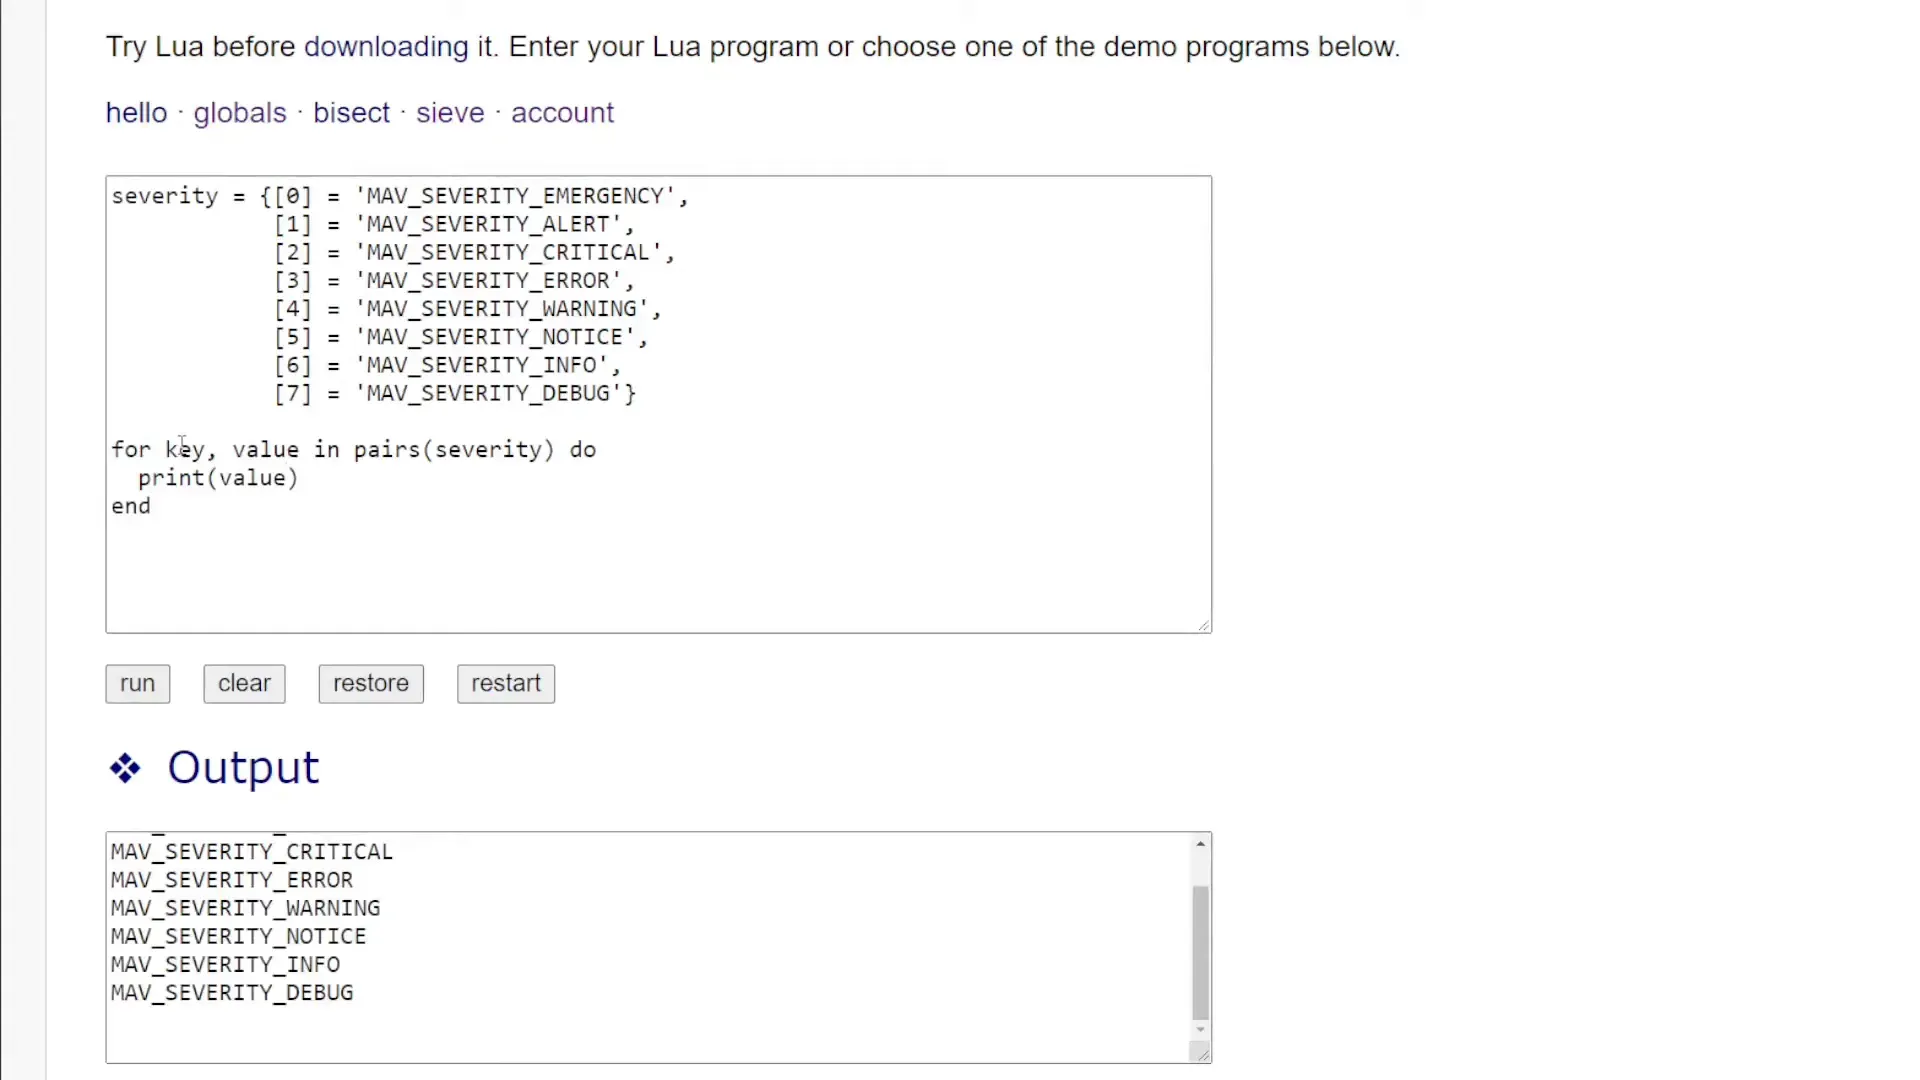
When working with numerical arrays, the ipairs function can be more efficient, as it iterates over the array in order:
local myArray = { "one", "two", "three" }
for index, value in ipairs(myArray) do
    print(index, value)
end
This approach is particularly useful for ordered lists where the index matters.
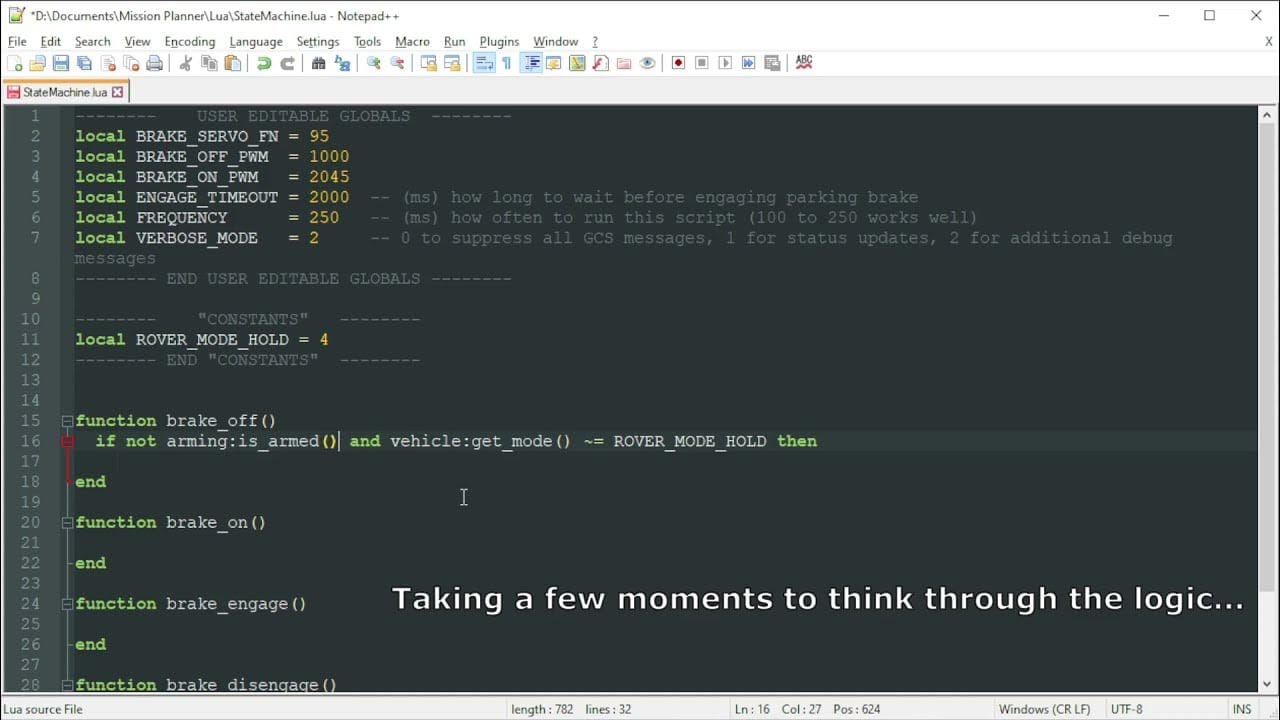
Real-Time Example: The Parking Brake Script
Now, let’s apply our understanding of tables and iteration in a practical example: the parking brake script for ArduPilot. The script manages the parking brake based on the vehicle's state, using a state machine approach.
First, we define a table to hold the different states of the parking brake:
local brakeStates = {
    OFF = "off",
    ON = "on",
    ENGAGE = "engage",
    DISENGAGE = "disengage"
}
Next, we set up a function to handle the parking brake logic:
local function manageParkingBrake(state)
    if state == brakeStates.OFF then
        -- Logic to engage parking brake
    elseif state == brakeStates.ON then
        -- Logic to disengage parking brake
    end
end
In this function, we can easily extend the logic for each state, allowing for clear and organized code. The use of tables simplifies the management of states and enhances readability.

Mission Planner Demo: Putting It All Together
After writing our parking brake script, the next step is to upload it to the Mission Planner and see it in action. Ensure that scripting is enabled in the parameter settings:
s c r_enable = 1Once the script is uploaded, you can monitor its performance through the Mission Planner's interface. During the test, you can observe how the parking brake engages or disengages based on the vehicle's state, providing real-time feedback in the console.
For instance, if you disarm the vehicle, the script will automatically engage the parking brake after a two-second delay, displaying a message in the Mission Planner:
GCS: Parking brake engaged!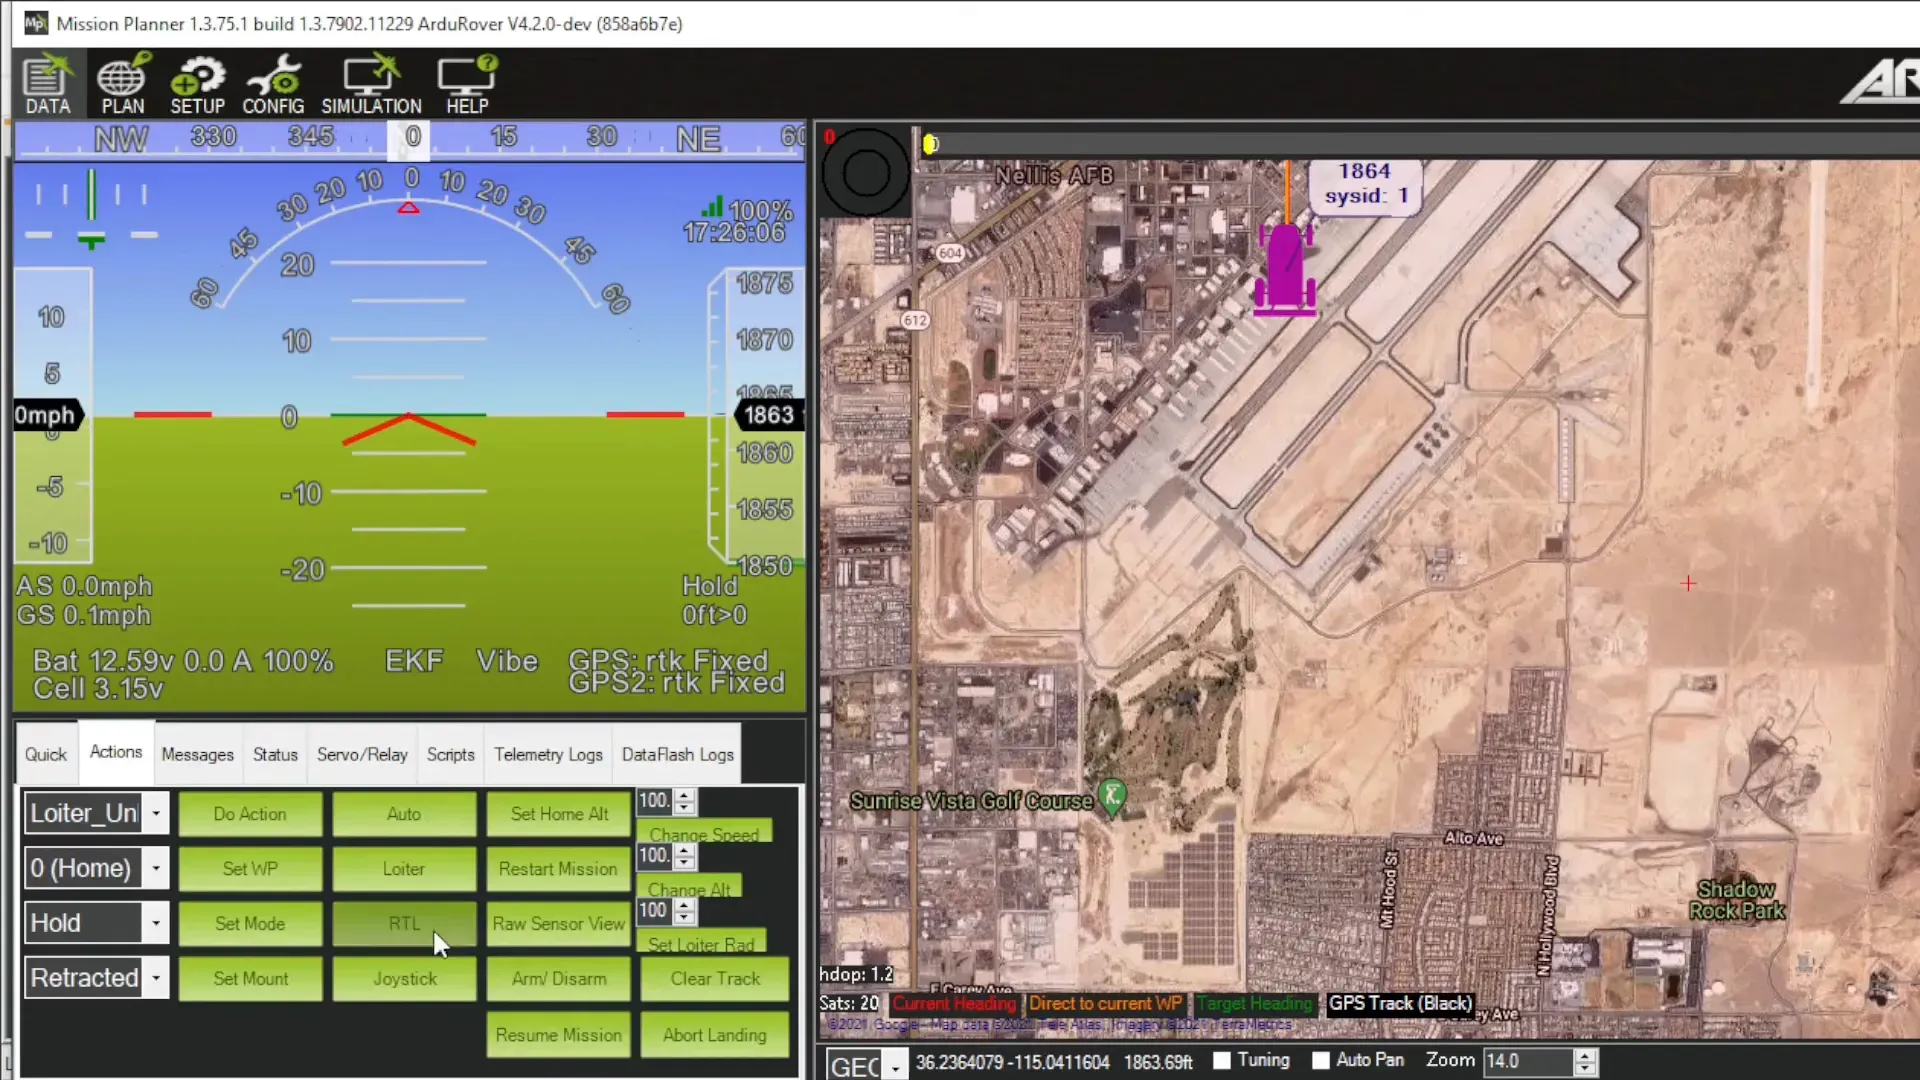
Frequently Asked Questions
- What version of Lua should I use with ArduPilot?
Always use Lua 5.3, as it's the version compatible with ArduPilot. - How do I debug my Lua scripts?
Utilize the verbose mode in your scripts to send debug messages to the GCS. This will help you identify issues in real-time. - Can I use external libraries in my Lua scripts?
Lua for ArduPilot is somewhat limited in terms of external libraries, but you can use the built-in functions and data structures effectively to achieve your goals. - How do I handle errors in Lua?
Use thepcall(protected call) function to catch errors without crashing your script. This allows for graceful error handling.
By mastering the use of tables, iteration, and understanding the state machine concept, you can create powerful scripts that enhance the functionality of your ArduPilot system. Remember, the community and documentation are valuable resources as you continue to explore Lua scripting!
This article was created from the video ArduPilot Lua Scripting Basics