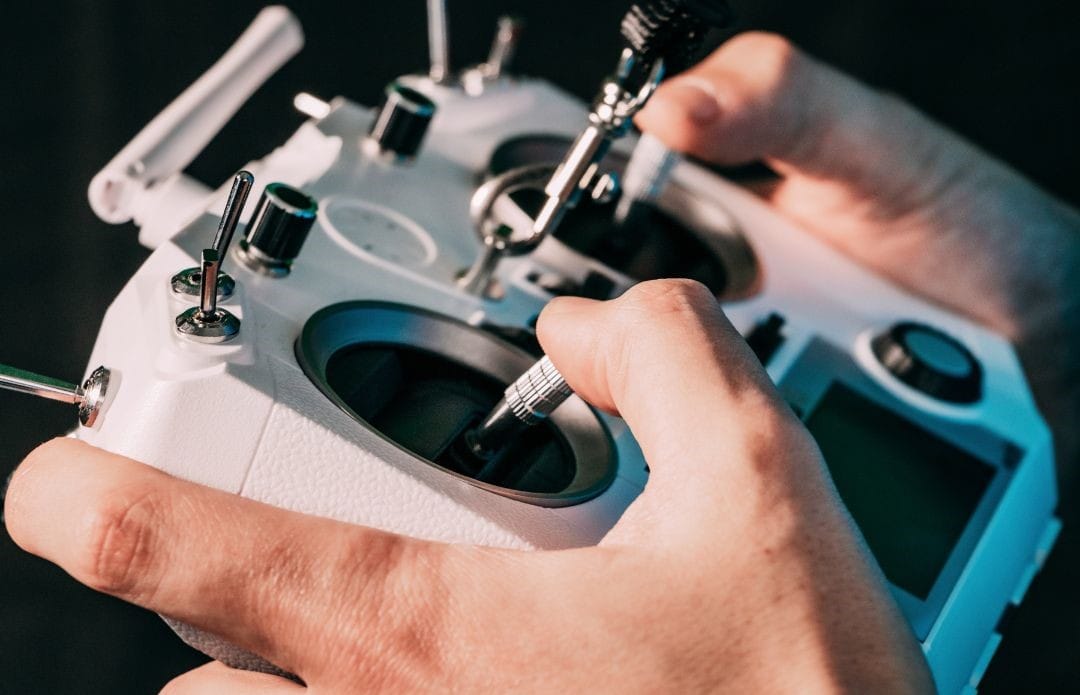
For all the drone enthusiasts out there, connecting your radio transmitters to FPV simulators can sometimes be a bit of a head-scratcher, especially if you're dealing with older radios. But fear not! In this tutorial, we're diving into the realm of FPV simulator connectivity, shedding light on how the wonders of Betaflight can make your life easier. Whether it's the simplicity of a USB port or the trickier realms of older radios, we've got you covered. So, strap in and let's get your radio up and flying in the virtual skies!
Connecting with USB Joystick Mode
A Hassle-Free Option for OpenTX/Edge TX Radios
For those who prefer a straightforward, no-fuss approach to connecting their radios to FPV simulators, the USB Joystick Mode is the go-to choice. This method is especially popular among users of OpenTX and Edge TX radios, known for their compatibility and ease of use.
Why USB Joystick Mode?
- Simplicity: It's as easy as plug-and-play. No need for additional hardware or complex configurations.
- Compatibility: OpenTX and Edge TX radios are widely recognized for their seamless integration with this mode.
- Reliability: Offers a stable connection with minimal latency, ensuring a smooth and responsive flying experience.

Setting Up USB Joystick Mode
- Connect Your Radio: Simply use a USB cable to connect your OpenTX or Edge TX radio to your computer.
- Select USB Mode: On your radio, navigate to the USB settings and select the 'Joystick' mode. This allows your computer to recognize the radio as a joystick device.
- Calibration and Configuration: Once connected, your computer should detect the radio as a new joystick. Proceed to calibrate it in your FPV simulator's settings, ensuring all controls are responsive and accurately mapped.
- Enjoy Your Flight: With everything set up, you're ready to take off in the virtual world of FPV simulators.
Via Betaflight Flight Controller
Betaflight, the hero of our story, transforms your flight controller into a joystick (HID device), allowing for seamless FPV simulator play. It's a wireless wonder, freeing you from the tyranny of USB cable lengths and offering a world of comfort. And before you ask, latency isn't a party crasher here.
Hardware Requirement
Got a drone? You're already set. But for those looking for a dedicated setup, consider these budget-friendly options:
- Flight Controller (preferably a cheap basic one) (AliExpress link)
- Compatible receivers like ExpressLRS RX or Frsky ACCST D16 (AliExpress links)
Betaflight Setup
Connect the RX to the FC and set it up in Betaflight as usual. Need help? There's a guide for that!

Enter This in CLI
In the CLI, punch in set usb_hid_cdc = on save to activate joystick mode.
Select Joystick in FPV Simulator
Your FC now appears as a joystick on your PC. Remember to calibrate it in your simulator.
Troubleshooting Tip: If your flight controller plays hide and seek after enabling USB_HID_CDC, toggle the “Show all serial devices” option in Betaflight Configurator.
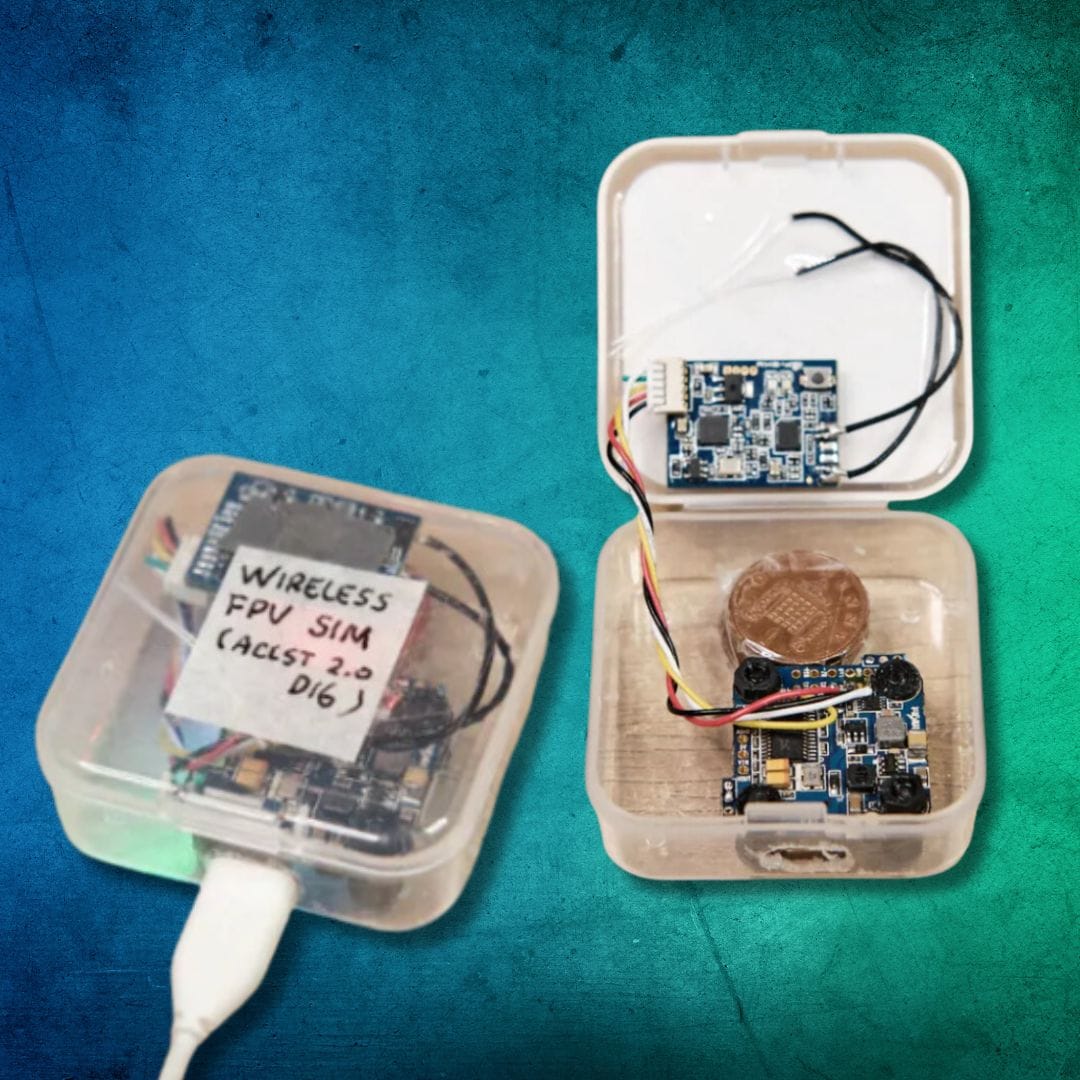
Dedicated Wireless Sim Box
For the DIY enthusiasts, creating a wireless sim box is a viable route. A flight controller and receiver of your choice are your key components.

Wireless Simulator Dongle
Fancy a commercial solution? The Wireless Sim Stick is a neat, ready-made option that saves you the DIY hustle.

ExpressLRS Bluetooth Joystick
Got an ExpressLRS module? It's got Bluetooth, and it's ready to connect to your PC for a wireless FPV sim experience. Need a Bluetooth adapter? Amazon and AliExpress have got you covered.

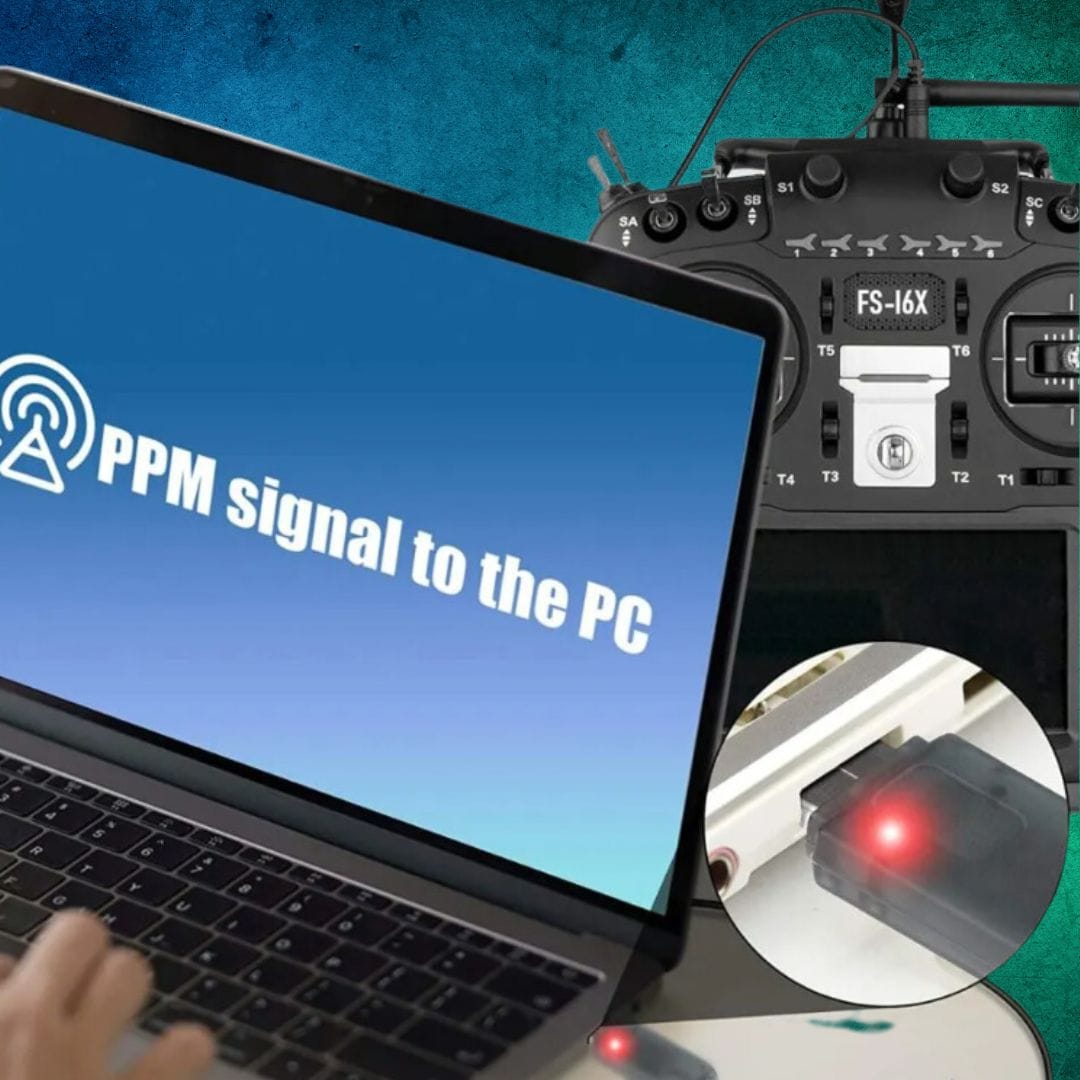
Trainer Port to USB Adapter
Old-school radios with a trainer port can join the fun with a USB dongle, ensuring compatibility with your PC.
Buy a RC simulator trainer port dongle from AliExpress

In wrapping up, this comprehensive guide has aimed to illuminate the various pathways available to FPV pilots for connecting their radio transmitters to simulators. Whether you're leveraging the advanced capabilities of Betaflight, exploring the realm of wireless connectivity, or opting for the straightforward USB Joystick Mode, there's a solution tailored to every pilot's needs and technical comfort.


