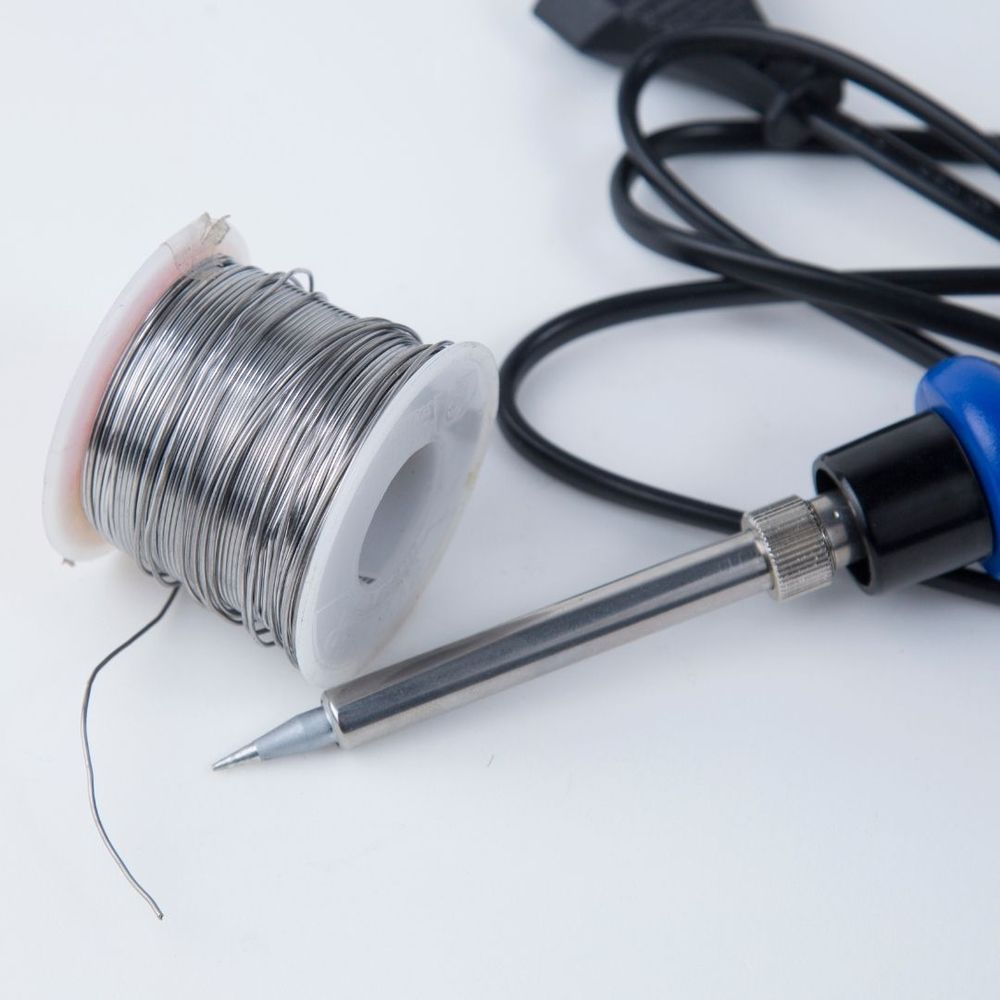
Learn the Secrets to Perfect Soldering Joints
Soldering is usually a simple task, but when it comes to thicker cables like AWG-14s and complex ESCs, it can get tricky. The copper in these components acts as a heatsink, making it difficult for the heat to flow and the solder to melt properly. In this video, Pavos Pekalski shares his expertise on overcoming these challenges and achieving flawless soldering joints. If you're eager to improve your soldering skills, read on to discover his valuable tips.
Choosing the Right Soldering Iron Tip
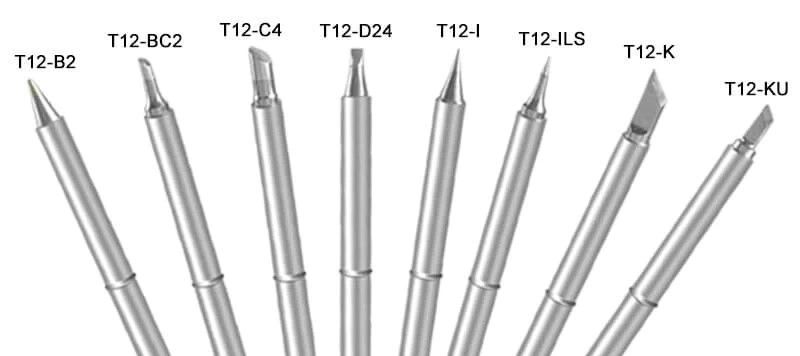
When soldering thick wires to components with ample copper, such as ESCs, the choice of soldering iron tip plays a crucial role. Using a larger tip, around three millimetres in diameter or even slightly larger, for soldering pads. The increased metal in the tip allows for better heat transfer, making the soldering process smoother. However, when dealing with joints involving AWG-14 wires, a smaller tip is required for precision.
Temperature Matters
Temperature control is another essential factor for successful soldering. While many may argue that lower temperatures are sufficient, Pekalski emphasizes the need for higher temperatures, around 400 degrees Celsius (800 degrees Fahrenheit). The extra heat compensates for the dissipation caused by the copper heatsink effect, ensuring that the solder melts and flows properly. Insufficient heat transfer can prevent the solder from flowing, leading to poor joint quality.
Use Quality Solder
The choice of solder can significantly impact the outcome of your soldering joints. Although lead-based solder is more straightforward to work with, it is less environmentally friendly. However, for larger joints, it tends to perform better than lead-free solder. Opting for quality solder enhances the ease and effectiveness of the soldering process.
🛒Buy some solder here, or here
Don't Hold Back on Solder
When it comes to soldering thick cables and components, it's better to use slightly more solder than less. The excess solder acts as a reservoir of heat energy, aiding in efficient heat transfer from the soldering tip to the joint. Pekalski encourages applying a generous amount of solder, ensuring there is enough to create a robust connection between the wire and the soldering pad.
Prepare Your Joints
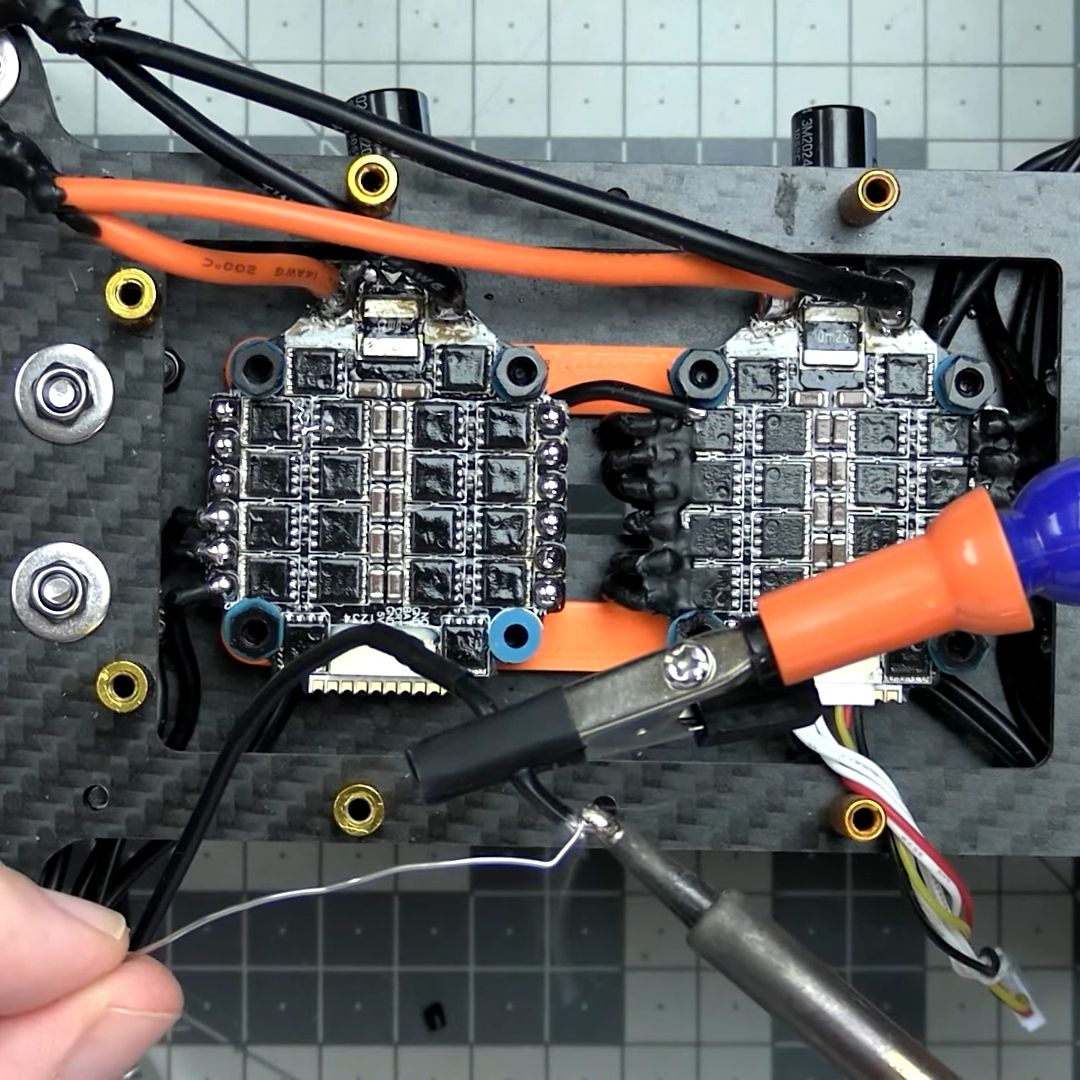
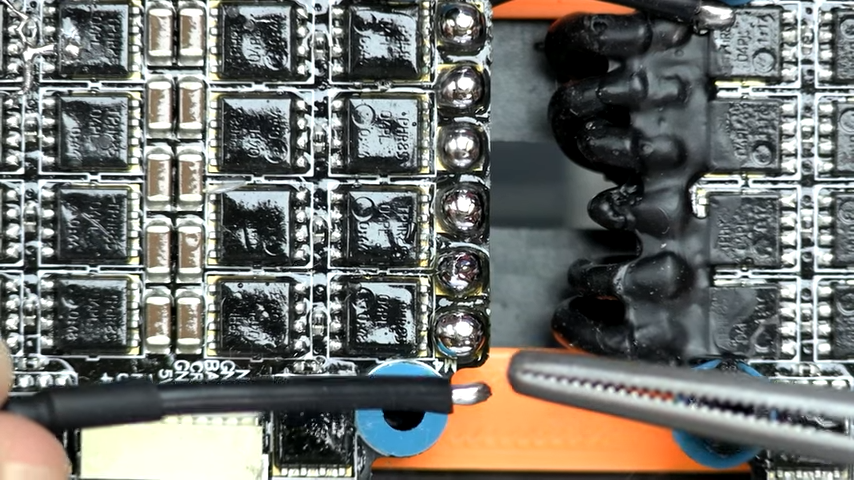
Proper preparation of both the soldering pads and the tips of the wires is vital for achieving successful soldering joints. Pekalski advises applying an initial amount of solder to the pad before soldering. By doing so, you create a reservoir of solder that facilitates a smoother soldering process. The same principle applies to the wire itself, where applying a bulb of solder ensures sufficient coverage and easier joint formation.
Mastering the Technique
With all the necessary preparations in place, it's time to execute the soldering process. Begin by heating the soldering pad and, simultaneously, place the wire on top so that both metal pieces start to flow. Quickly remove the soldering tip while the joint is still hot and press the wire from above to create a secure connection. This technique ensures a solid joint with good flow and a shiny appearance.
Repeat and Practice
Perfection is not always necessary, as long as the joint works reliably. Practice makes perfect, so don't be discouraged by minor flaws and focus on creating functional connections.
If you've found this article enlightening, we invite you to dive deeper into the world of FPV through our regular newsletter. From detailed reviews, like this one, to industry news, insider tips, and innovative tech spotlights, we keep you up to speed with the ever-evolving FPV hobby.
Stay curious, stay informed, and as always, happy flying!


