In the world of FPV racing and drone flying, simplicity often leads to better performance. This article dissects a clever method to change your video transmitter (vTX) channel with a single button press, making your flying experience smoother and more efficient.
TL;DR
- Learn how to configure your radio to cycle through vTX channels with one button.
- This method is applicable to any EdgeTX radio, enhancing your flight experience.
- Follow the steps to set up a momentary switch, global variable adjustments, and flight controller settings.
Introduction
Joshua Bardwell, a prominent figure in the FPV community, tackles an intriguing challenge: how to press a button on your radio and make your video transmitter cycle through all available channels. It's not just a neat trick; it can significantly improve your flying experience by allowing quick adjustments without fiddling through menus.
Why Cycle Through Channels?
At first glance, you might wonder why anyone would want to change channels on a vTX with a single button. The answer lies in efficiency—quickly switching channels can save you from potential interference and crashes during races. Bardwell's exploration into this topic not only satisfies curiosity but also serves a practical purpose for any serious drone pilot.
Overview of the Method
The method involves leveraging Betaflight's ability to take an auxiliary (aux) channel and change the vTX band, channel, and power based on its value. Bardwell provides a brief overview of the steps involved, ensuring that even novice users can follow along.
Components Needed
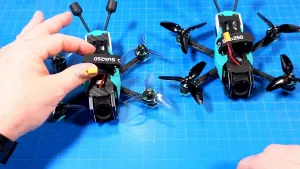
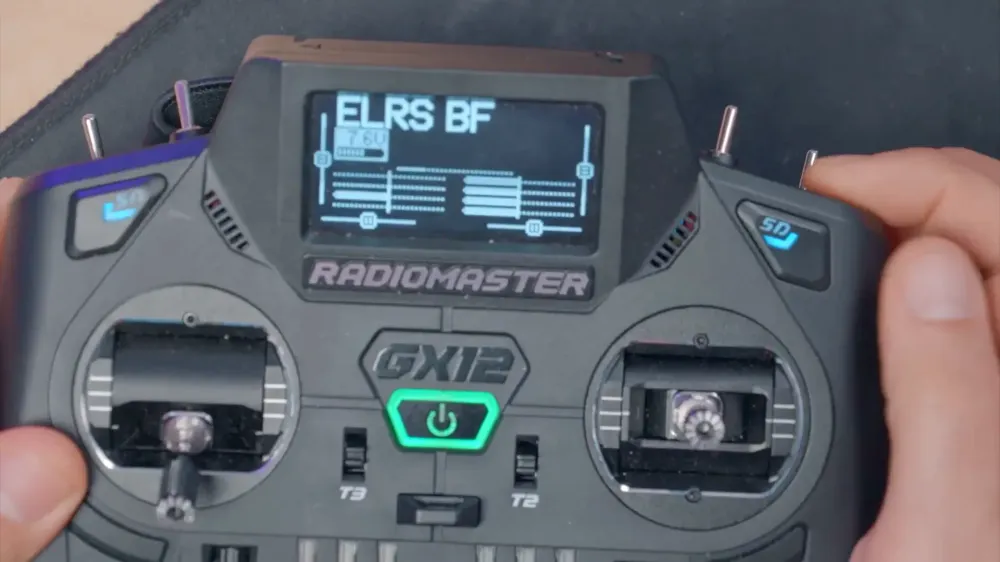
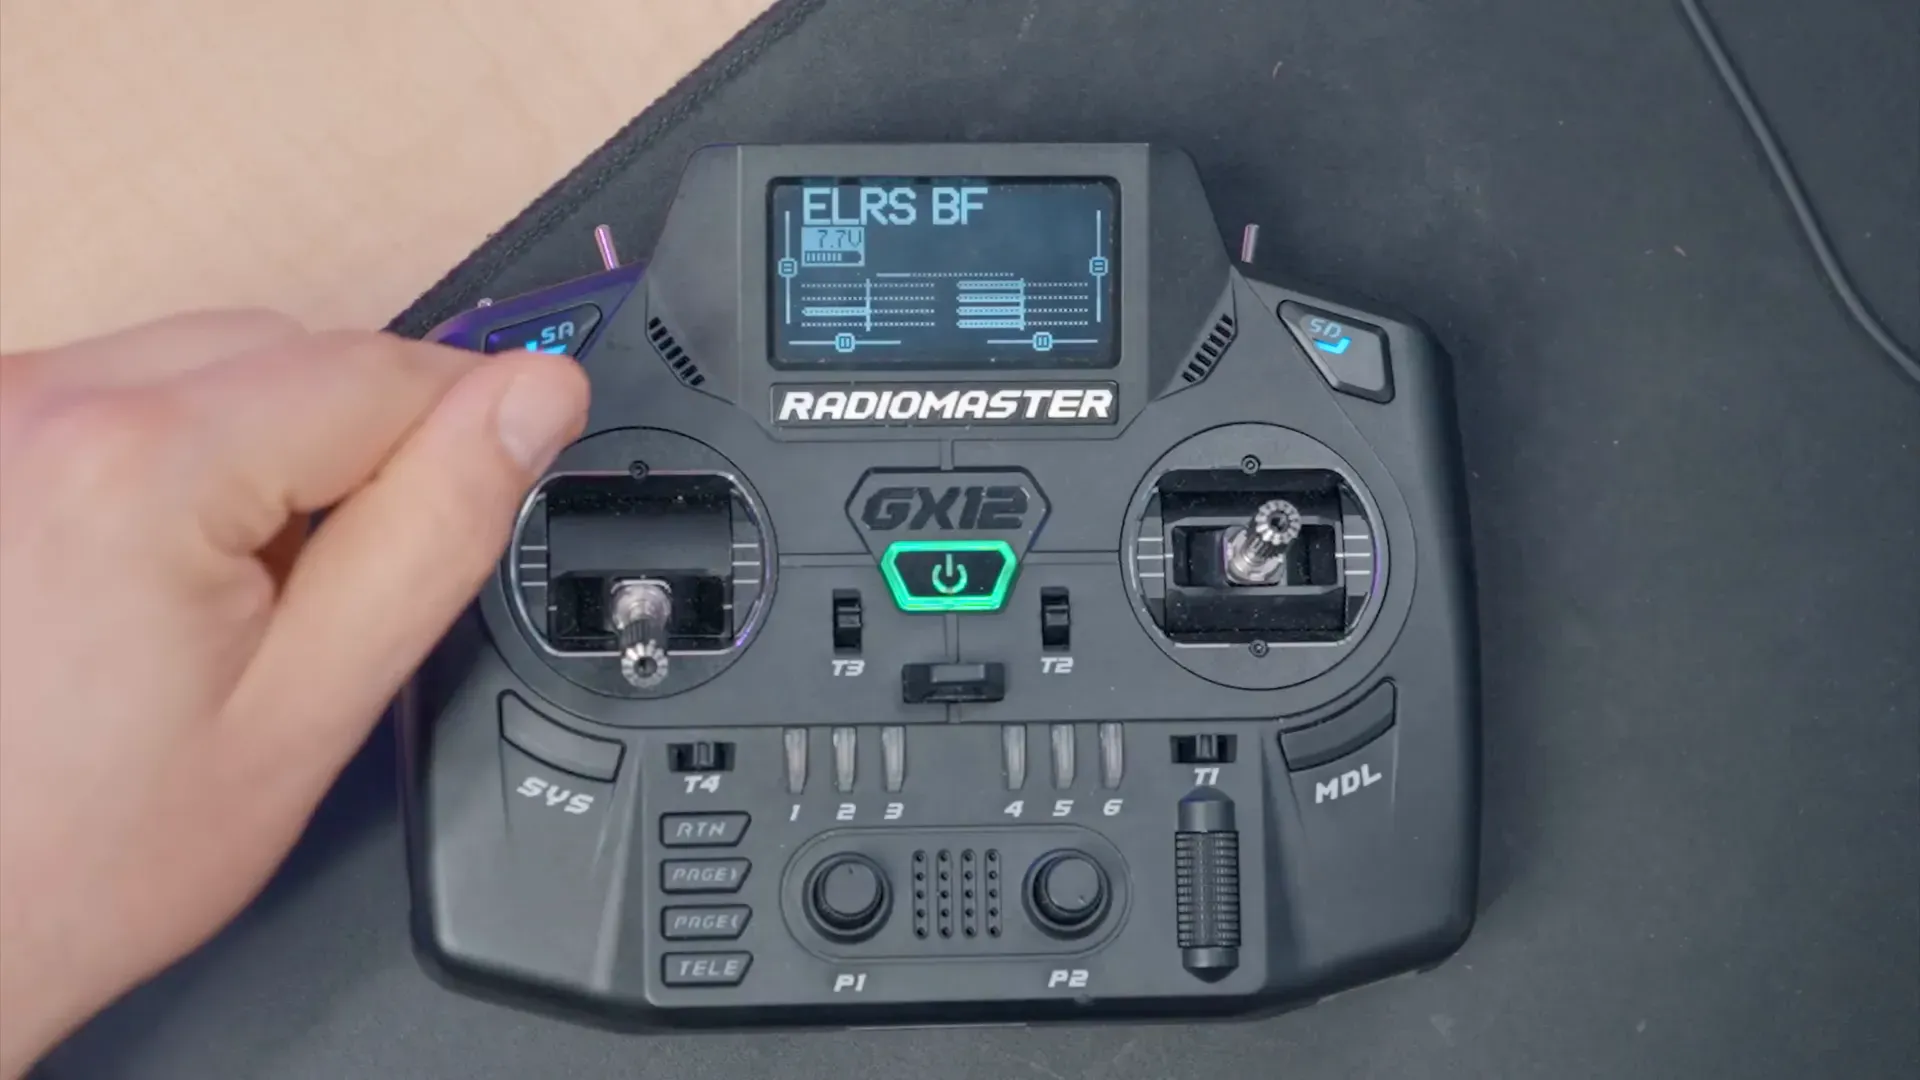
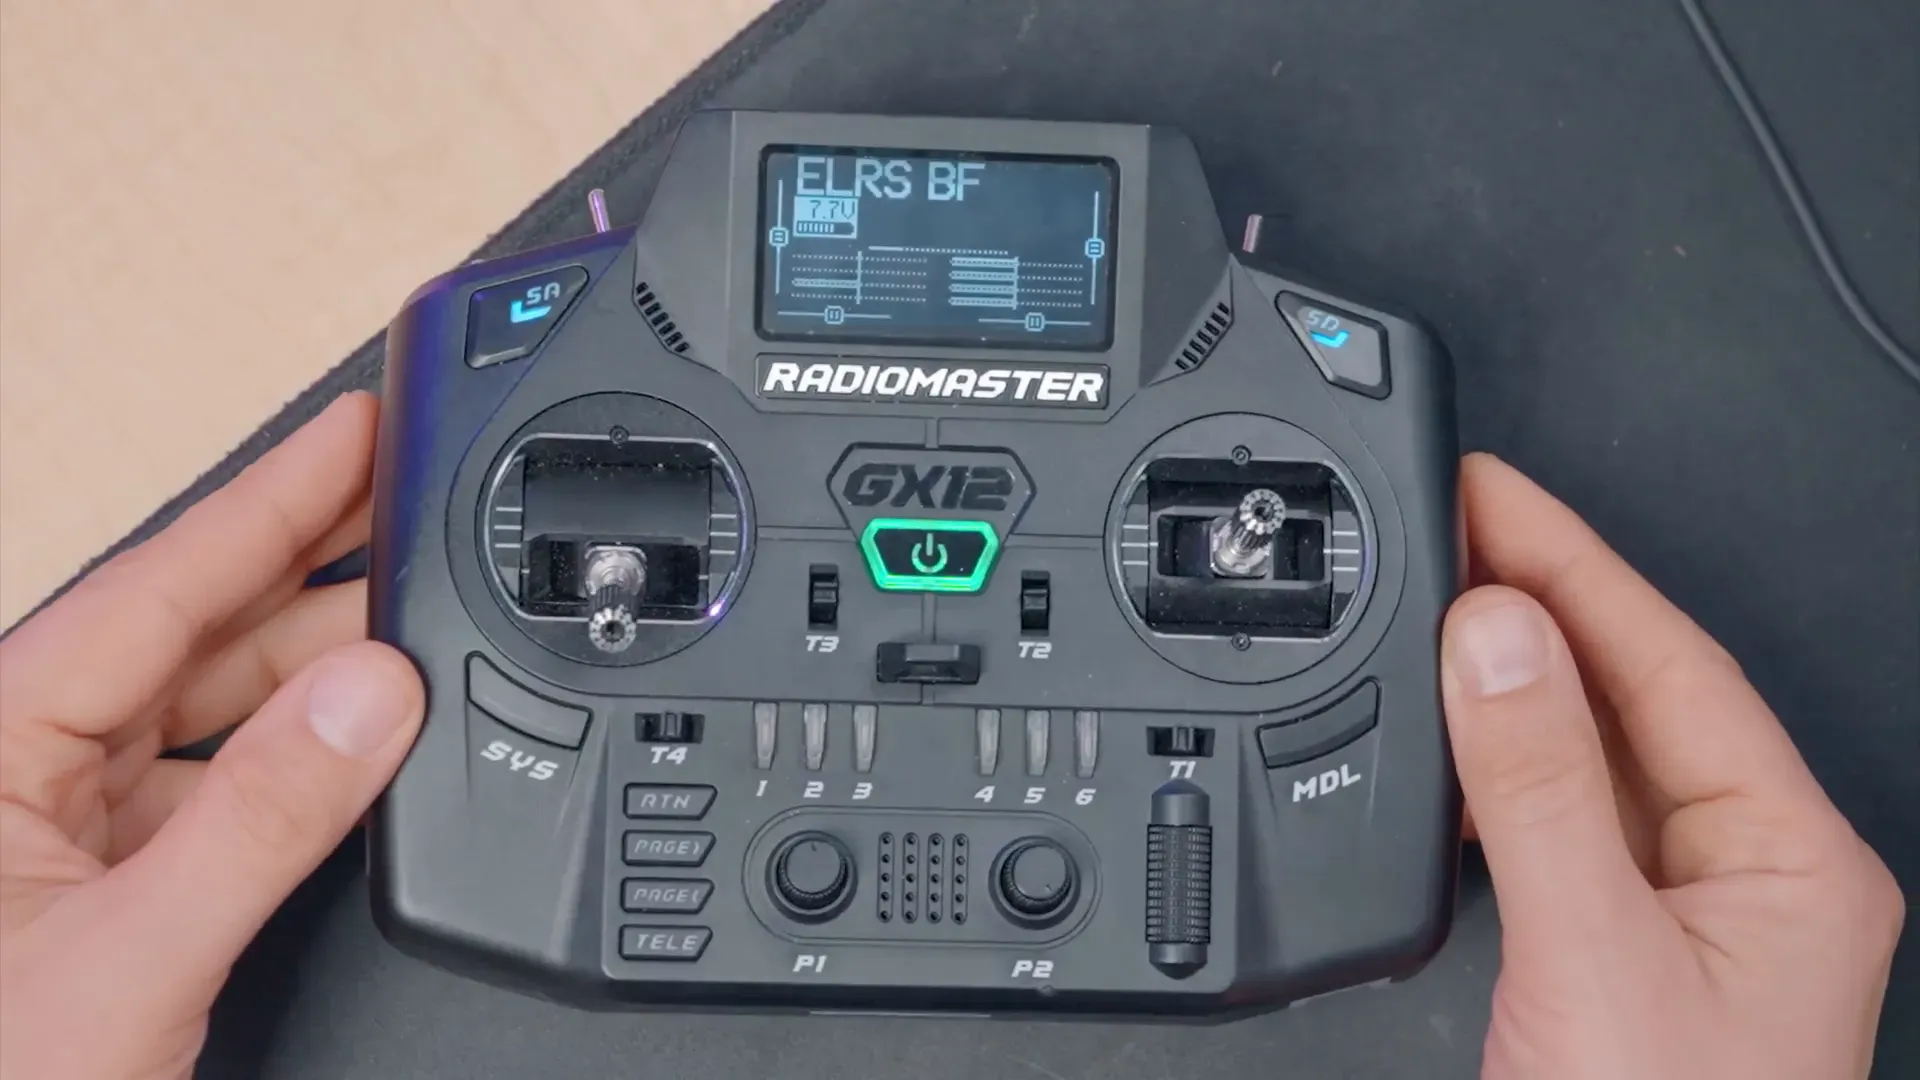
- Any EdgeTX radio, such as the RadioMaster GX12.
- A momentary switch for triggering channel changes.
- A compatible flight controller that supports SmartAudio or Tramp telemetry.
Setting Up the Momentary Switch
The first step is to set up a momentary switch on your radio. When pressed, this switch will increment a global variable that represents the channel value. Bardwell emphasizes the importance of this step, as it forms the foundation for the entire operation.

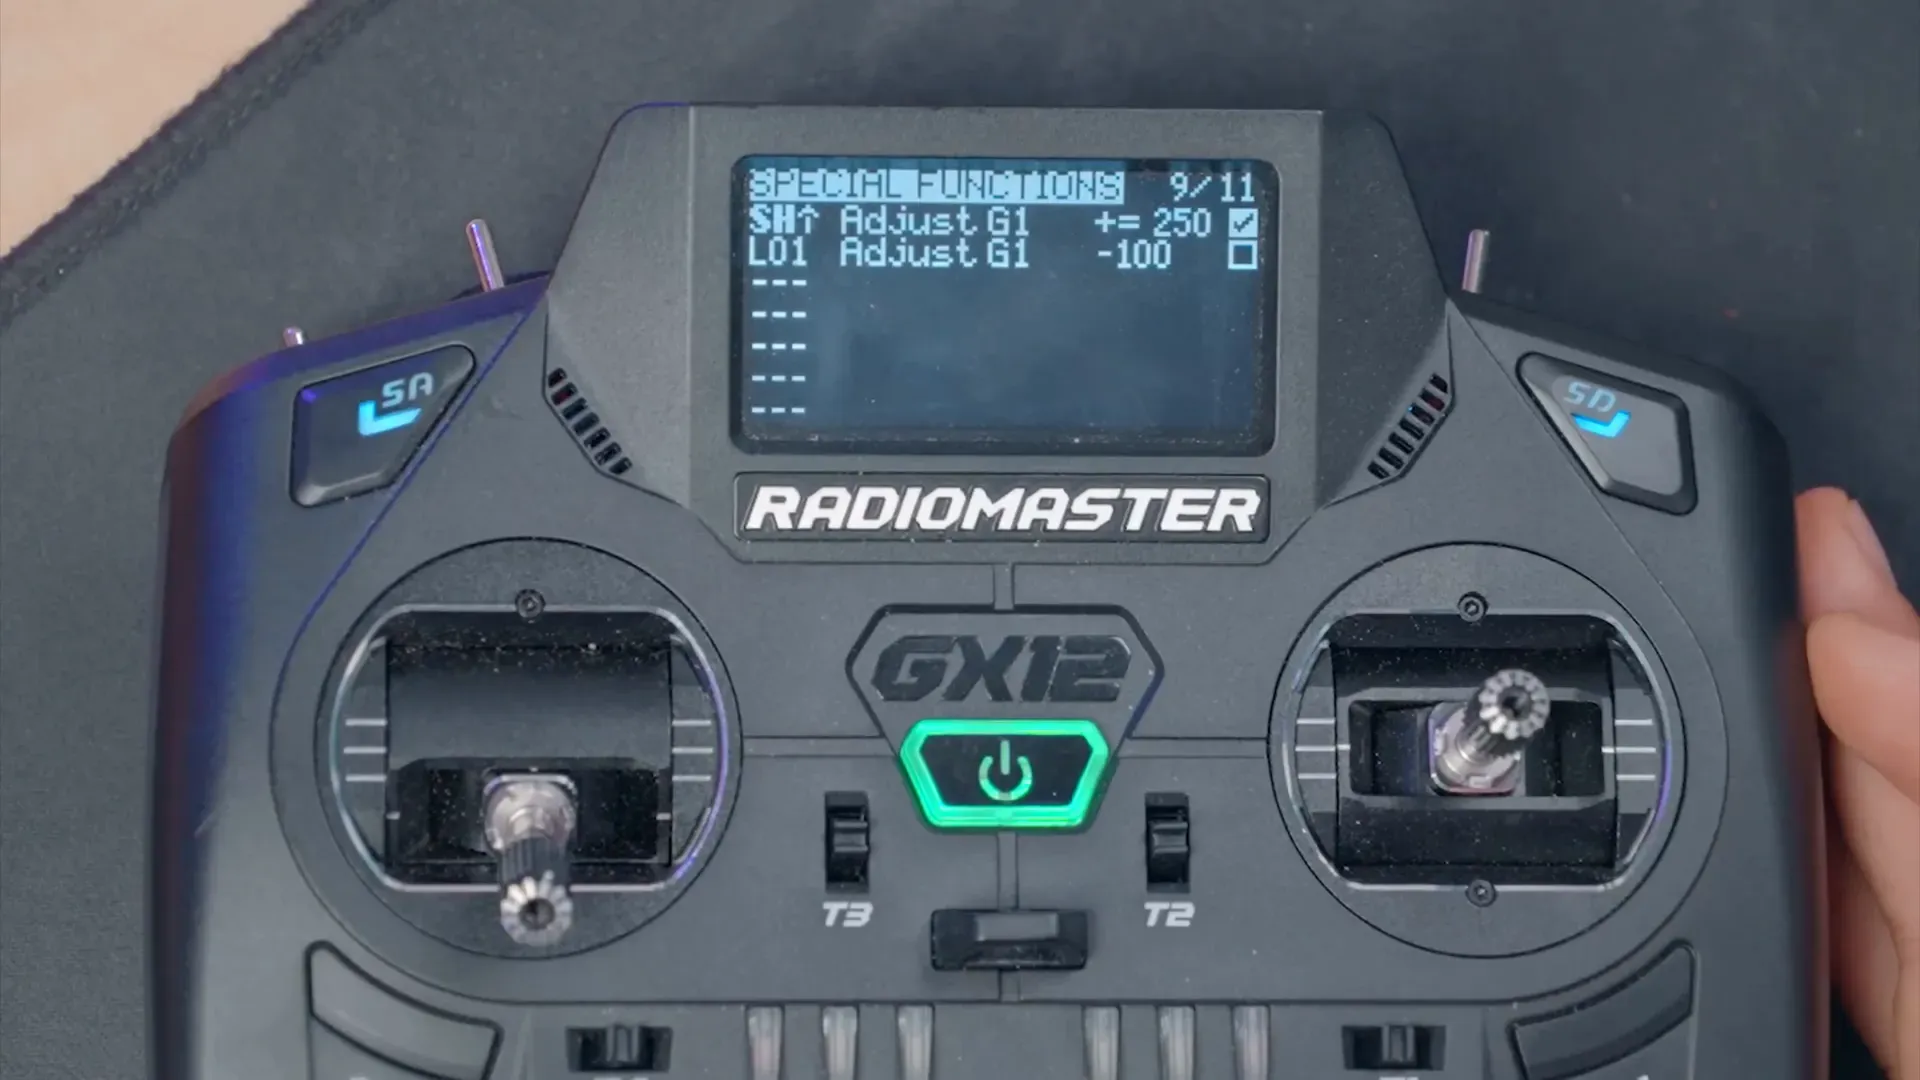
Creating a Special Function
Navigate to the special function screen on your radio. Bardwell explains that the switch should trigger an adjustment in a global variable, specifically g1. This variable will act as a counter for the channel changes, incrementing each time the button is pressed.
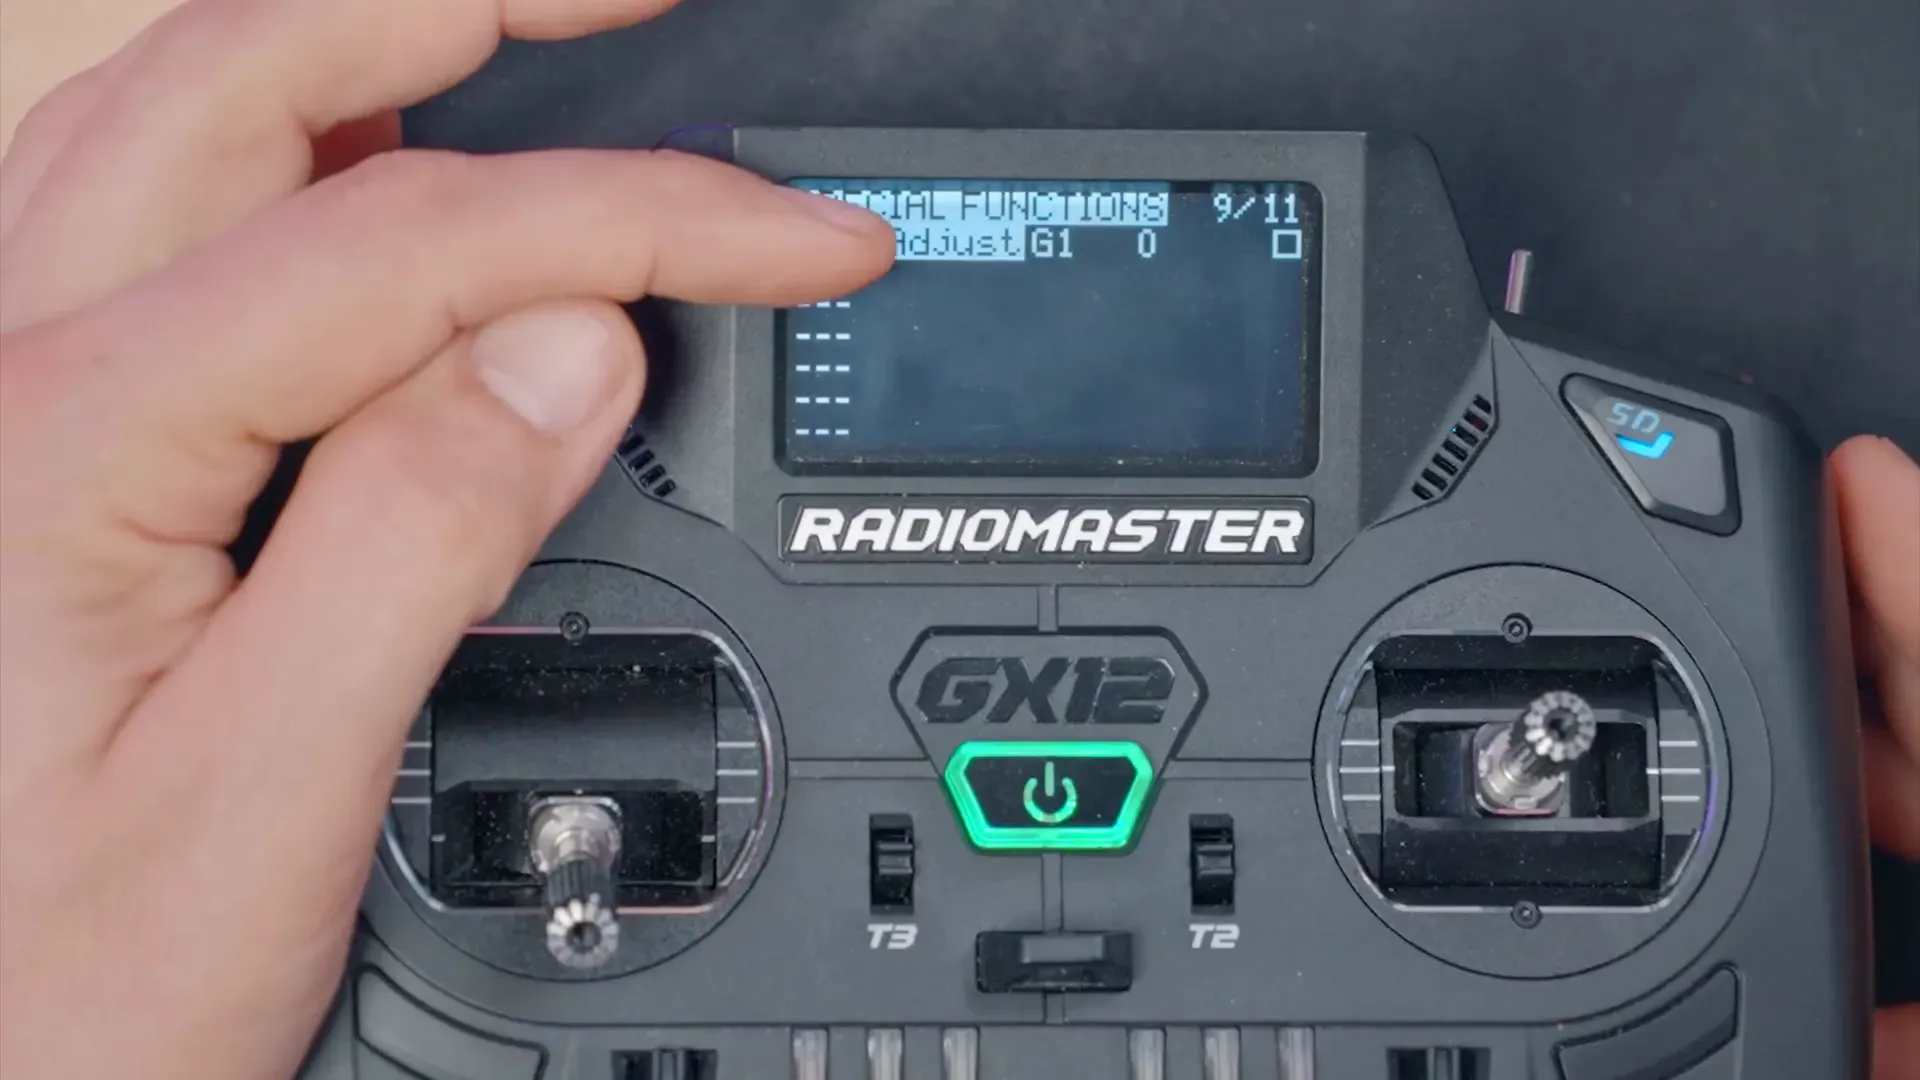
Incrementing the Global Variable
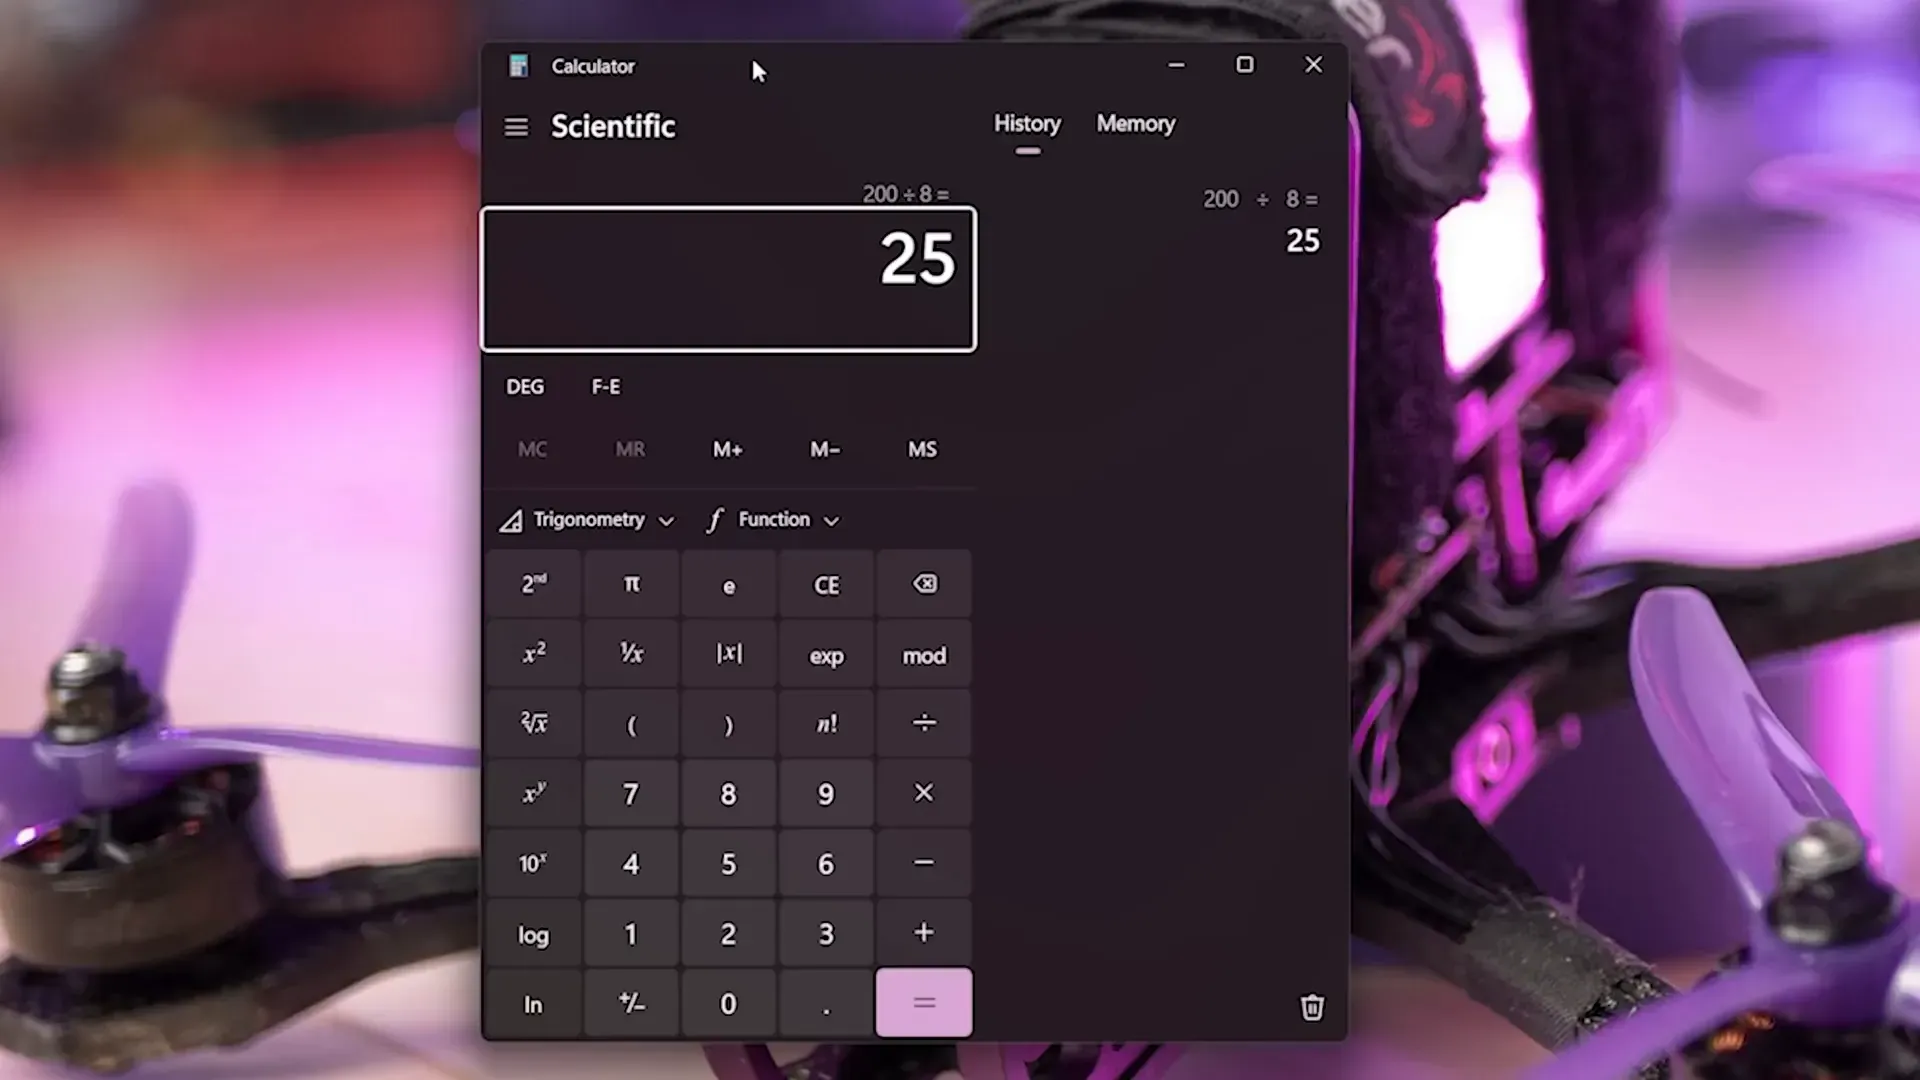
The next step is to configure the global variable to increment correctly. Bardwell modifies the increment value to +25, allowing the variable to cycle through the range of -100 to +100. This setup ensures that the channel will move smoothly without skipping values.
Resetting the Value
Once the global variable reaches its maximum value, it needs to reset back to the minimum. Bardwell demonstrates how to set this up using logical switches, ensuring that the variable behaves correctly throughout the entire range.
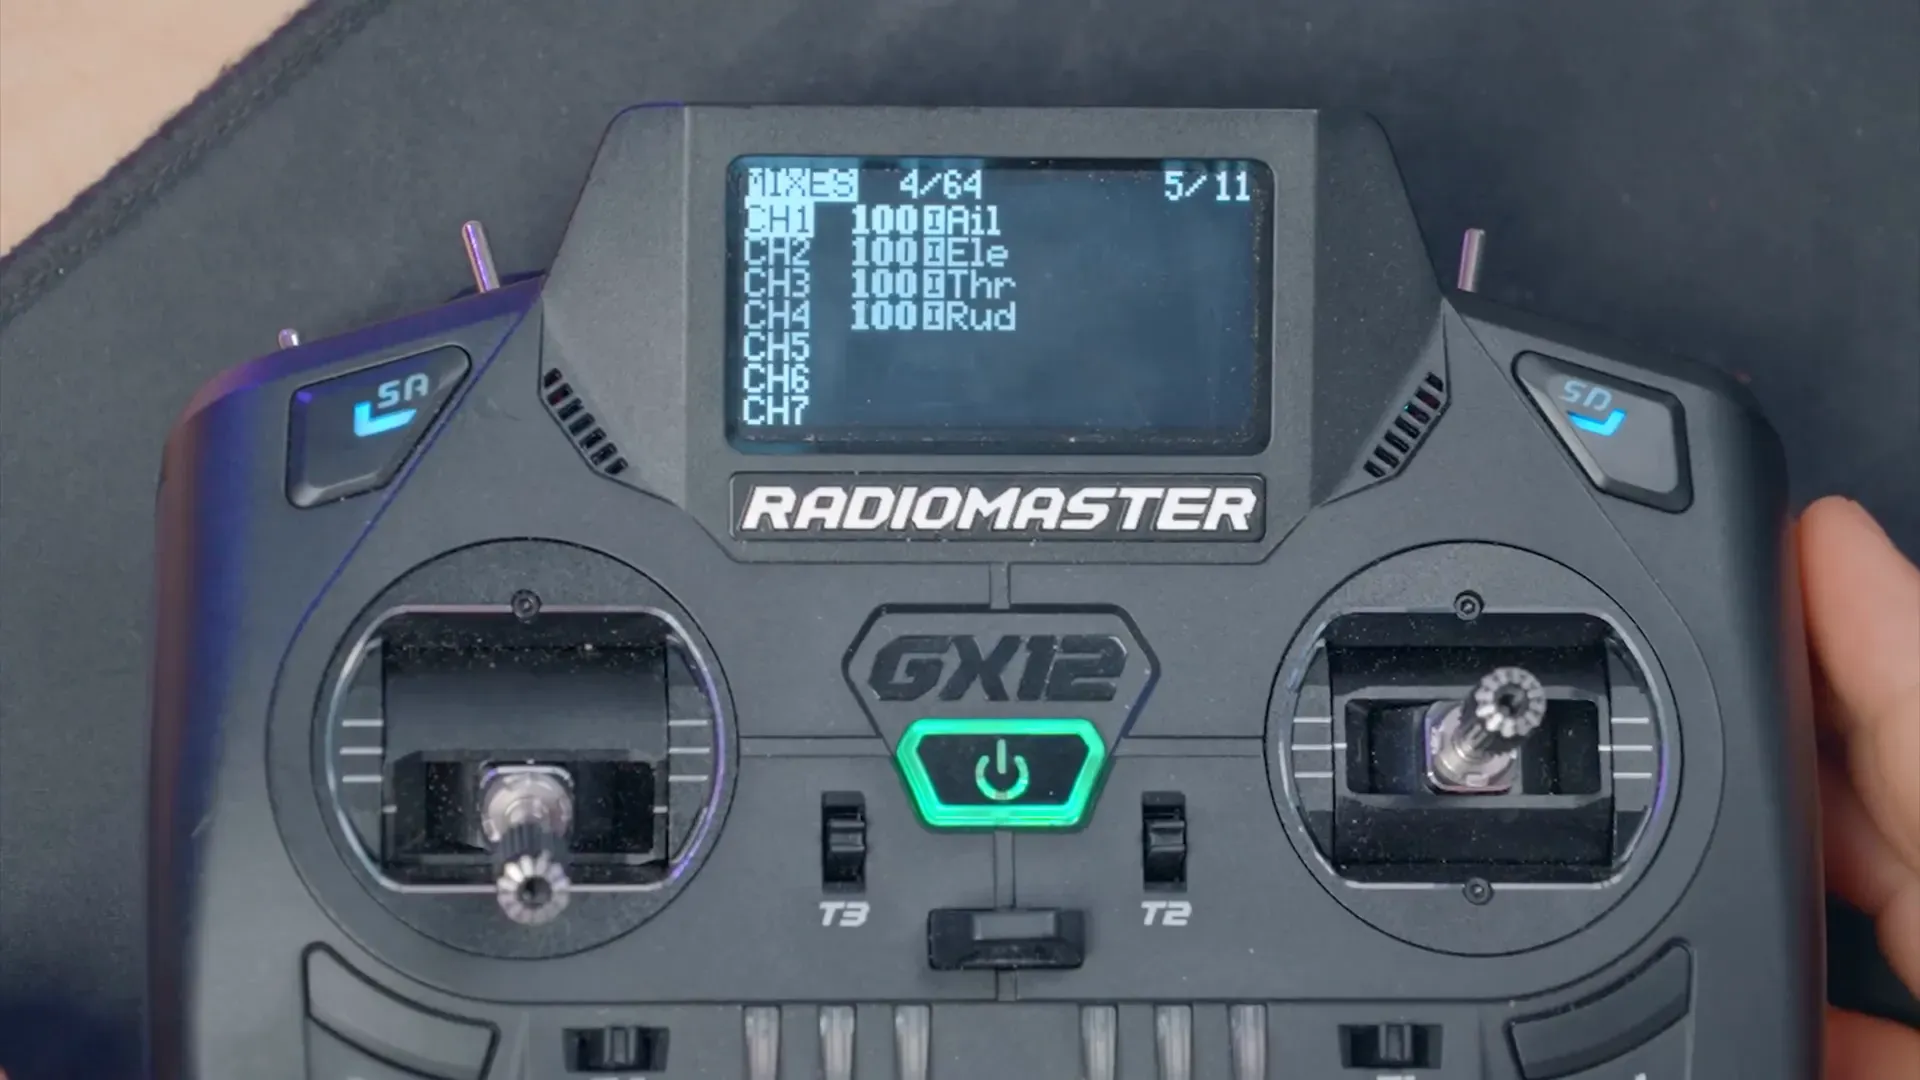
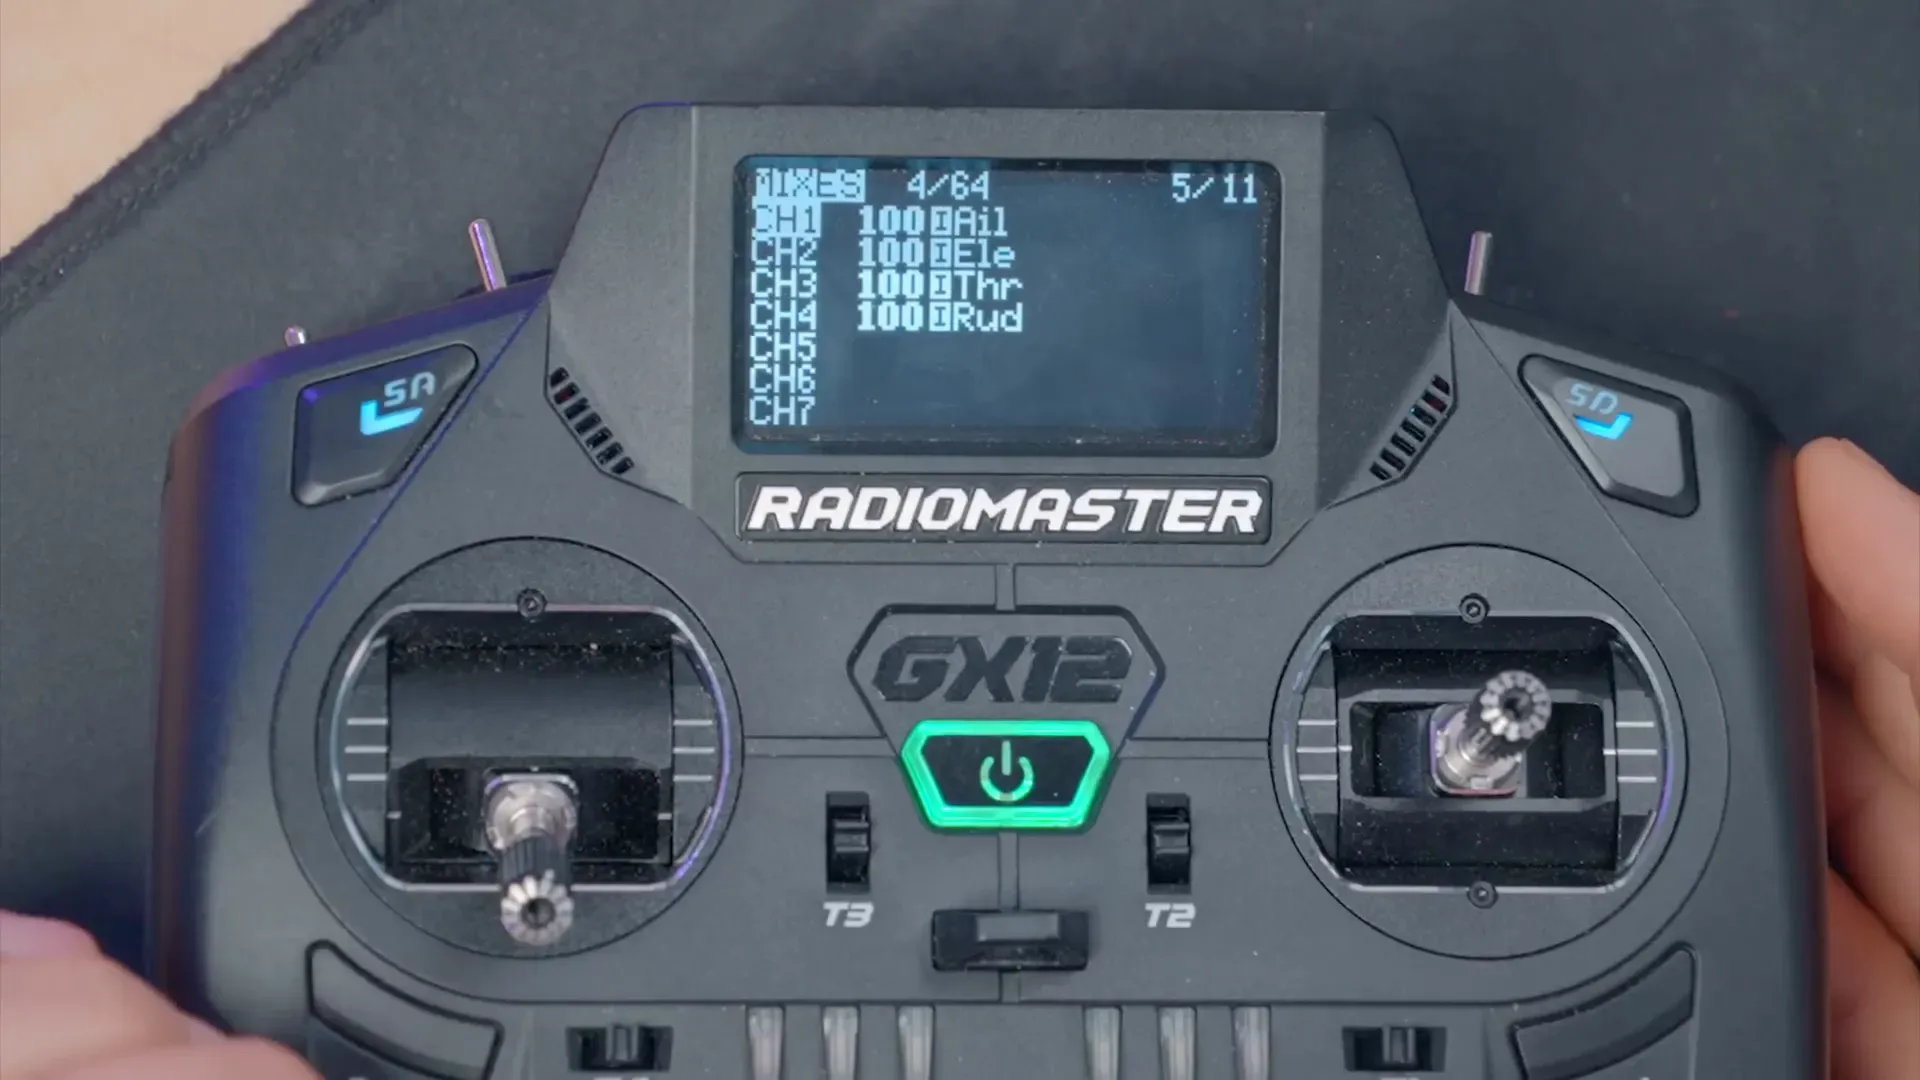
Assigning to an Aux Channel
After configuring the global variable, the next logical step is to assign it to an aux channel. Bardwell walks through this process, explaining how to select an appropriate channel that won't conflict with essential functions like arming.
Scaling Issues
While testing the setup, Bardwell encounters an issue with the scaling of the global variable. The values weren’t translating correctly to the channel output. He quickly diagnoses the problem—adjusting the scaling factor allowed the channel to function as intended.
Flight Controller Setup
For the entire system to work, you need a flight controller that supports SmartAudio or Tramp telemetry. Bardwell stresses that this is crucial for enabling the vTX to respond to the aux channel's changes. Without this support, the setup will not function as desired.
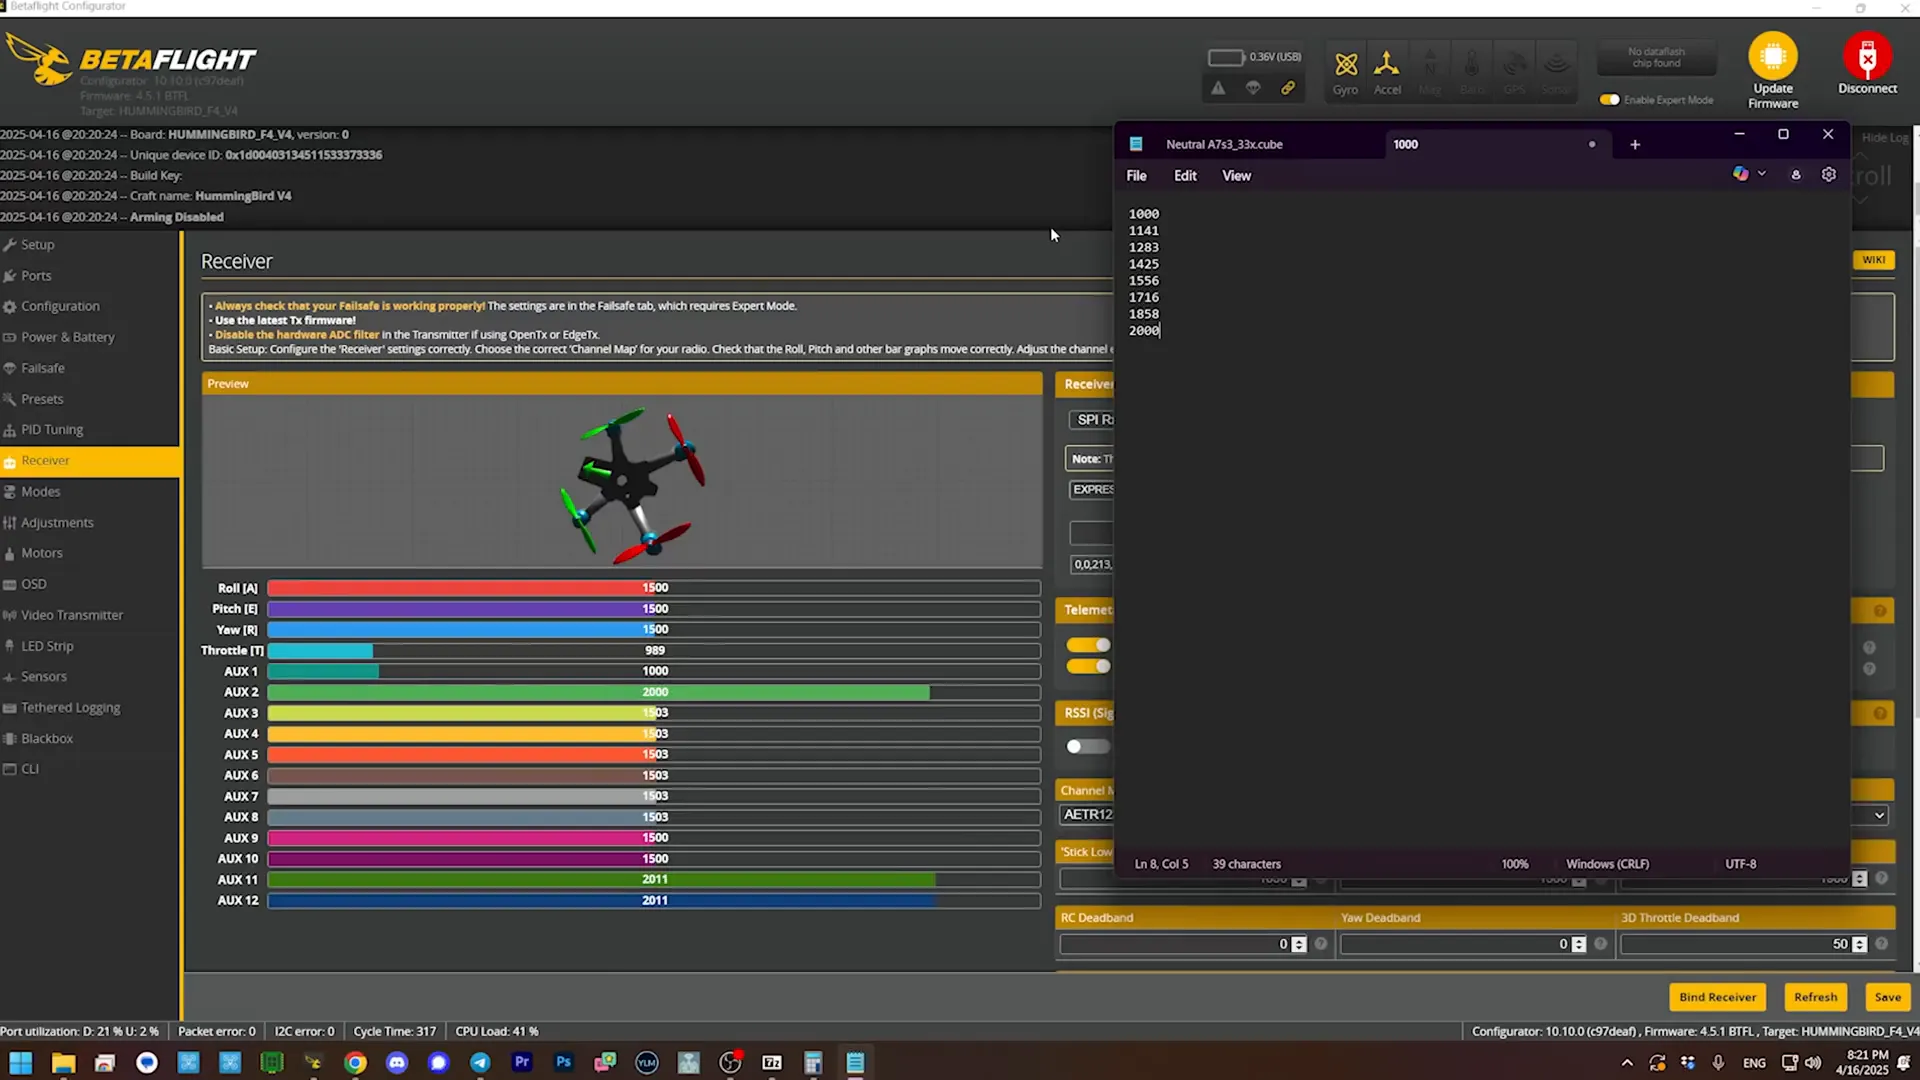
Writing Down Channel Values
Bardwell emphasizes the importance of documenting the channel values for reference during the configuration process. This step ensures that you can easily manage the vTX settings within Betaflight.
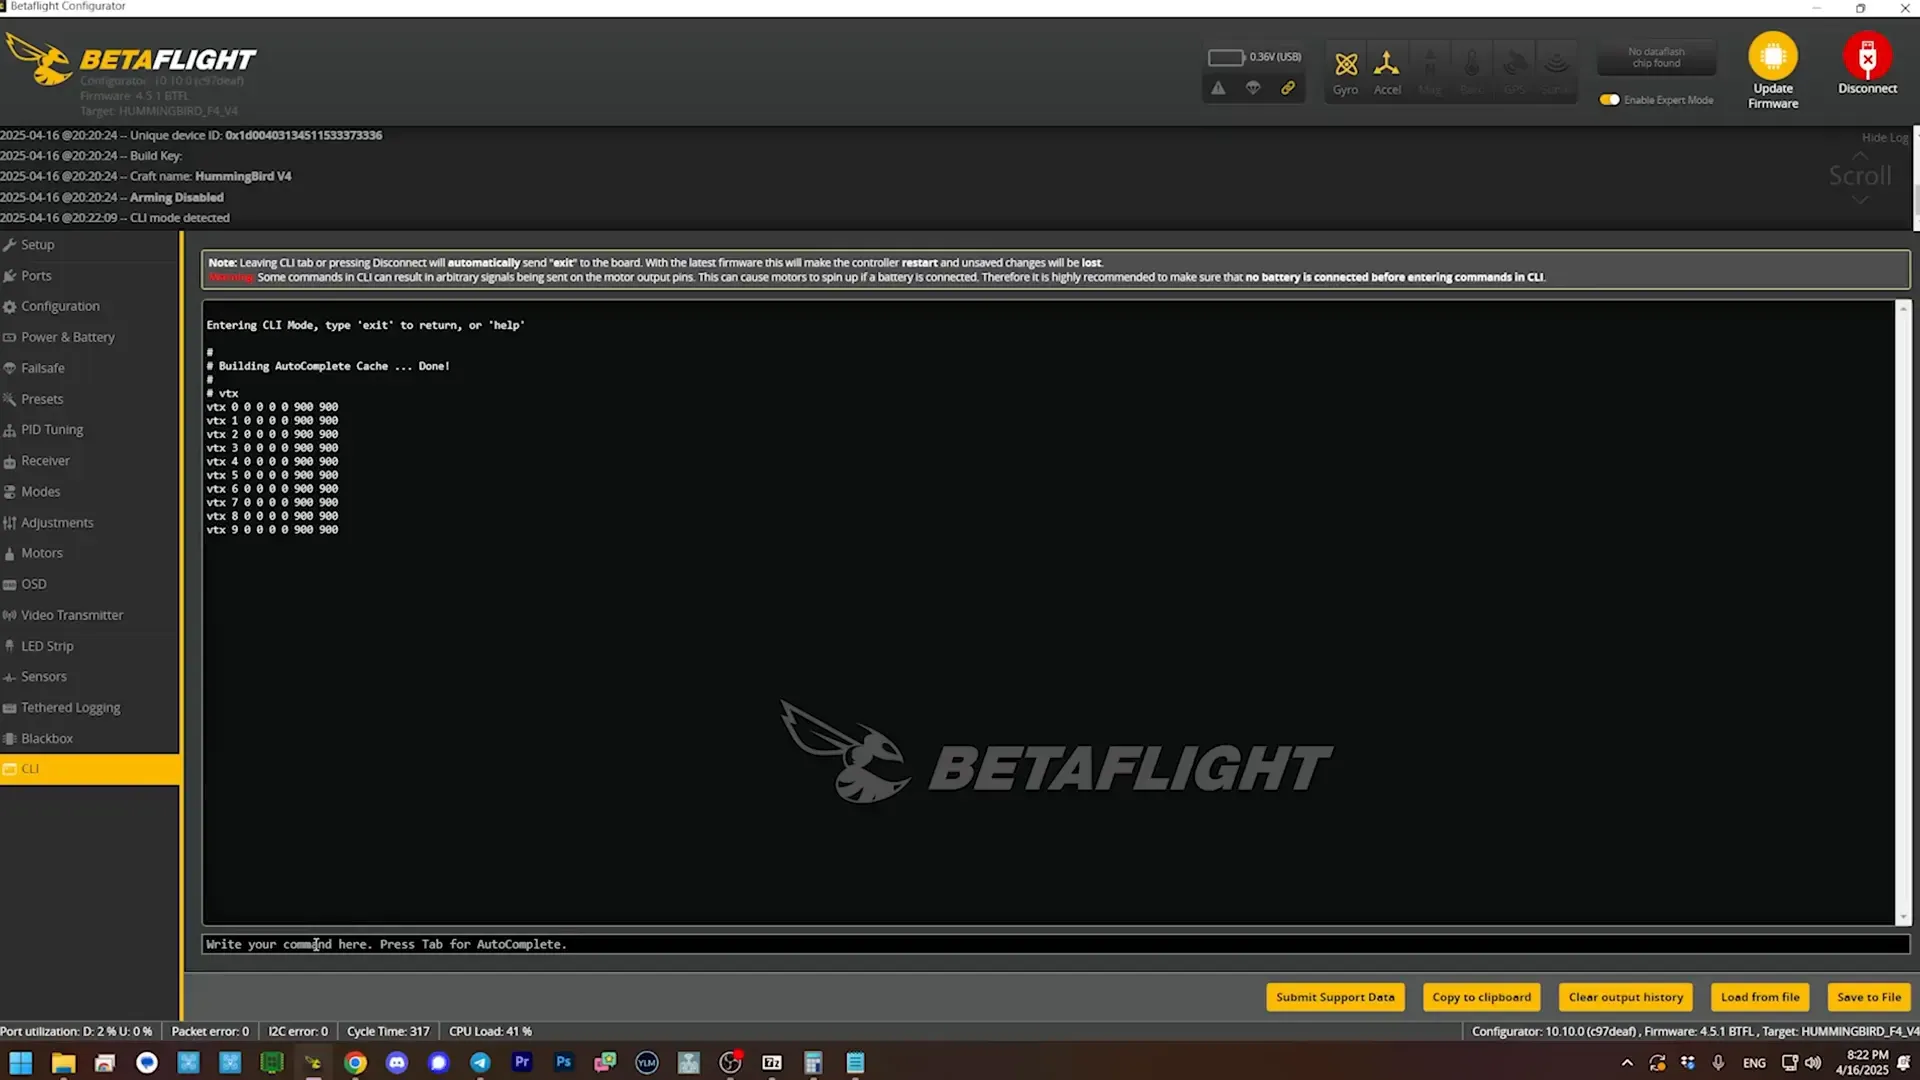
Using the VTX Command
Now comes the fun part—using the VTX command in Betaflight to tie everything together. Bardwell explains how to enter the command line interface (CLI) and configure each line for the vTX settings, detailing which values correspond to each channel and power setting.
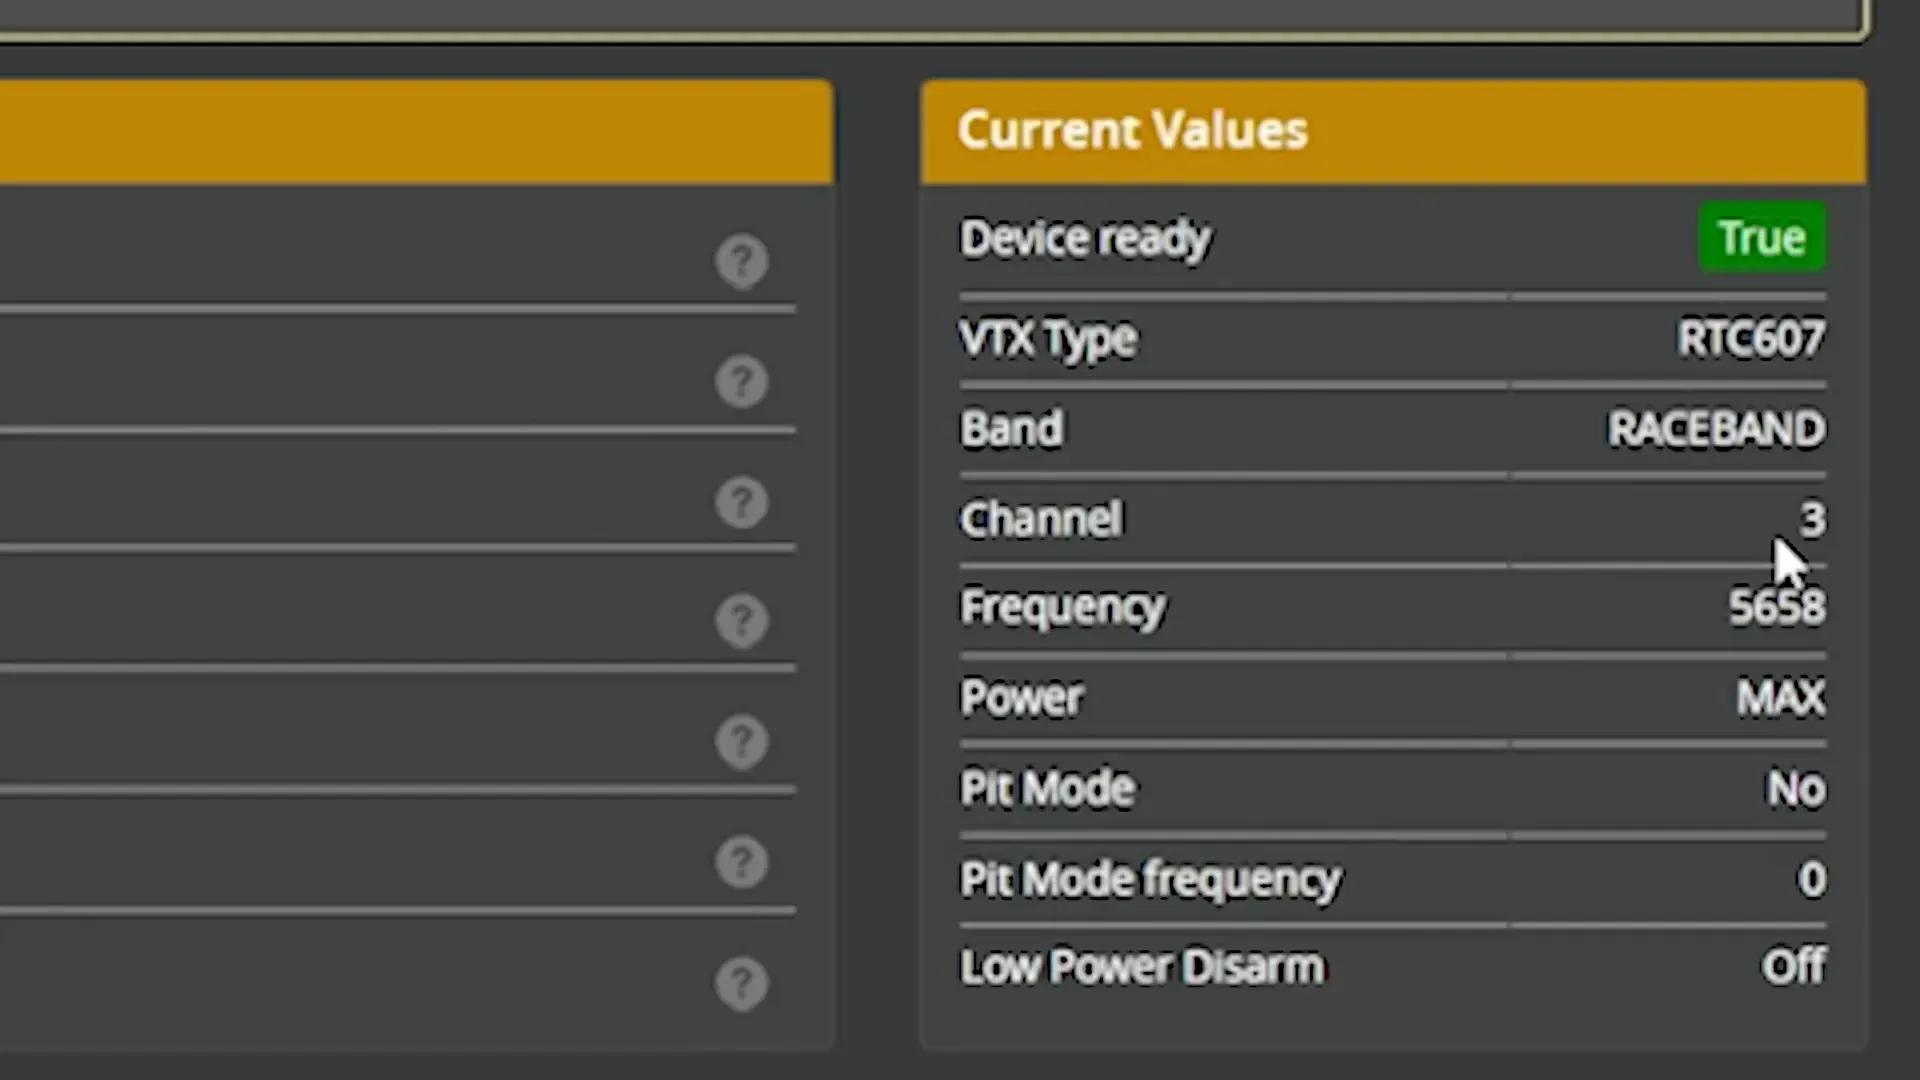
Testing the Setup
Once all configurations are complete, it's time to test the setup. Bardwell runs through the process of changing channels with the momentary switch, confirming that everything works as expected. This is a crucial step, as it verifies that all previous configurations were successful.
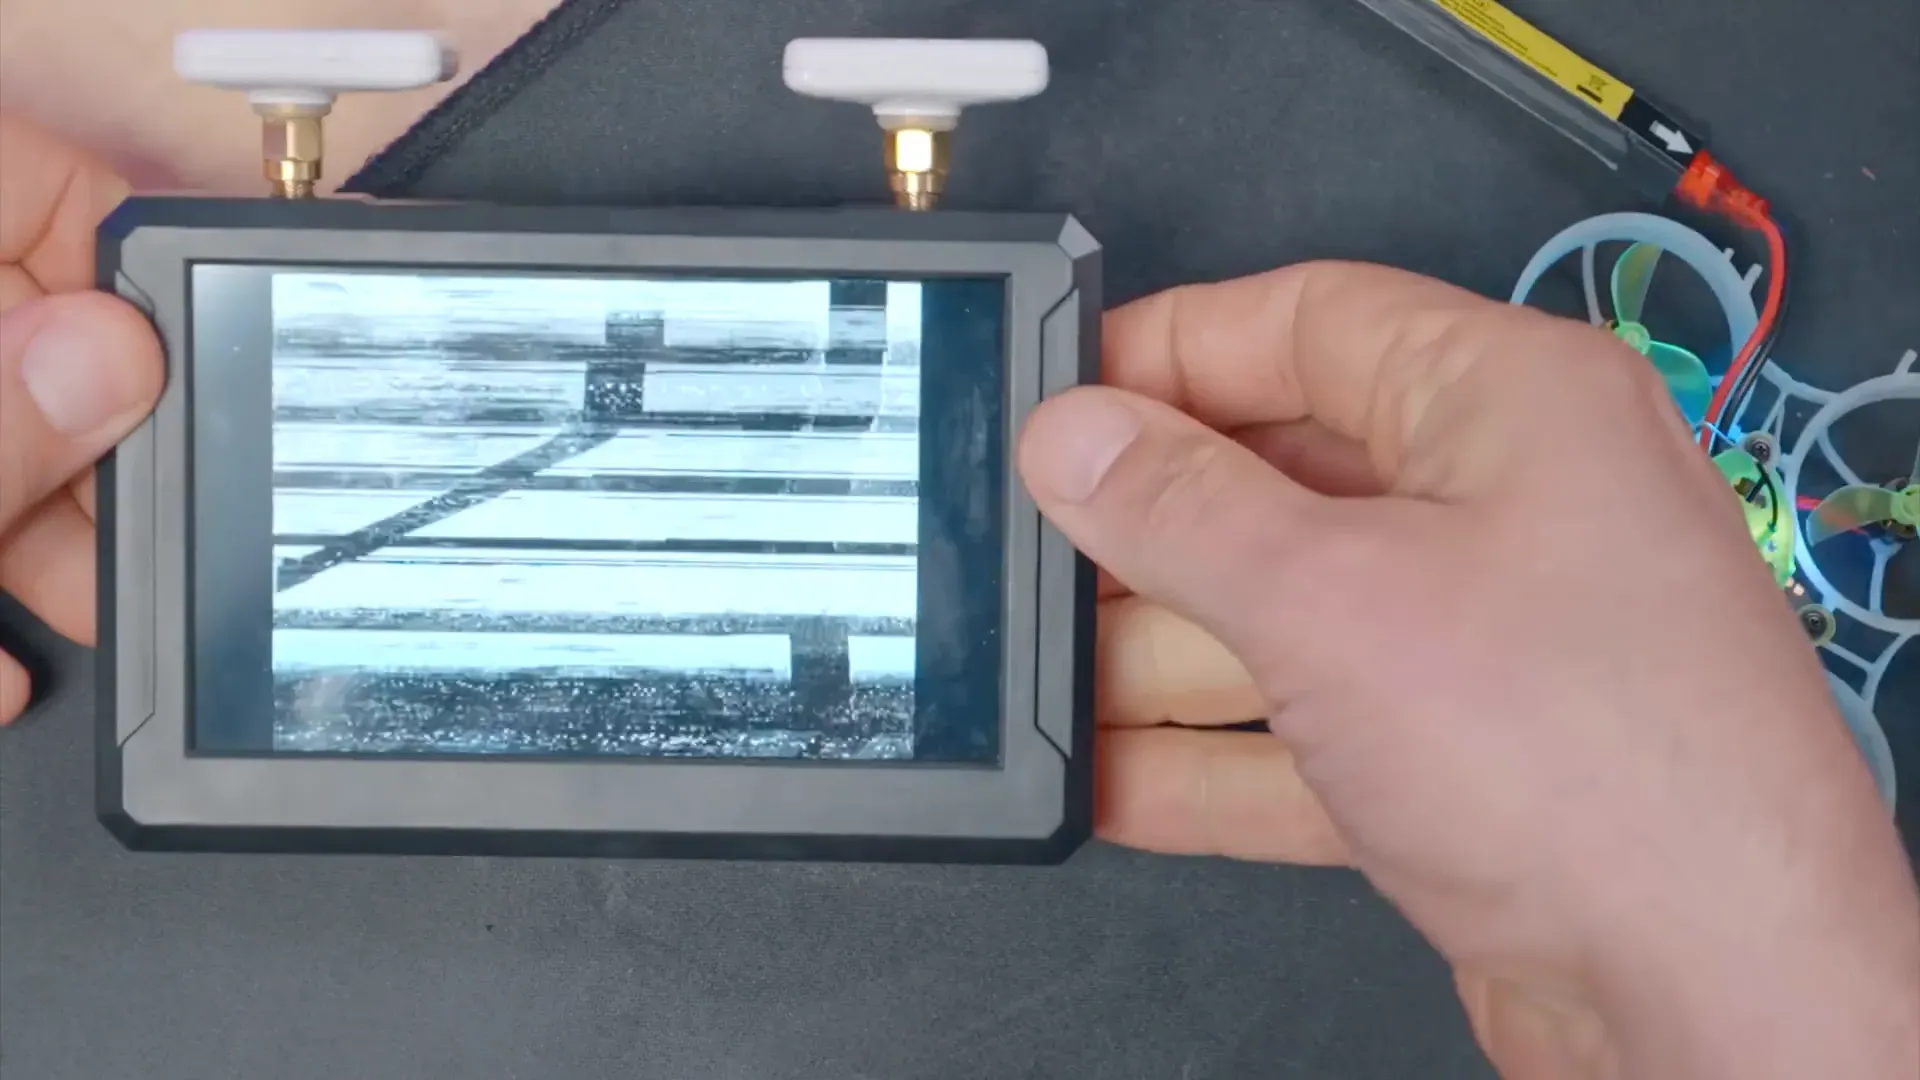
Goggles Following Along
One of the final touches Bardwell discusses is how to make your FPV goggles follow the channel changes automatically. This feature adds another layer of convenience, ensuring you won't lose video feed while switching channels.
Conclusion
This method for changing your vTX channel with a single button press not only simplifies the flying experience but also enhances your overall efficiency as a pilot. Following Bardwell's detailed instructions, anyone with a compatible setup can replicate this process, leading to a more enjoyable and streamlined FPV experience.
Takeaway Box
- Single button control for vTX channels saves time during flights.
- Requires a compatible EdgeTX radio and flight controller.
- Ensures smooth transitions between channels, minimizing interference.
- Document your settings for easy reference.
- Consider automating your goggles for seamless operation.
This article was based from the video Change vTX channel with ONE BUTTON!